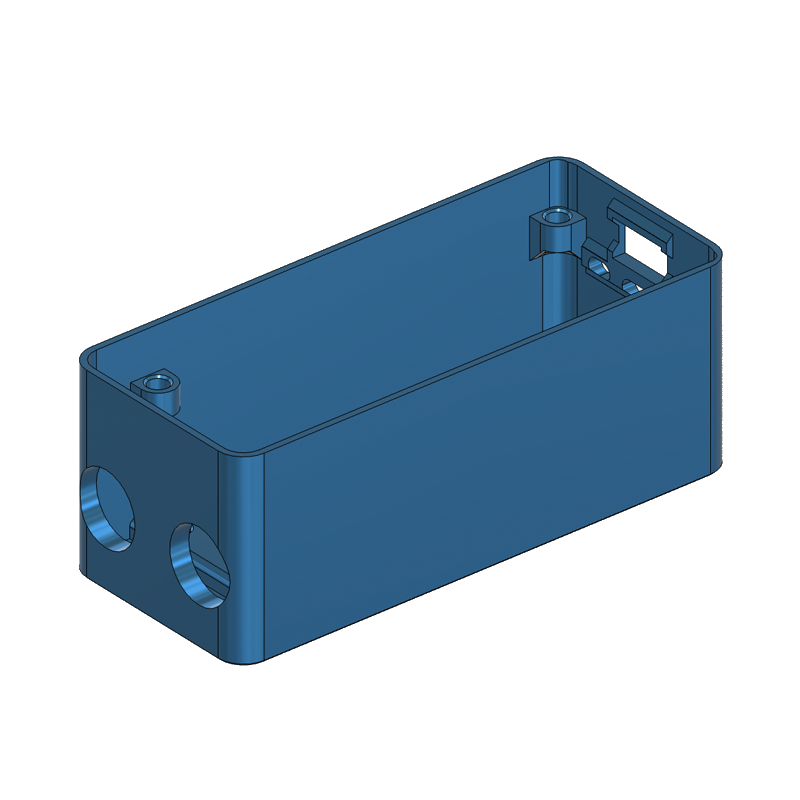
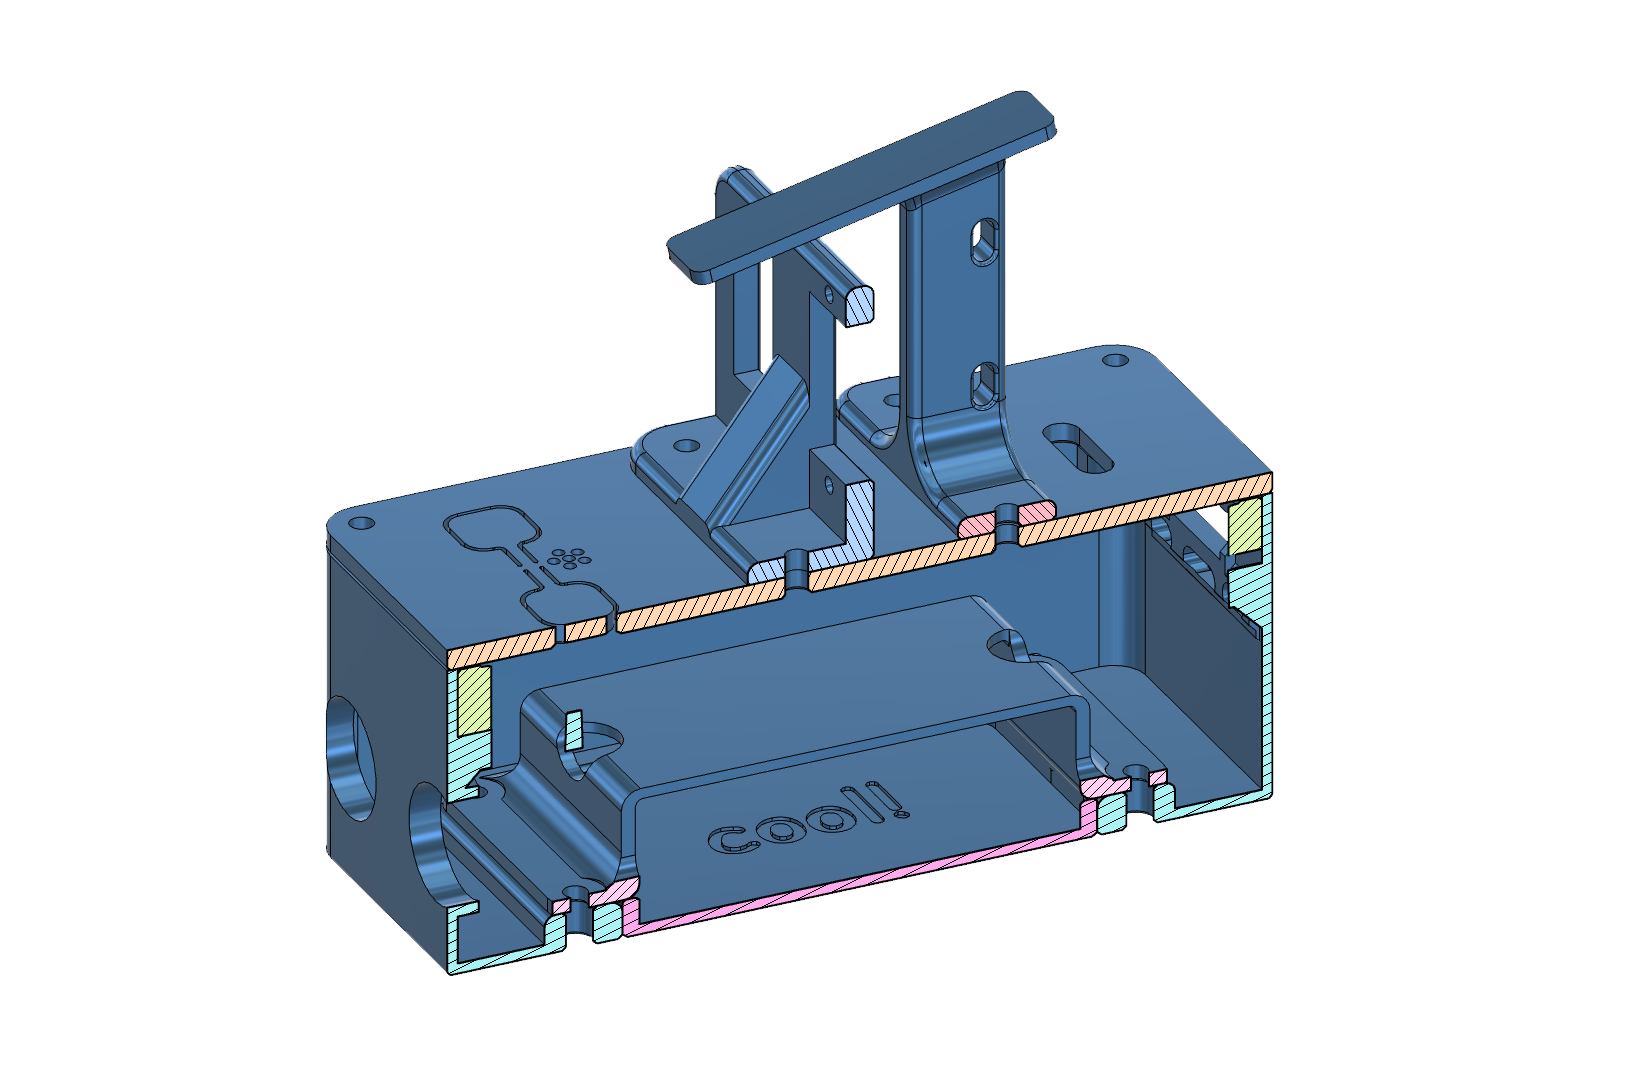
 Enclosure
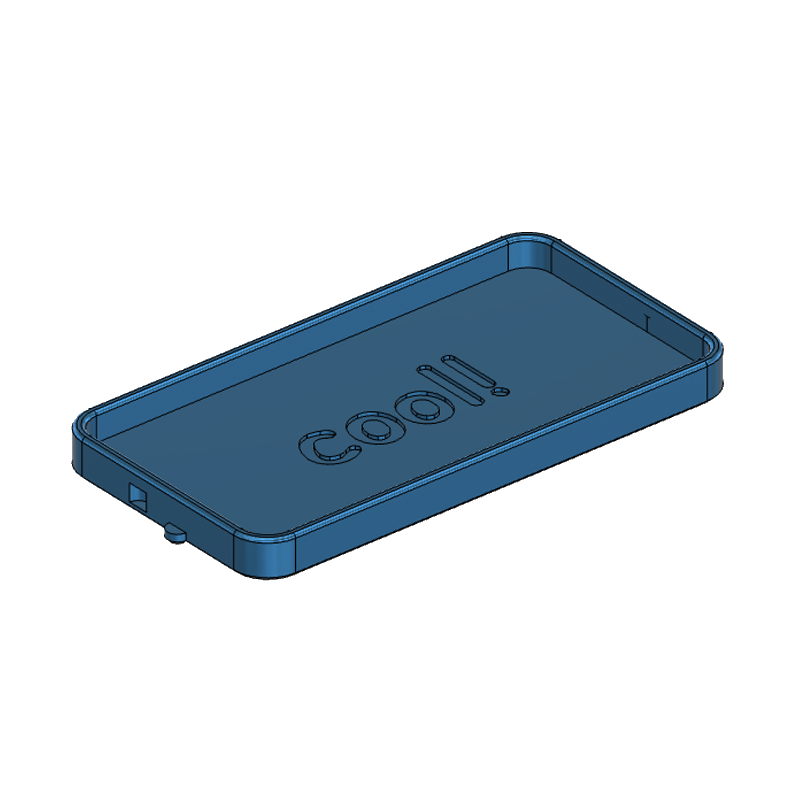
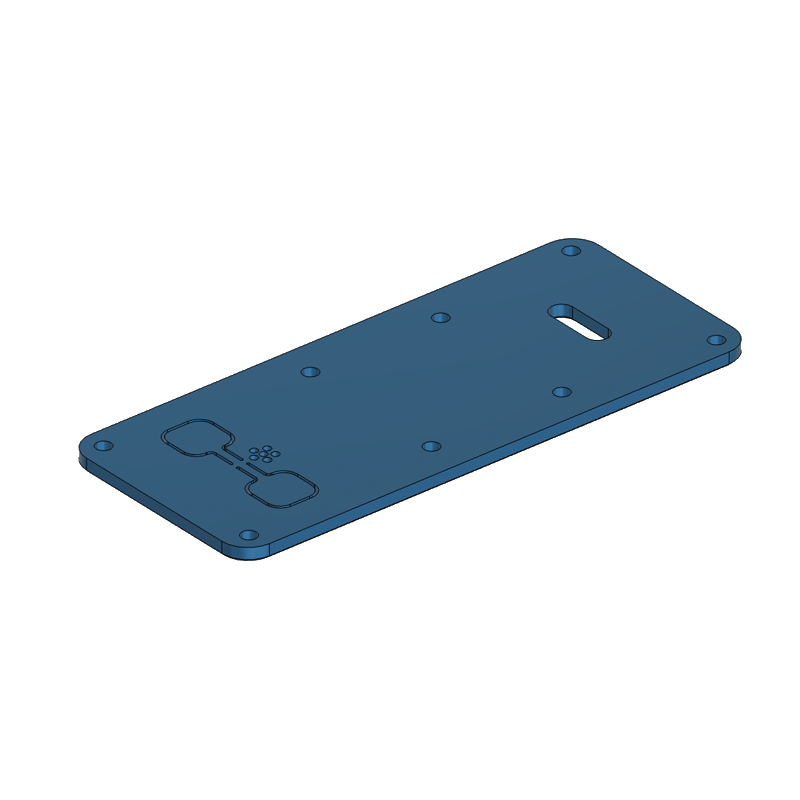 Lid
Lid
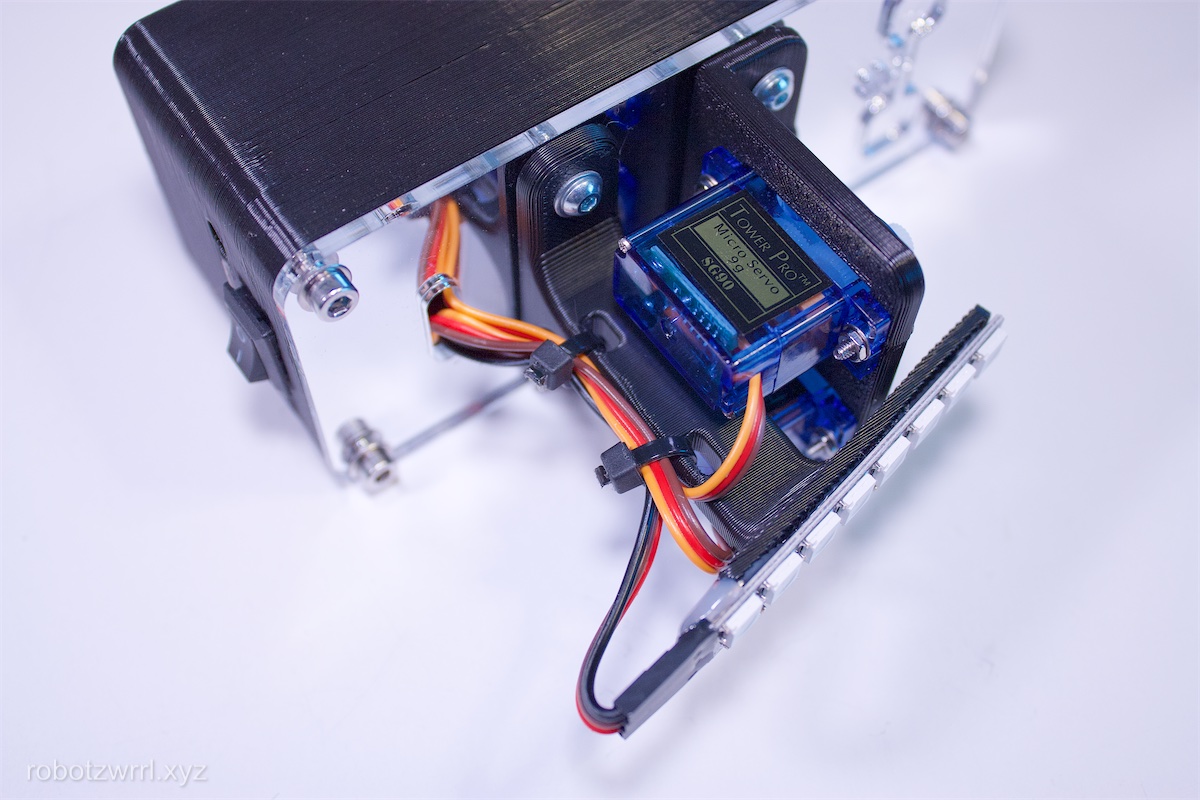
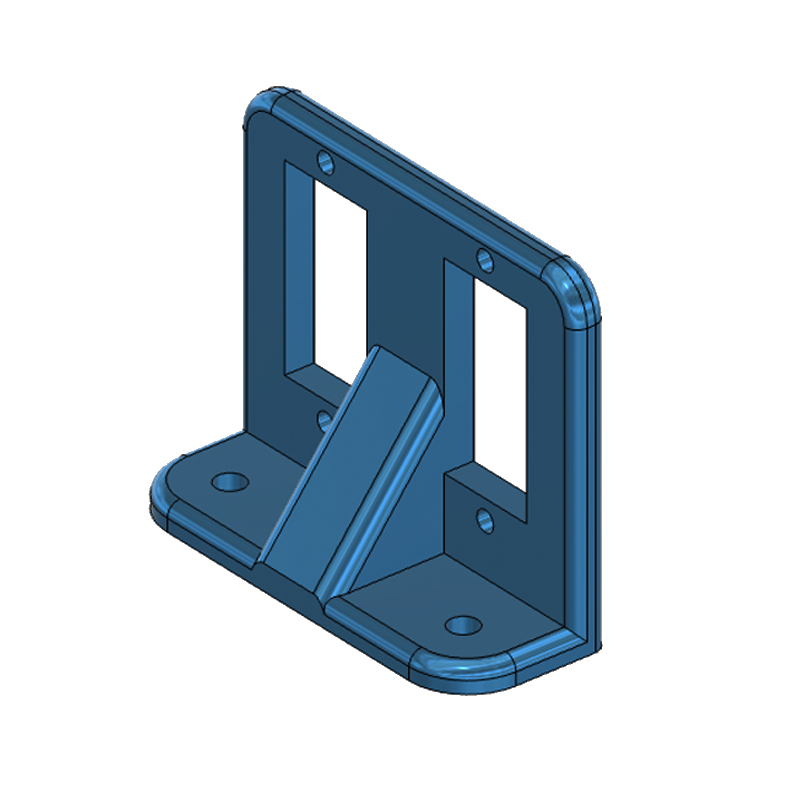 Servo Bracket
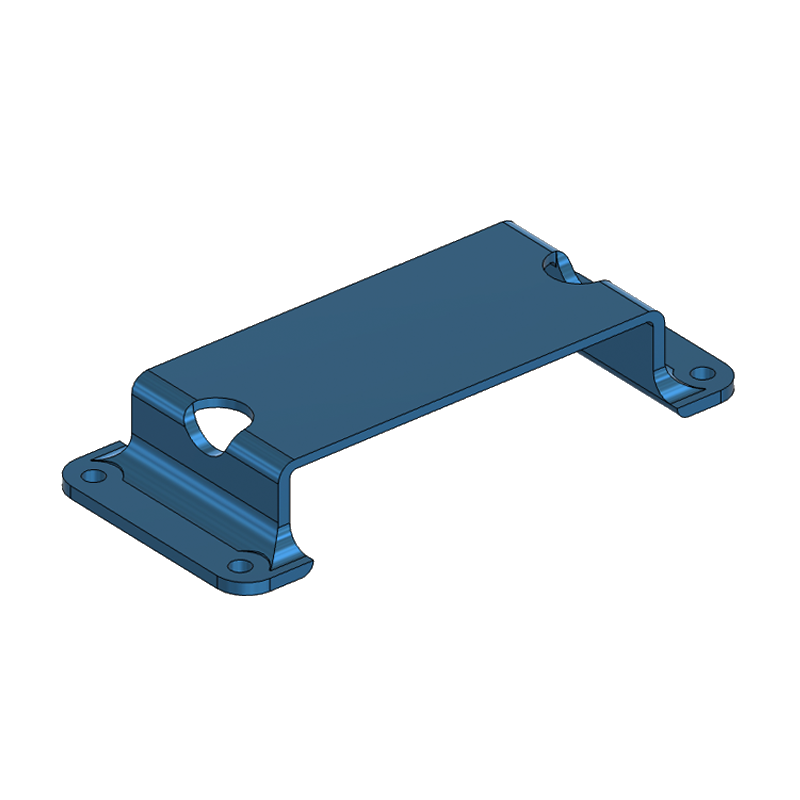 Battery Bracket
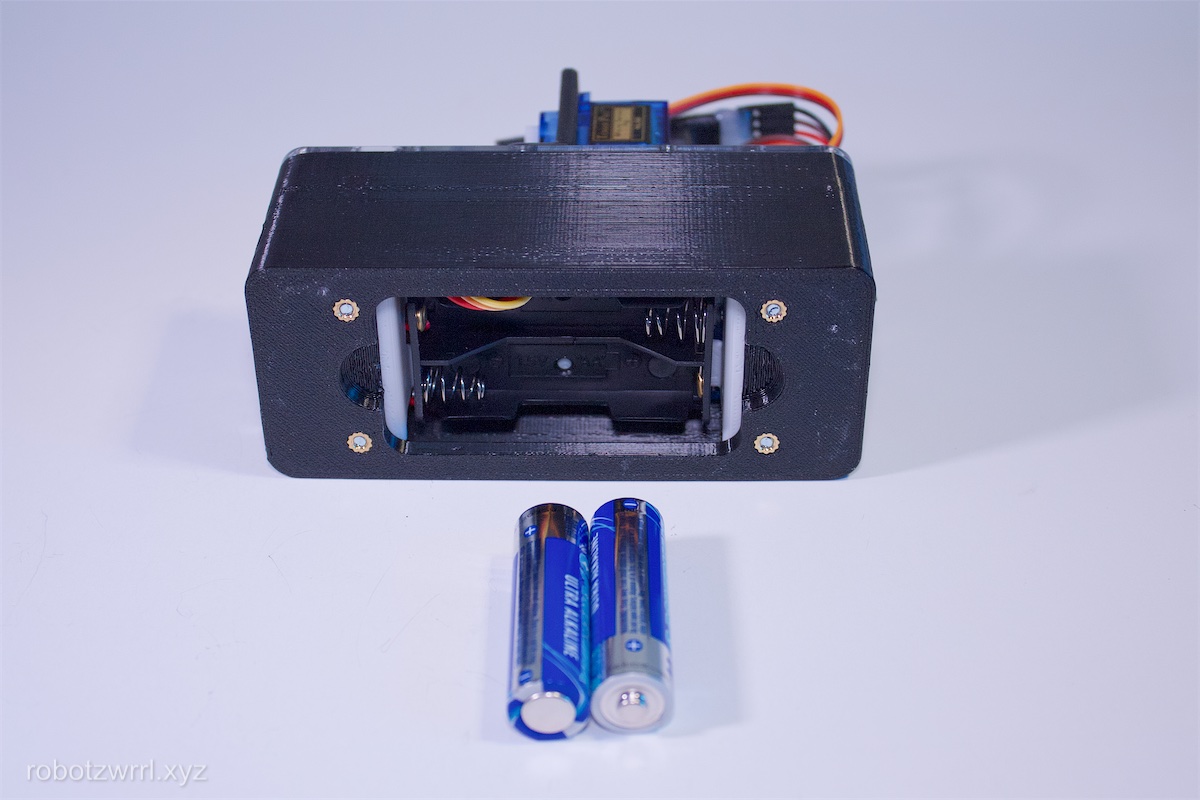
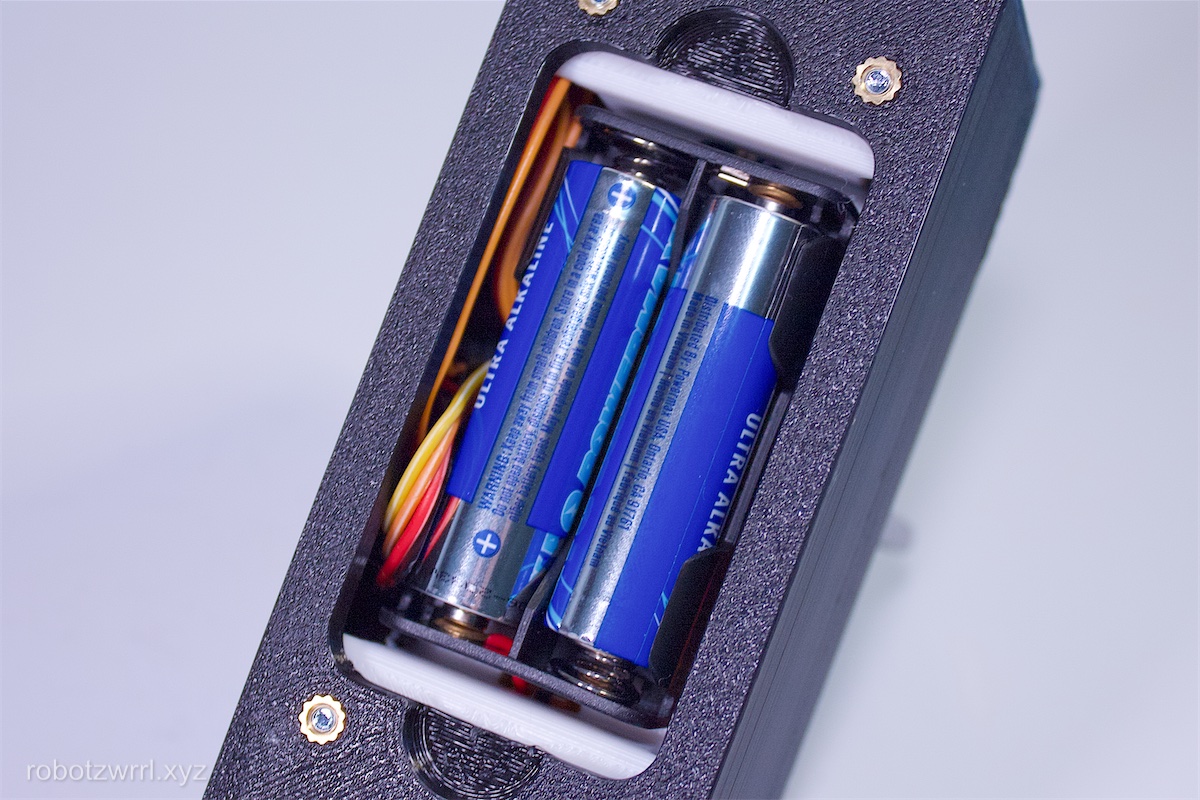
 Battery Compartment
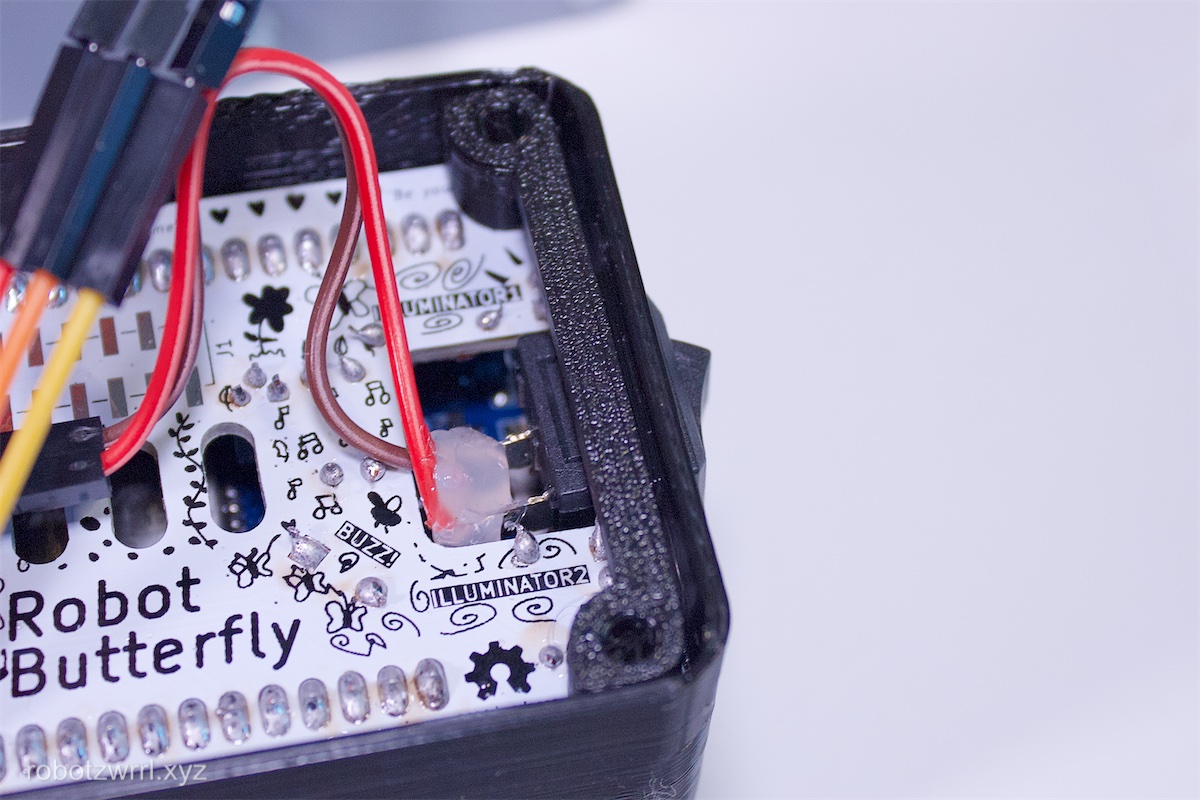
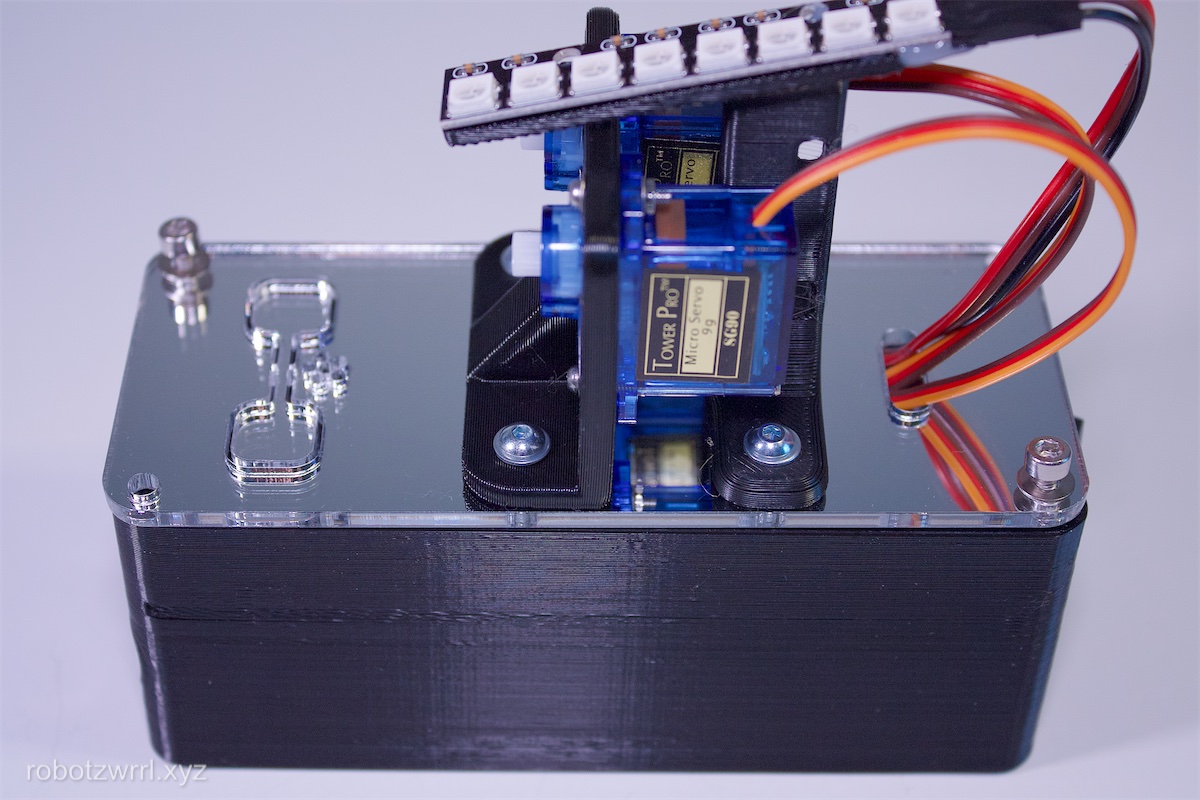
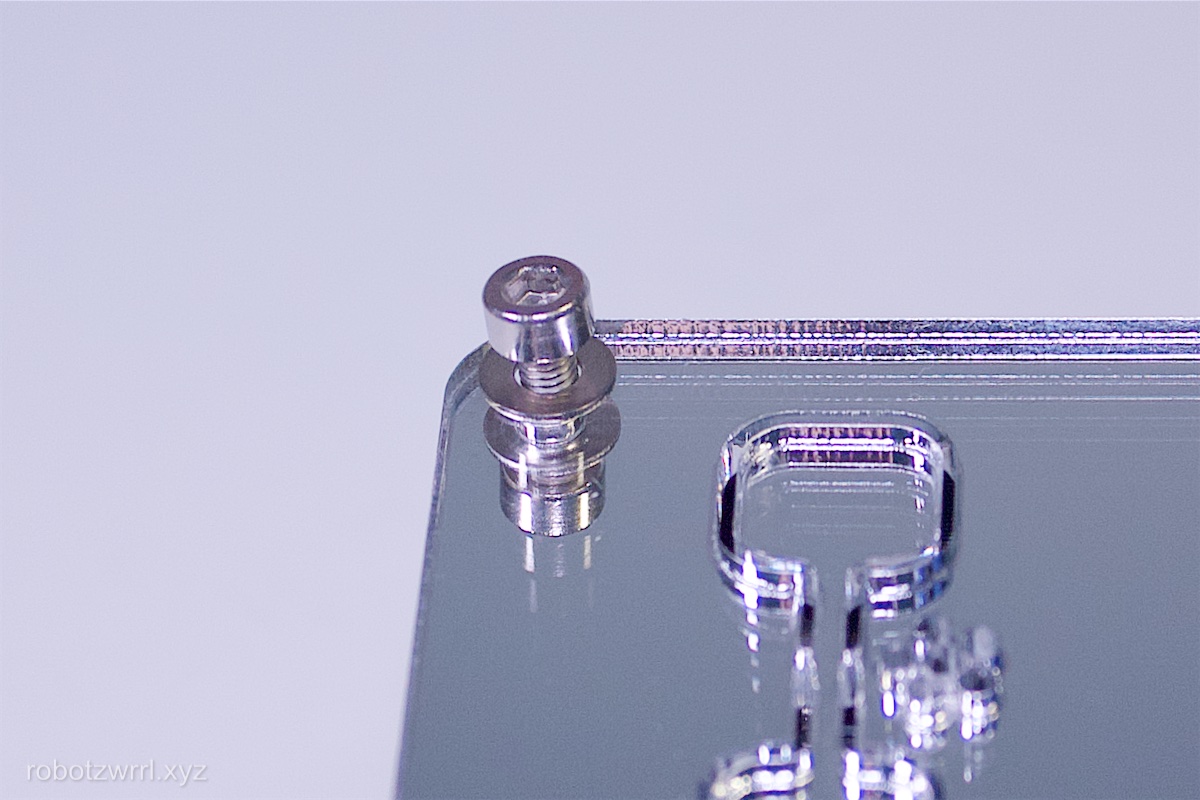
Add the shorter spacer to the top of the circuit board near the back mounting holes. The flat portion of the spacer should be facing up. Check that the height is flush with the upper edge of the enclosure.
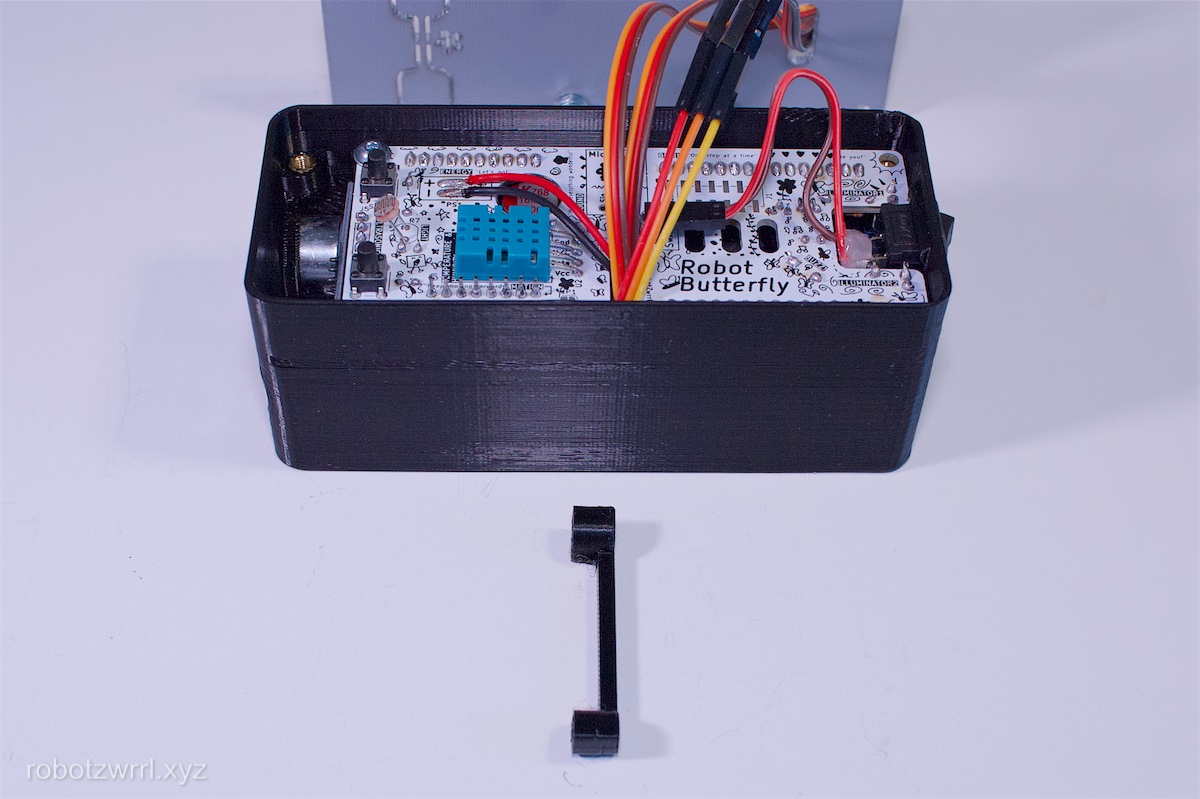
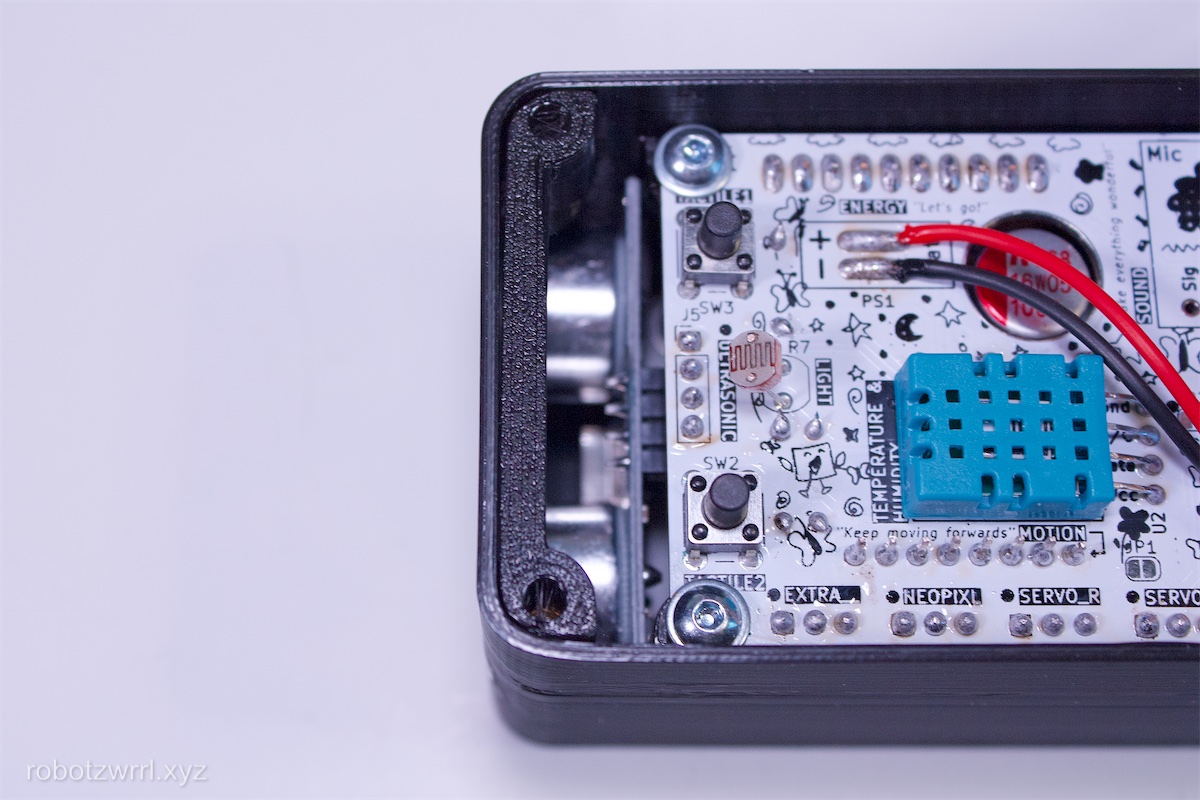
Add the taller spacer to the mounting holes closest to the front near the ultrasonic sensor. The flat portion of the spacer should be facing up. Check that the height is flush with the upper edge of the enclosure.
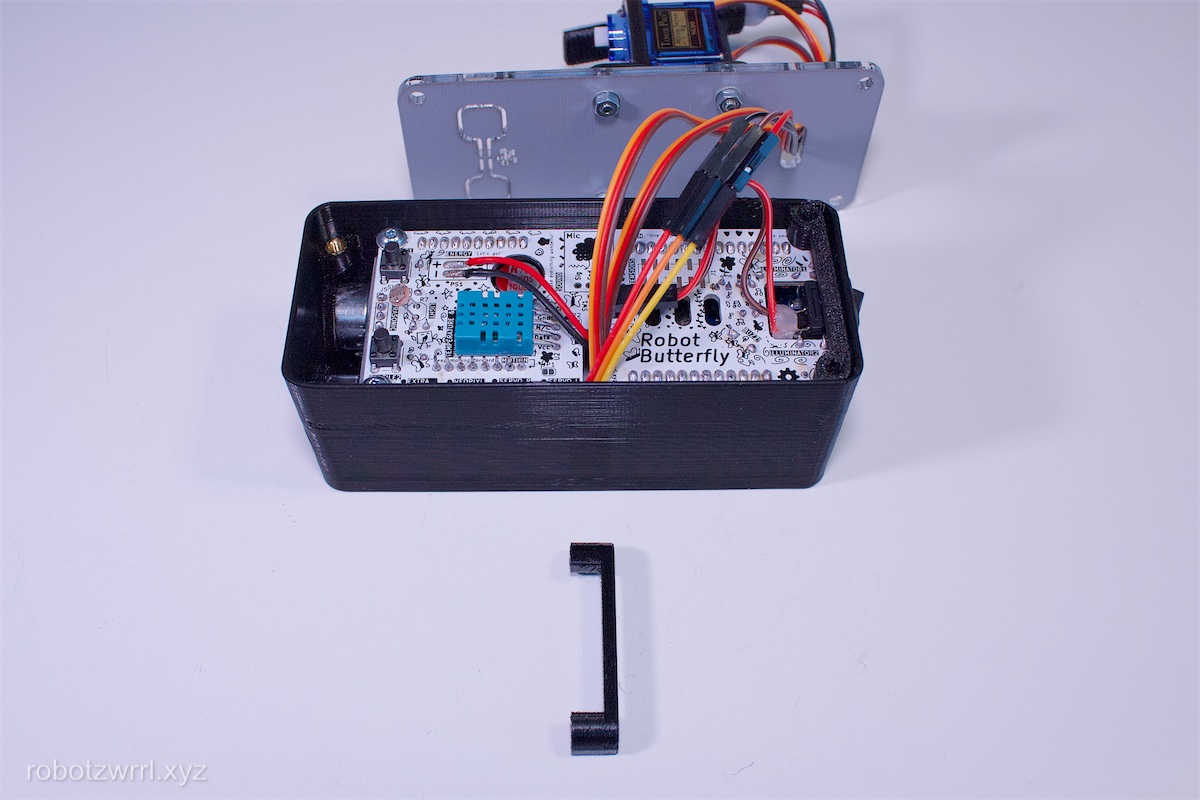
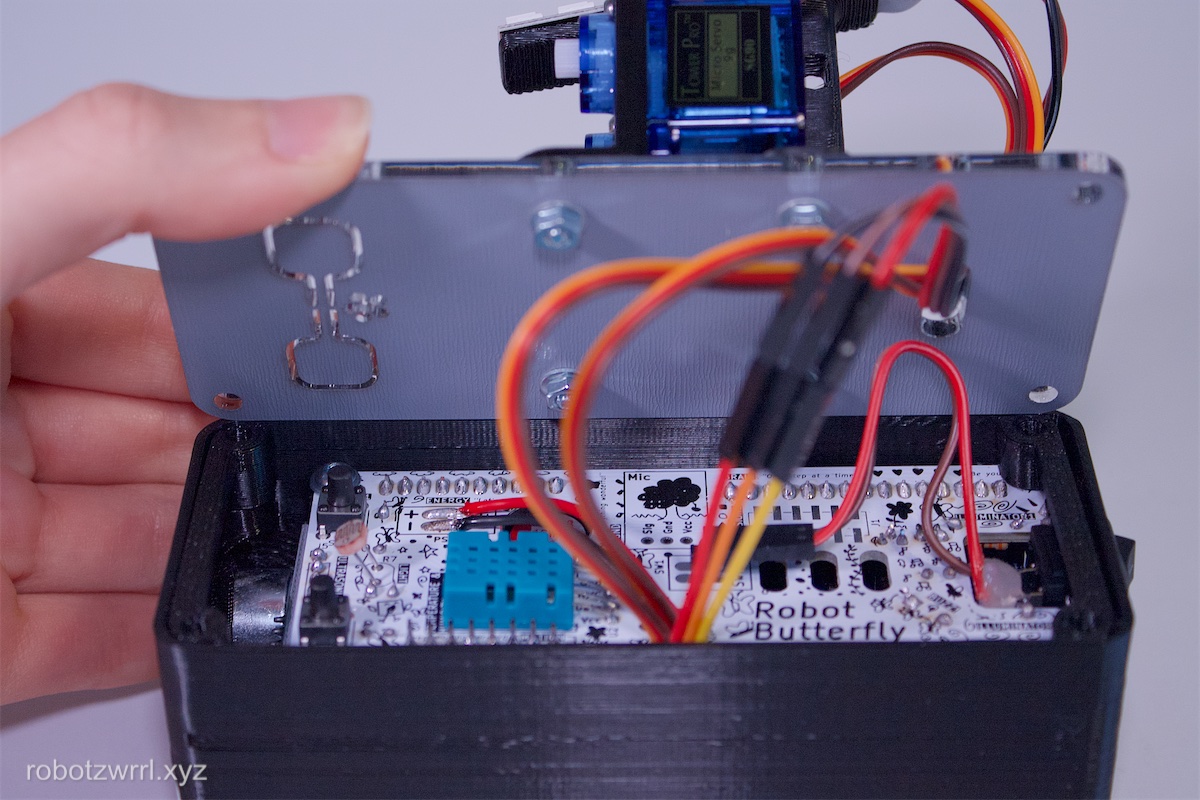
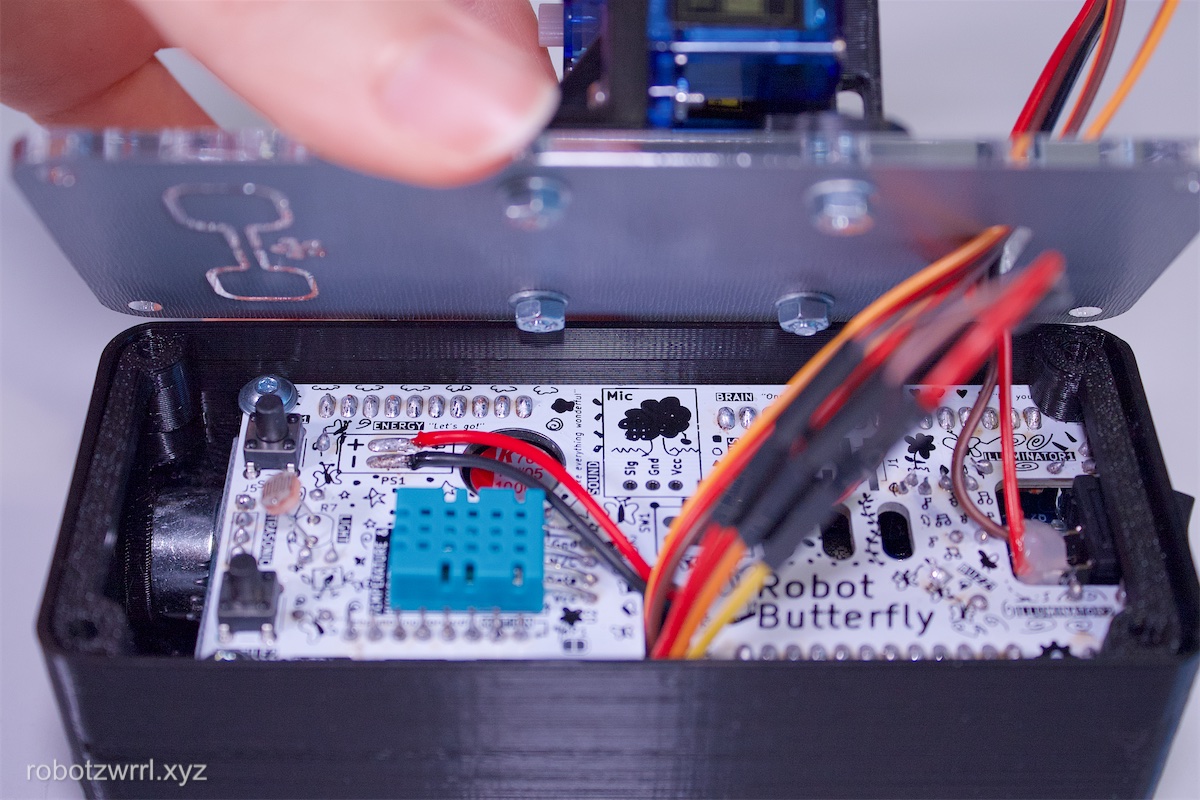
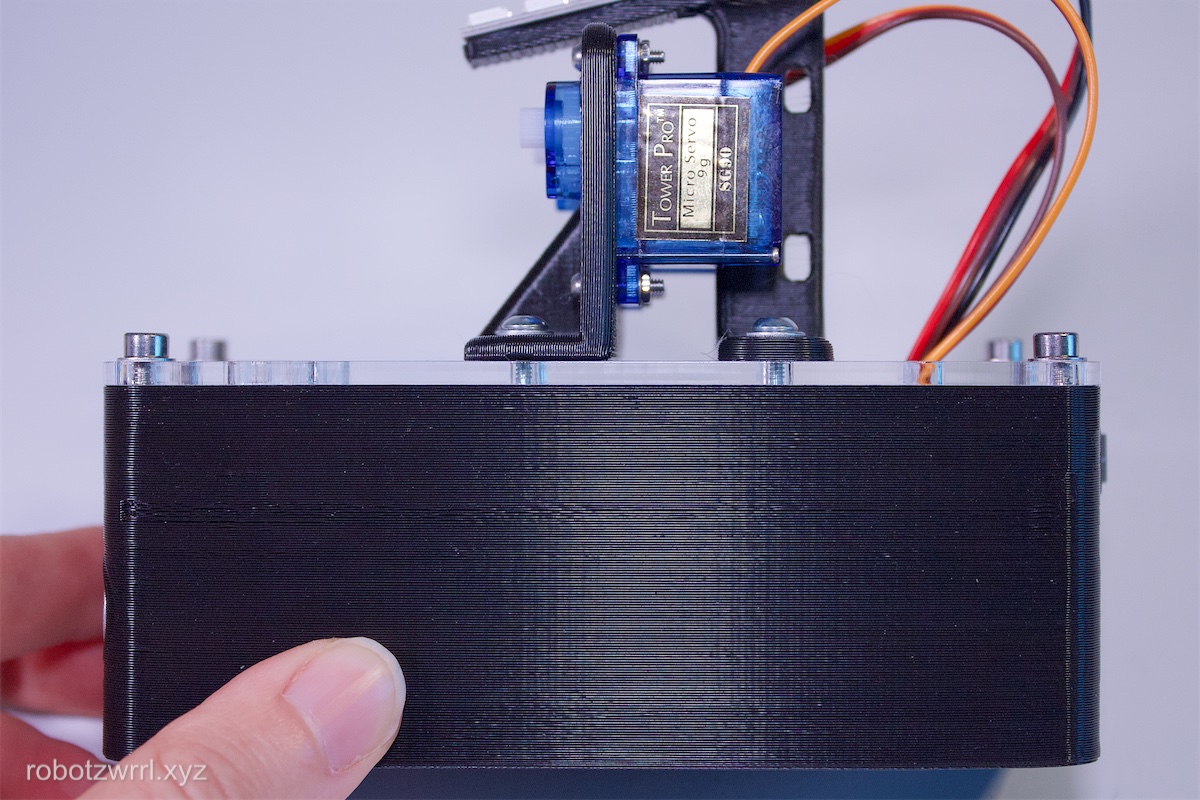
Move the lid closer to the enclosure.
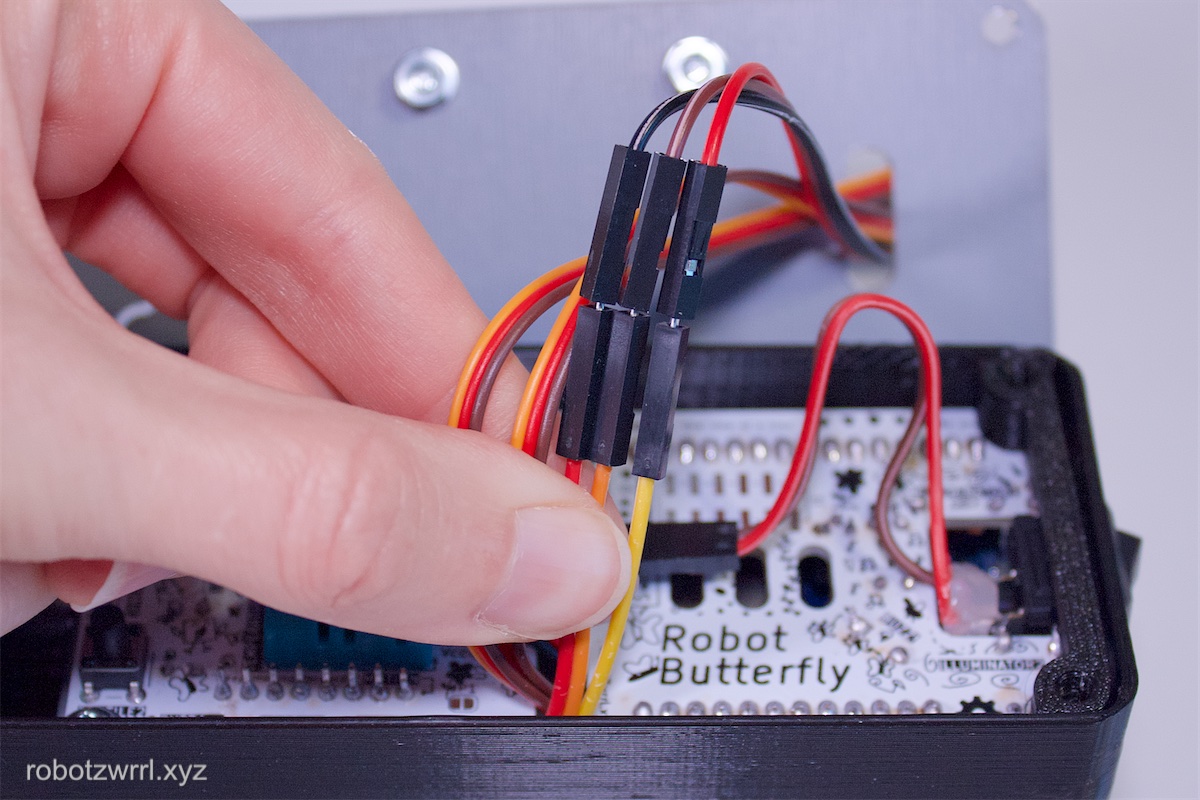
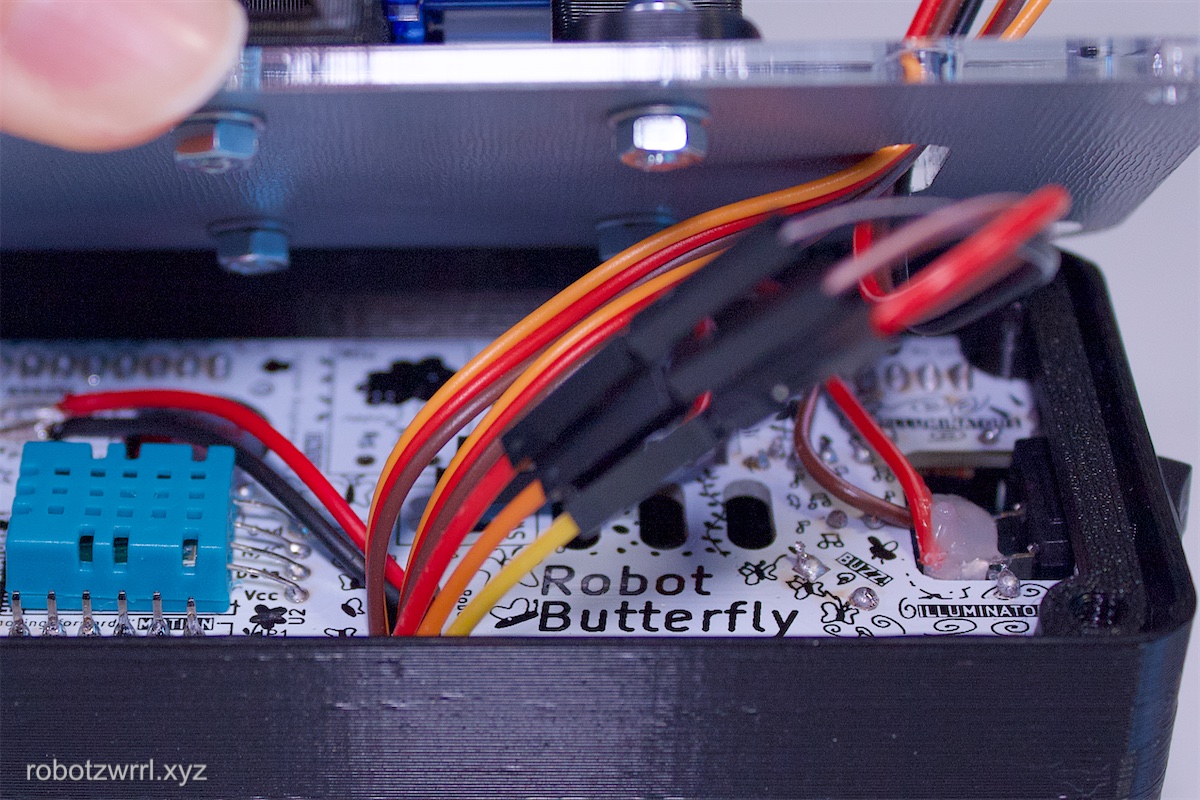
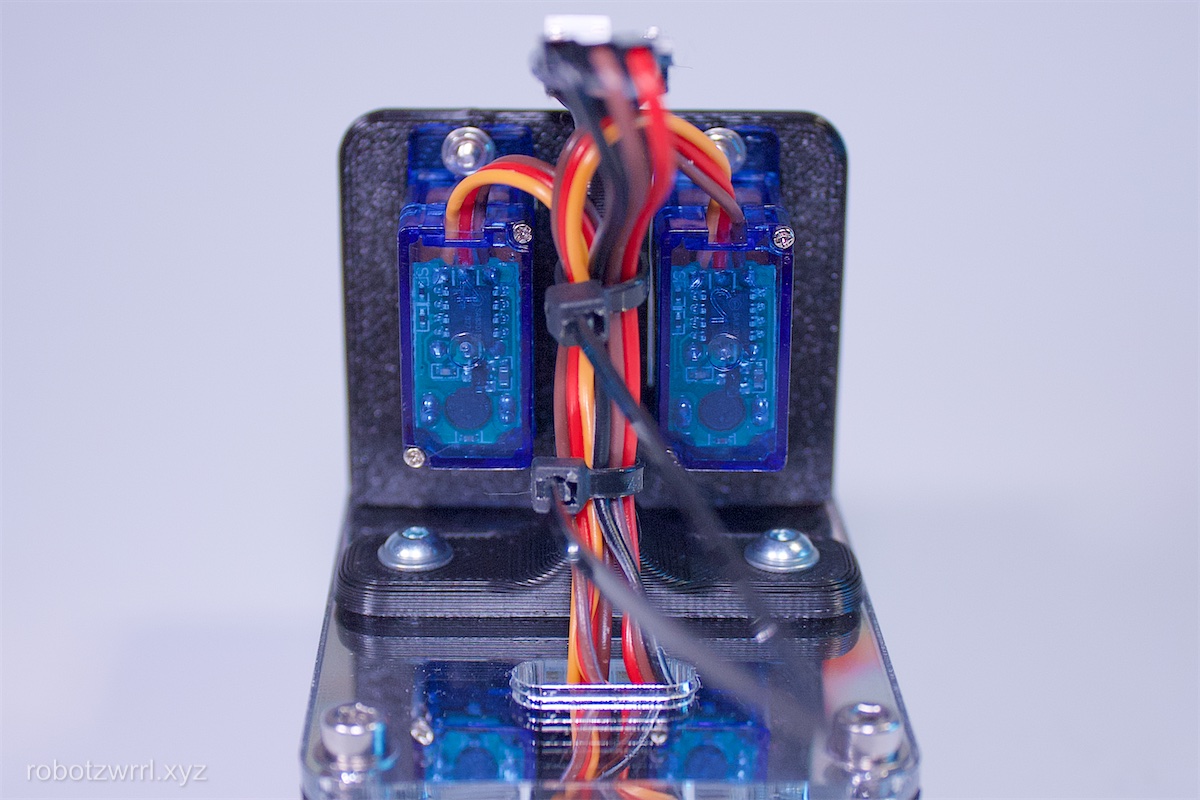
Push the wires to move the excess cables down. This may require some jostling of the wires to fit.
Ensure no wires are pinched.
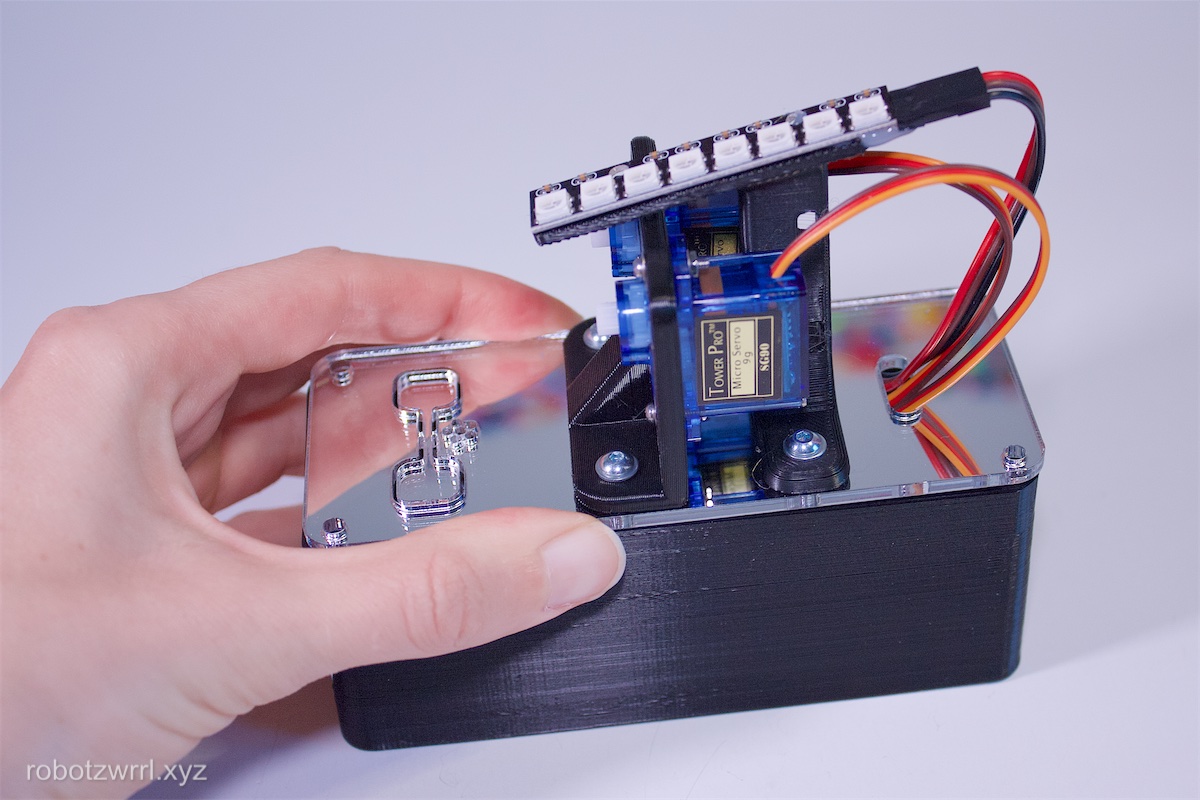
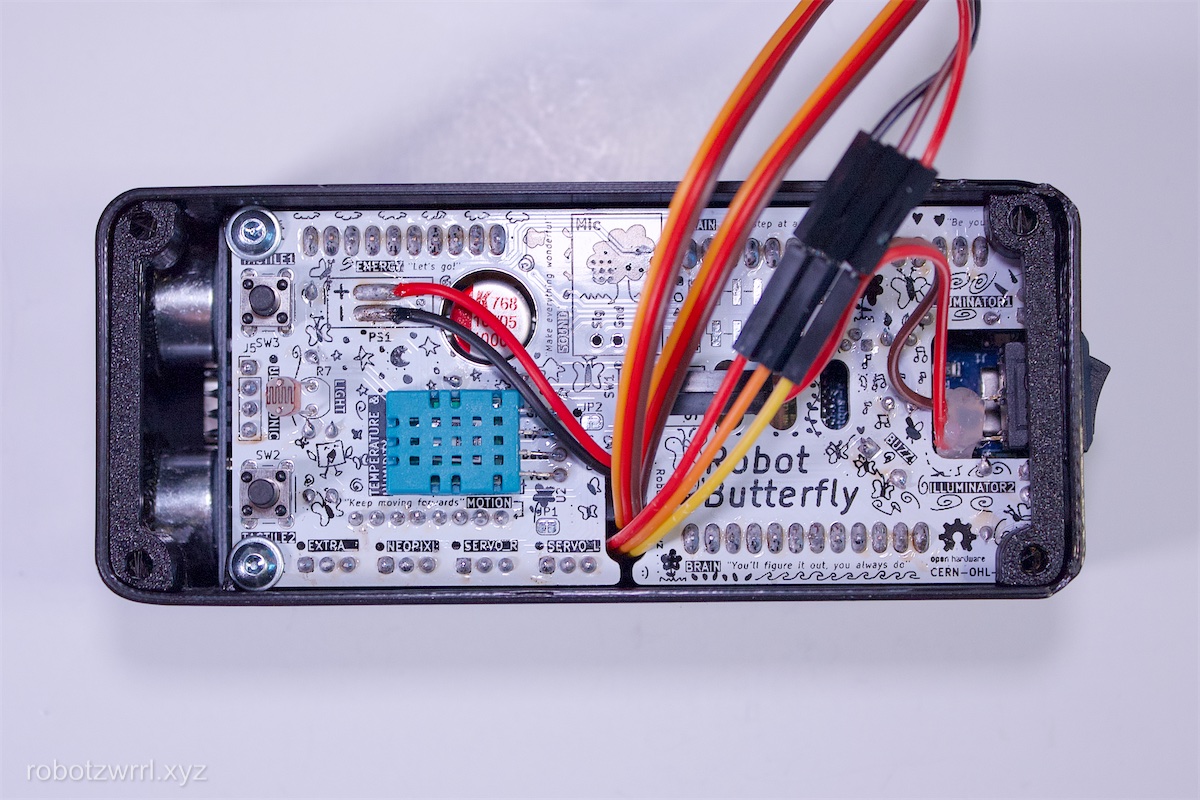
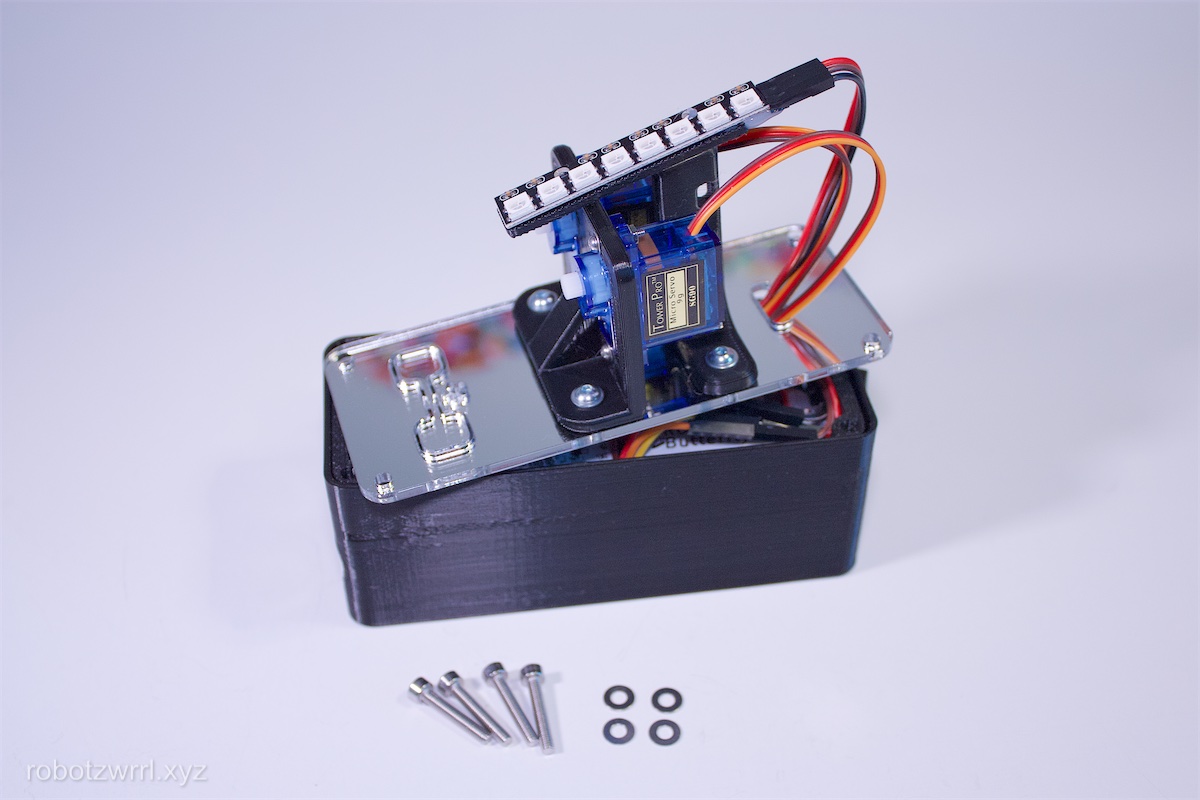
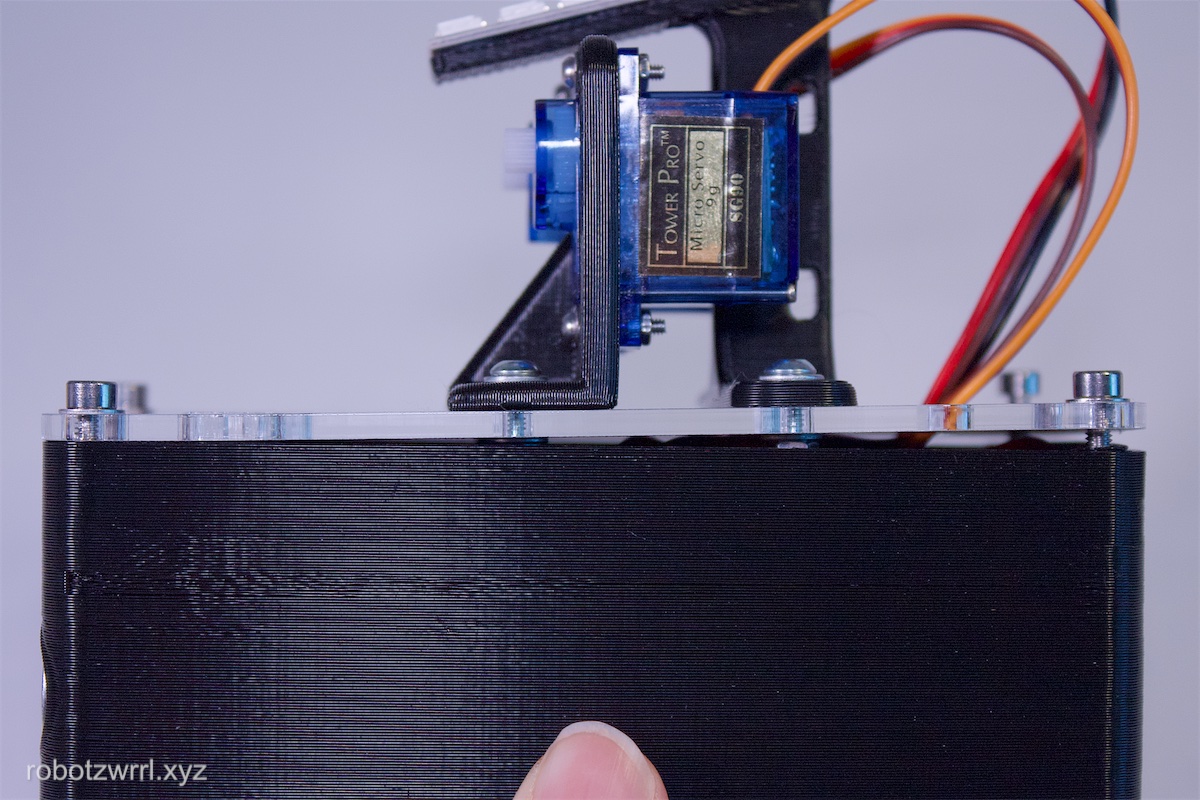
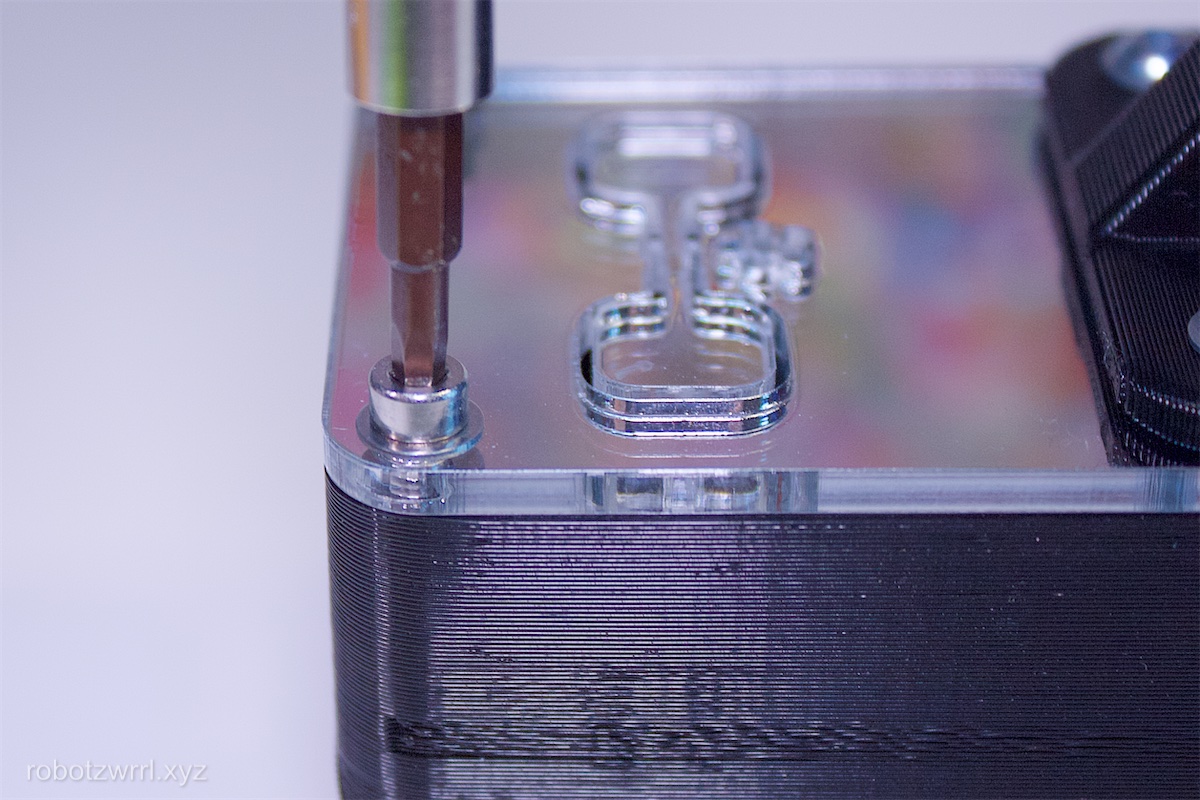
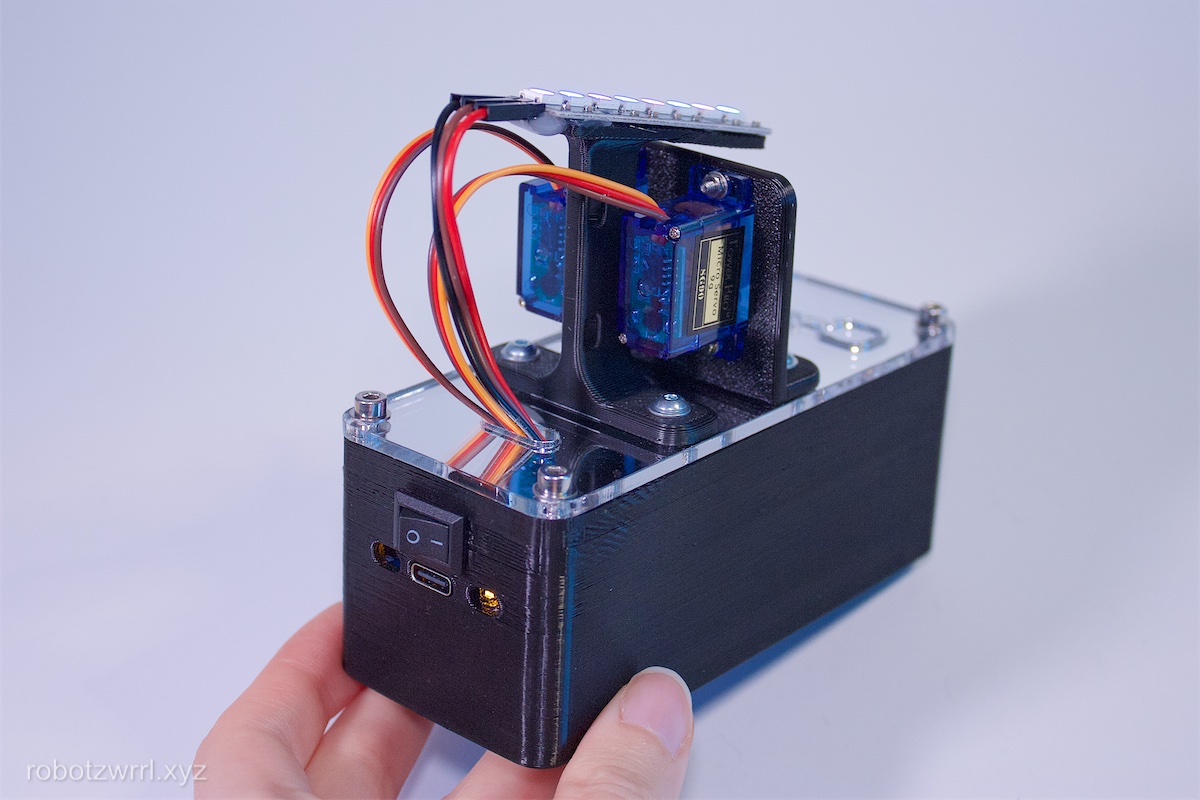
Align the lid to the enclosure. From the yellow envelope, fasten 4x M3 - 18 mm with washers through the lid, through the spacers, and into the heatset inserts of the enclosure.
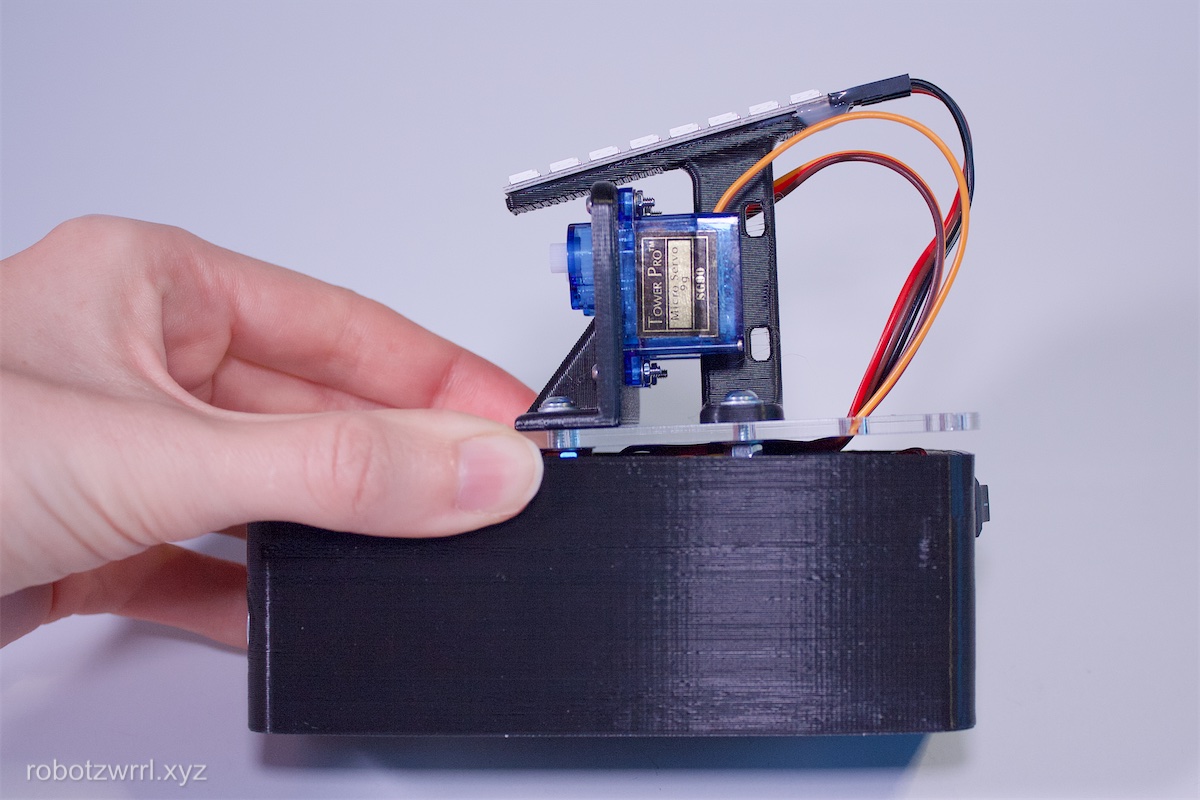
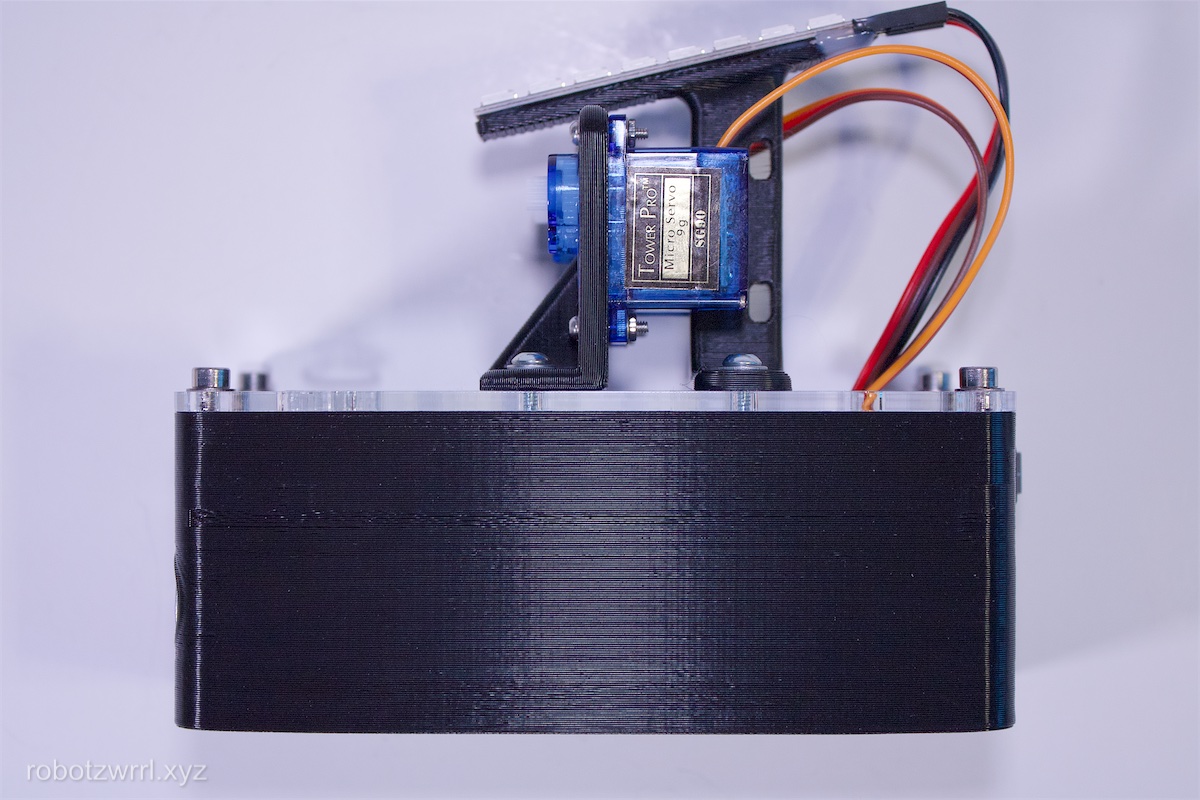
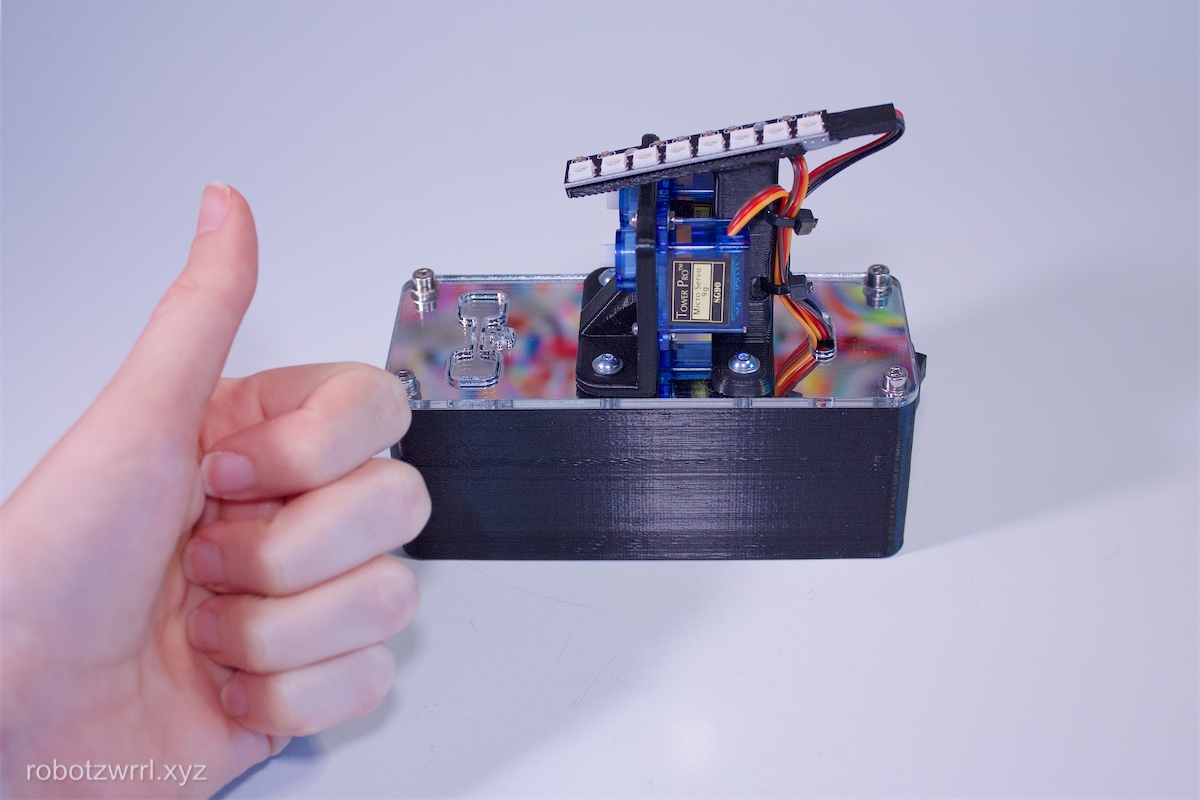
Check that the lid is flush with the enclosure and all fasteners are secure — but not overtightened. This will avoid damaging the enclosure and Chonky.


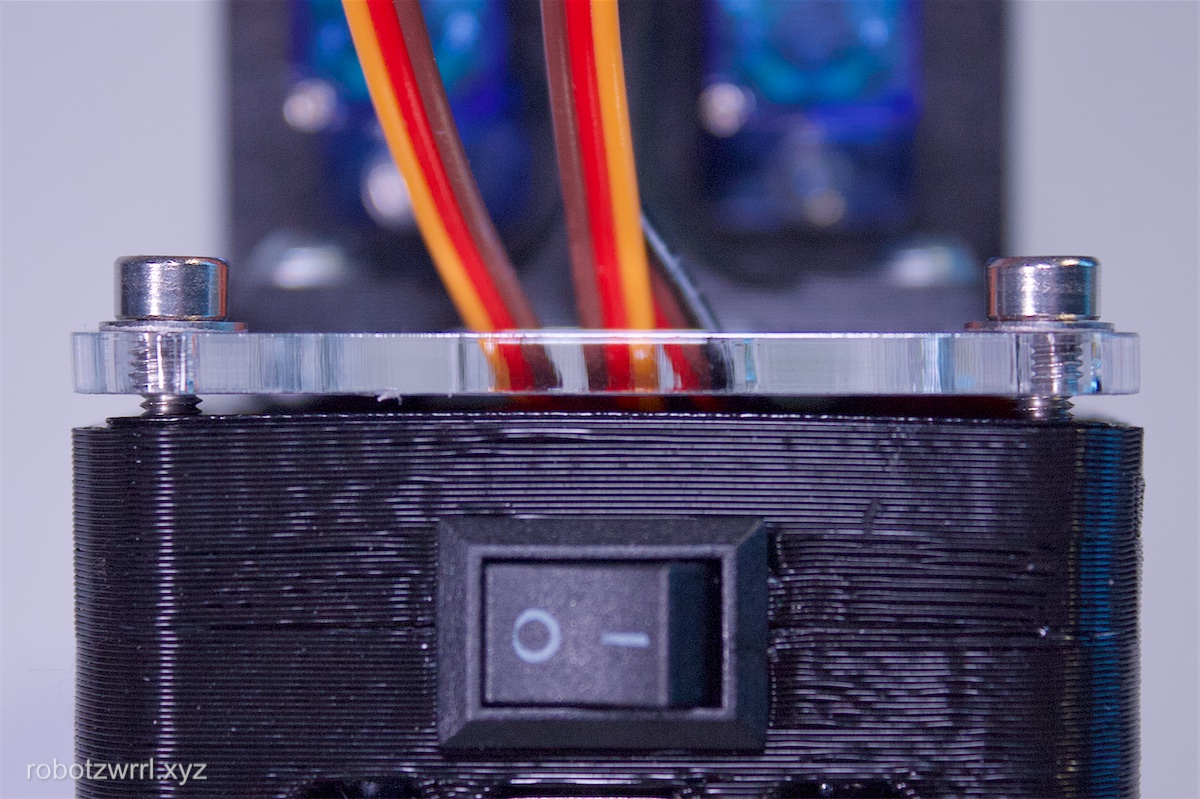
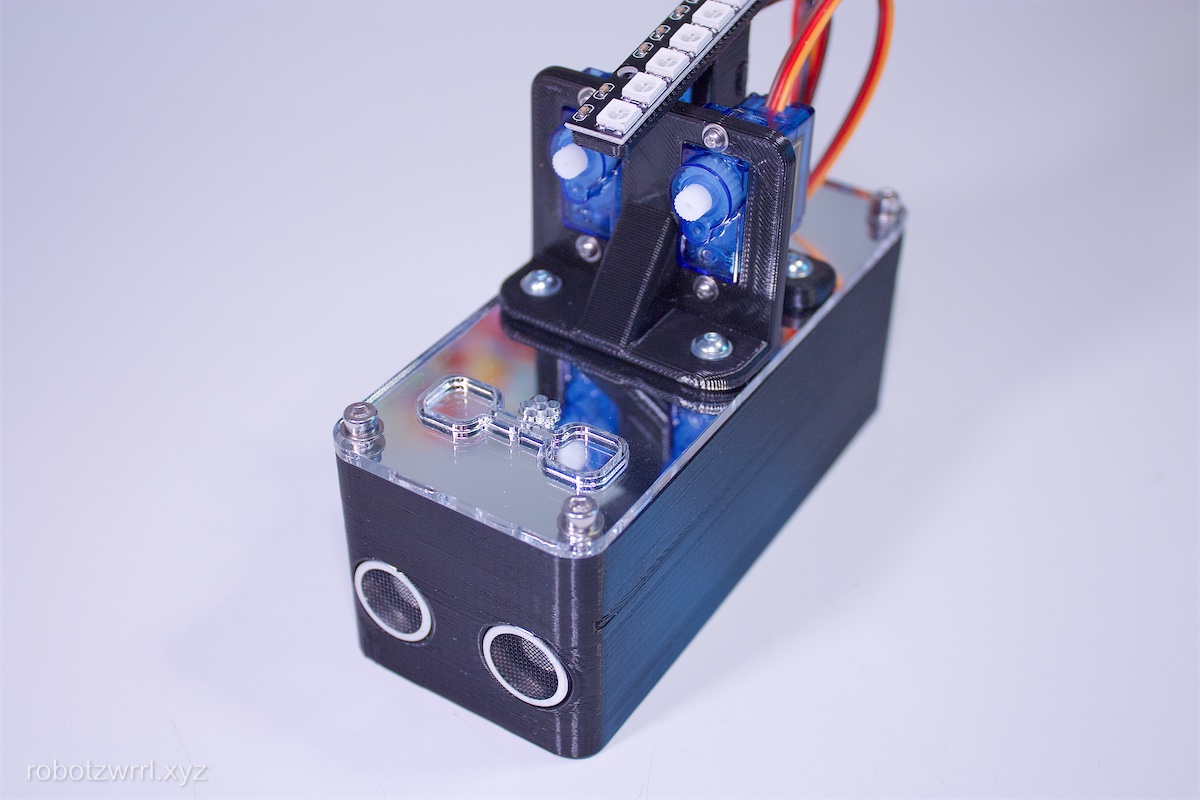
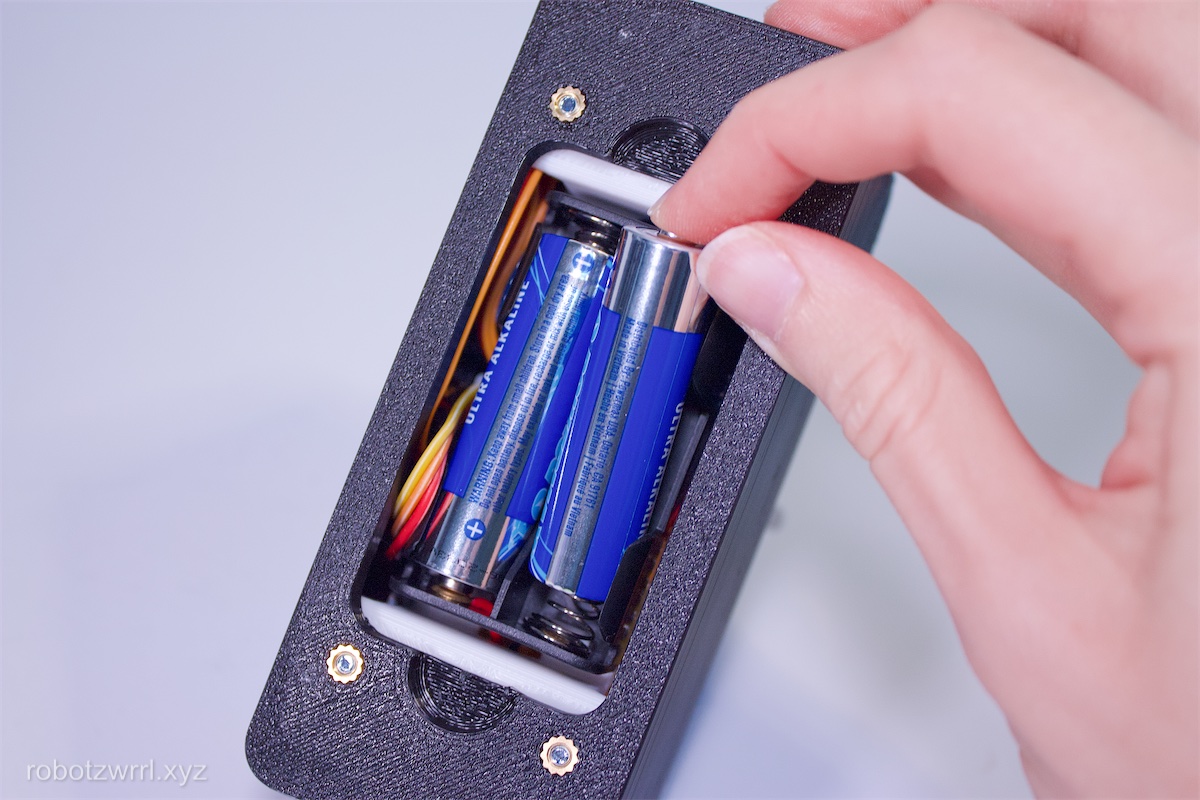
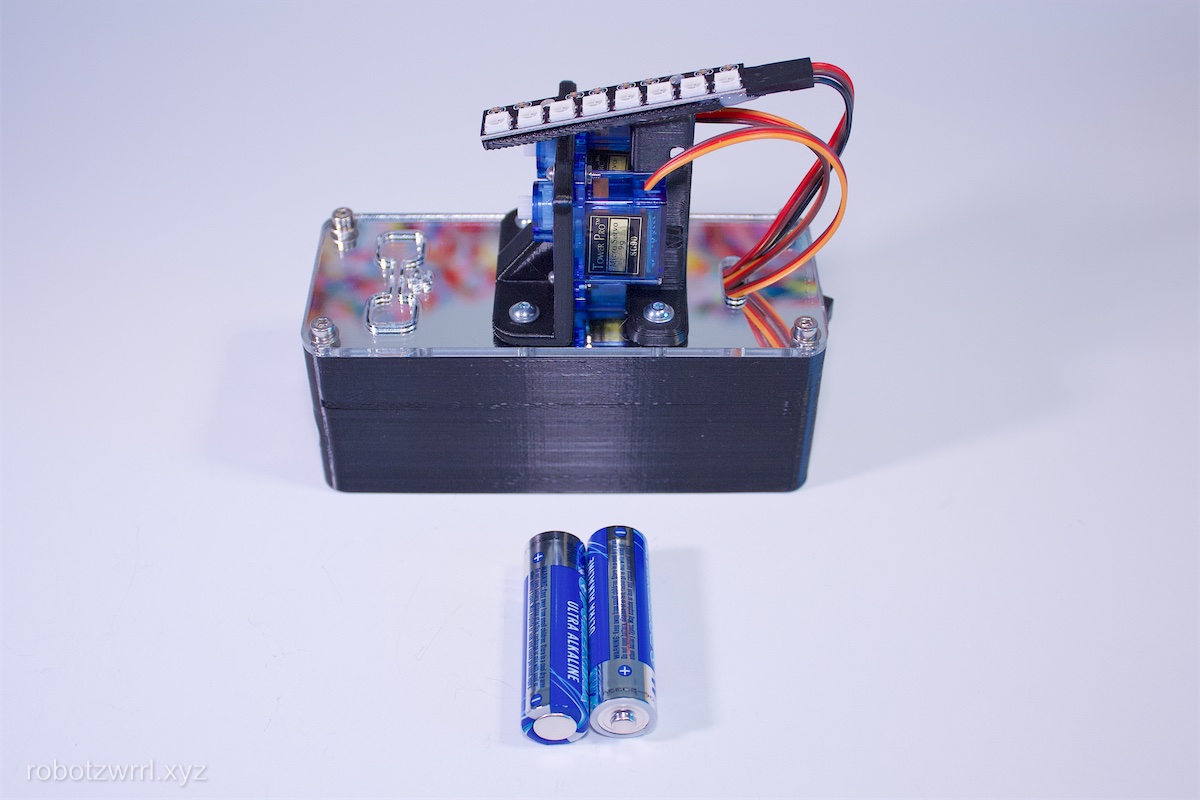
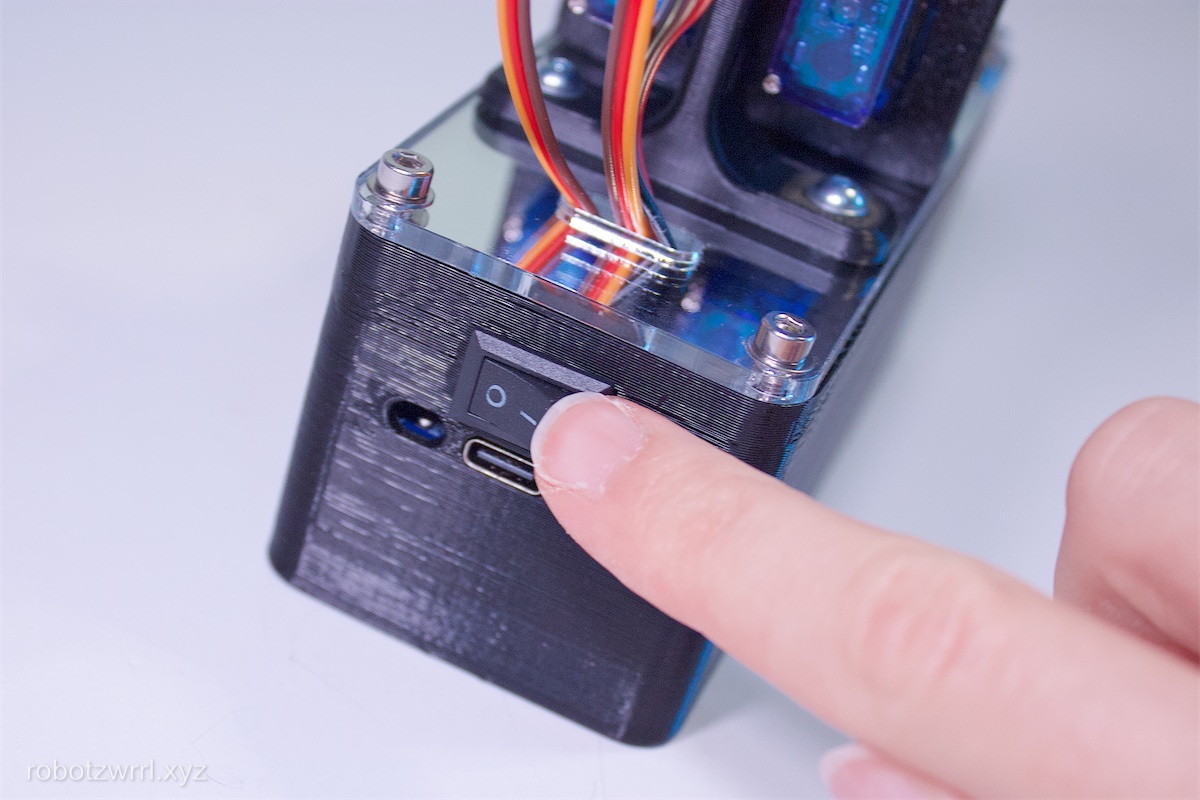
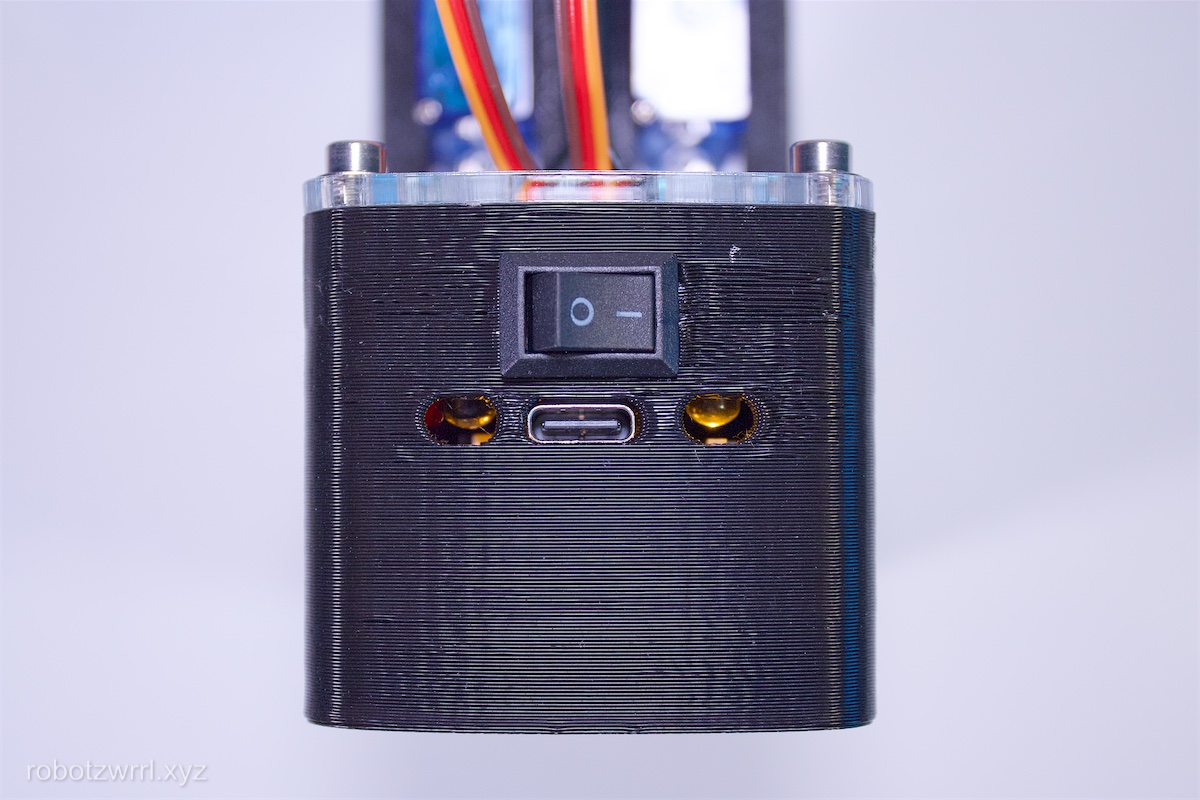
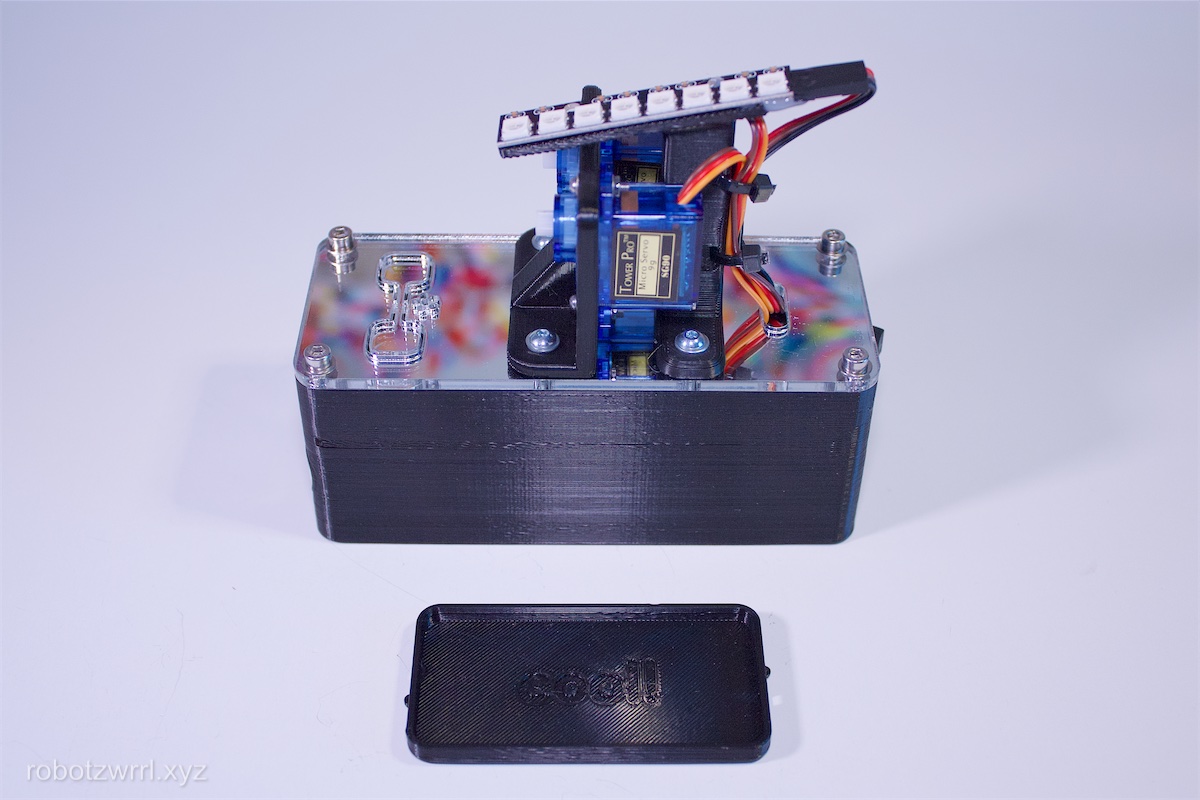
Insert the batteries and turn on the power switch to ensure the system is still working. As before, the Neopixels should light up and the servo motors should move a bit. Then, turn off the power switch.
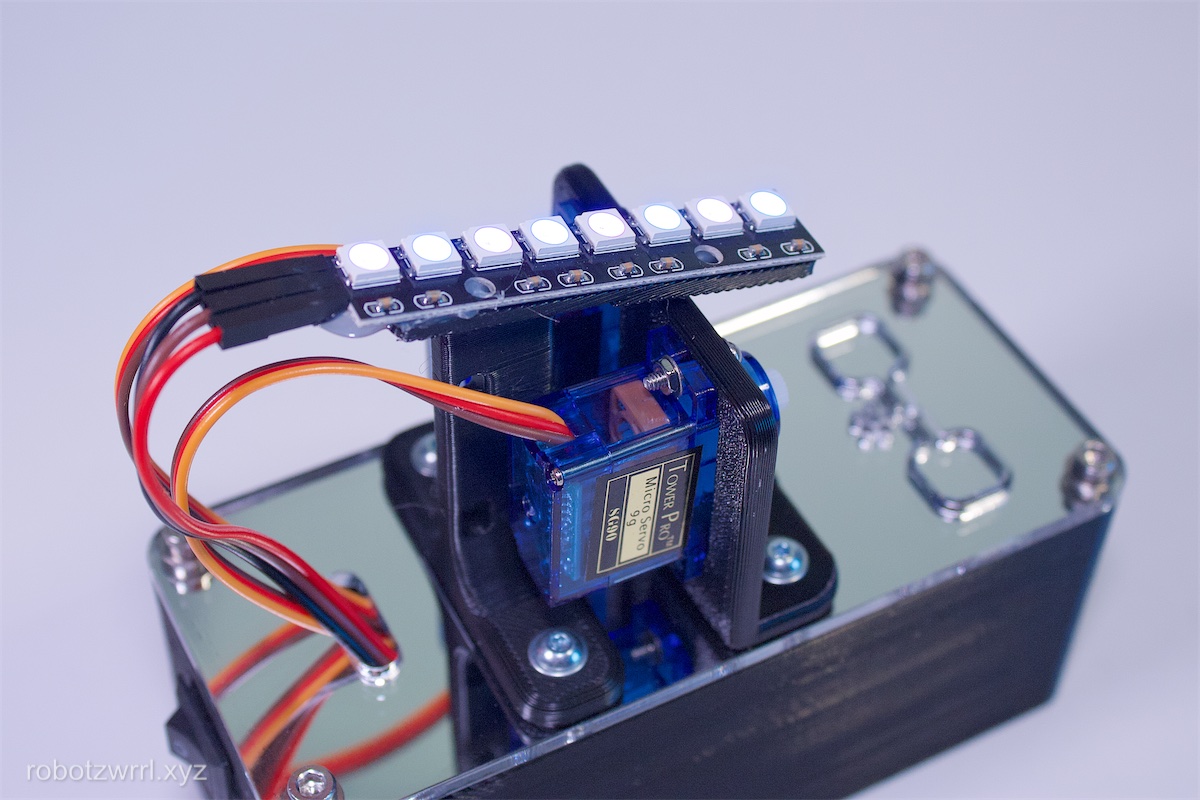
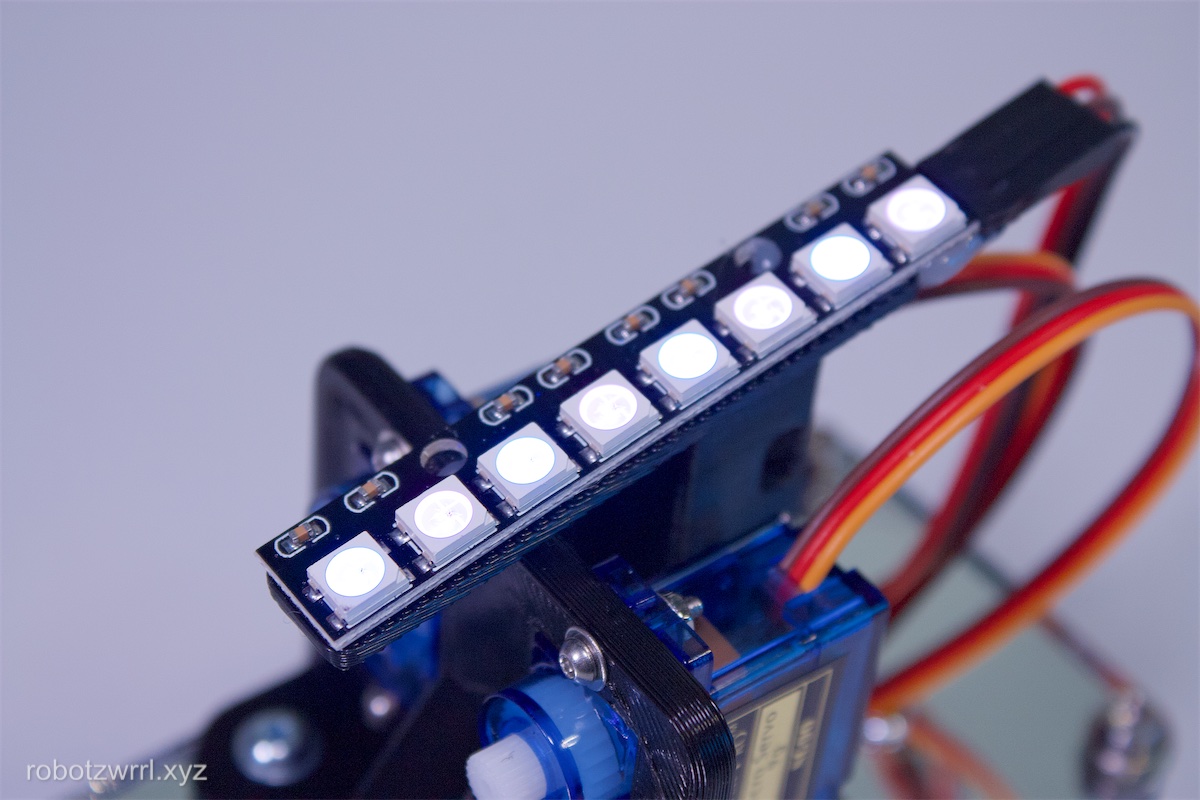
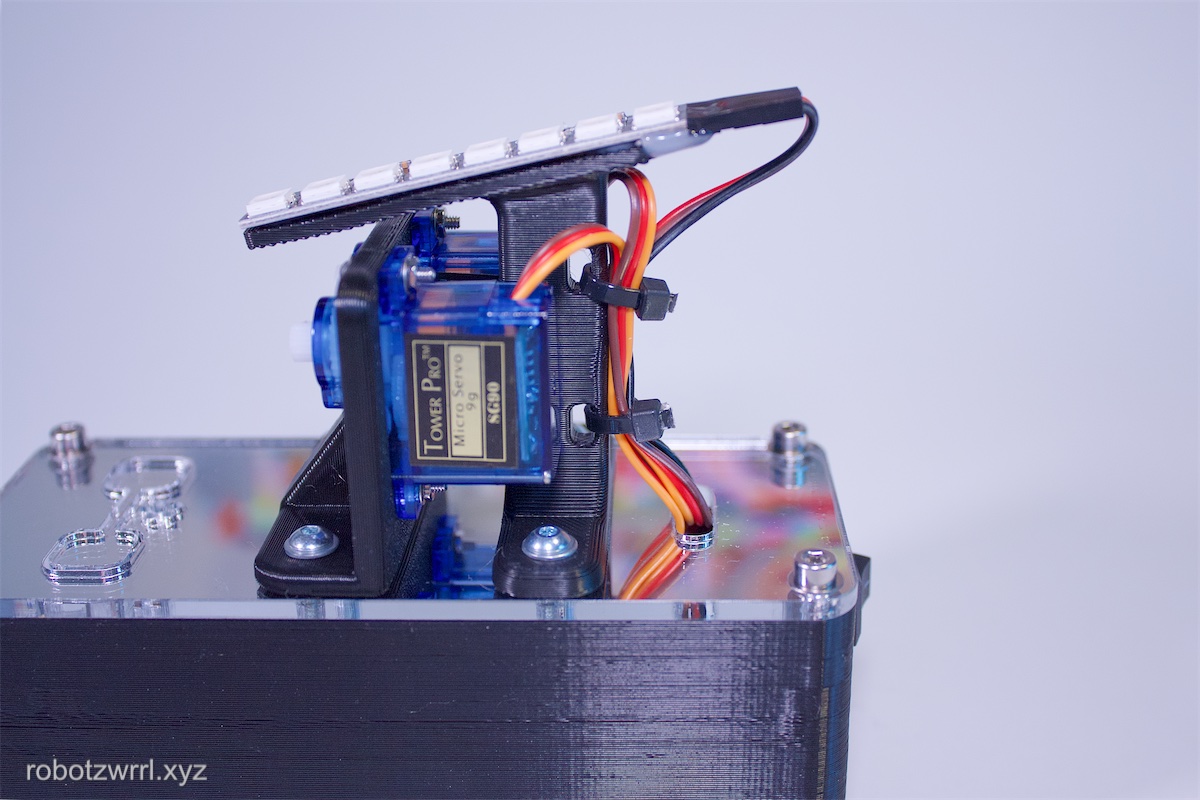
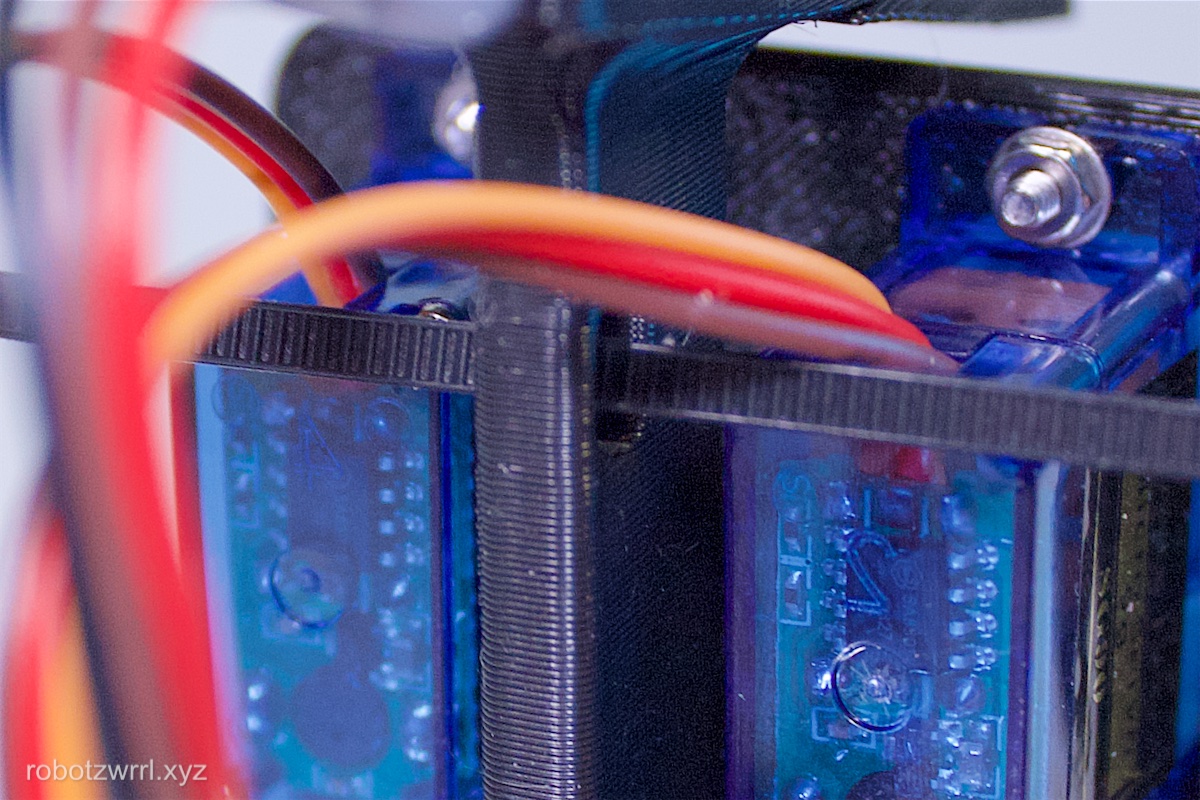
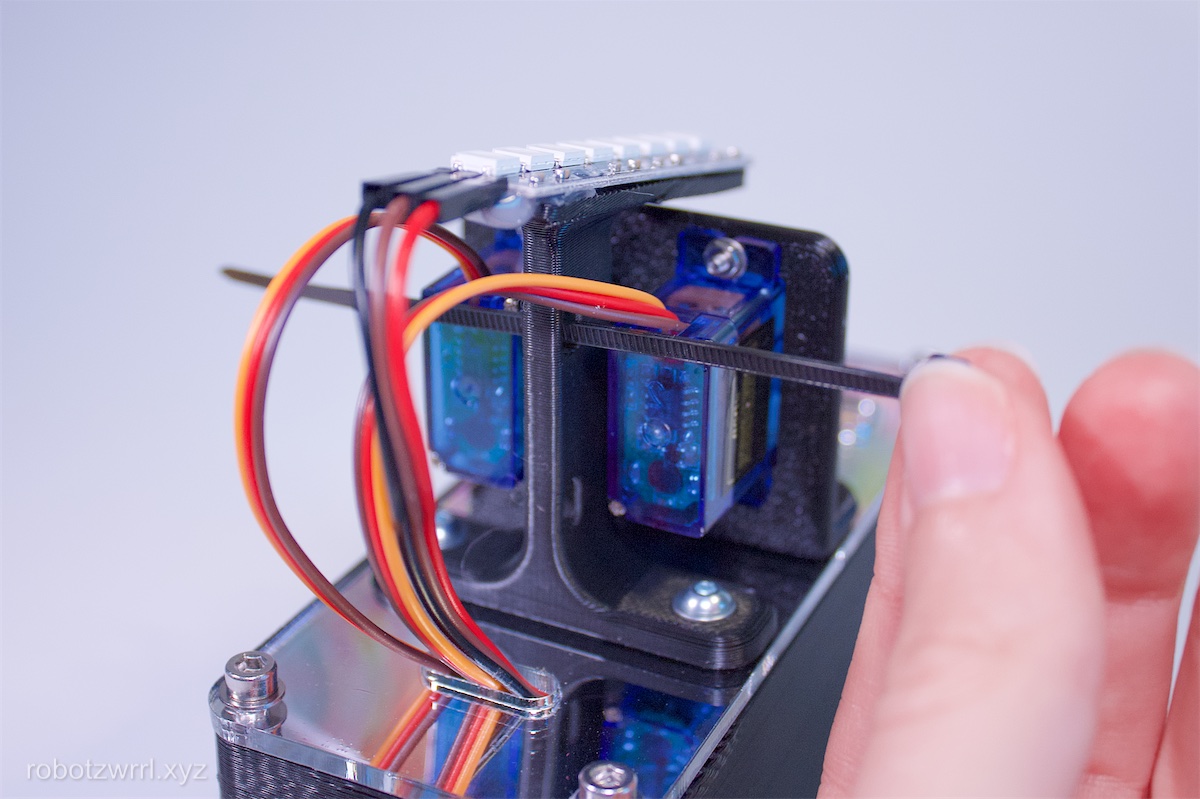
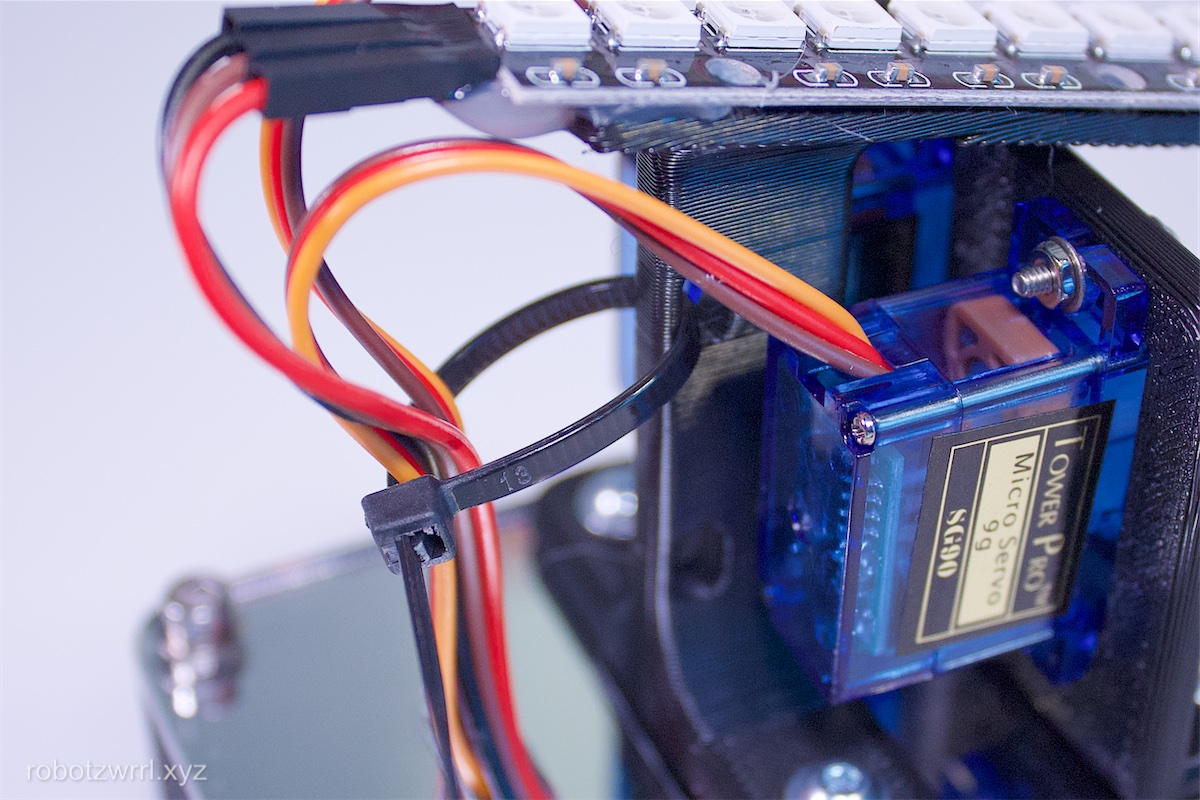
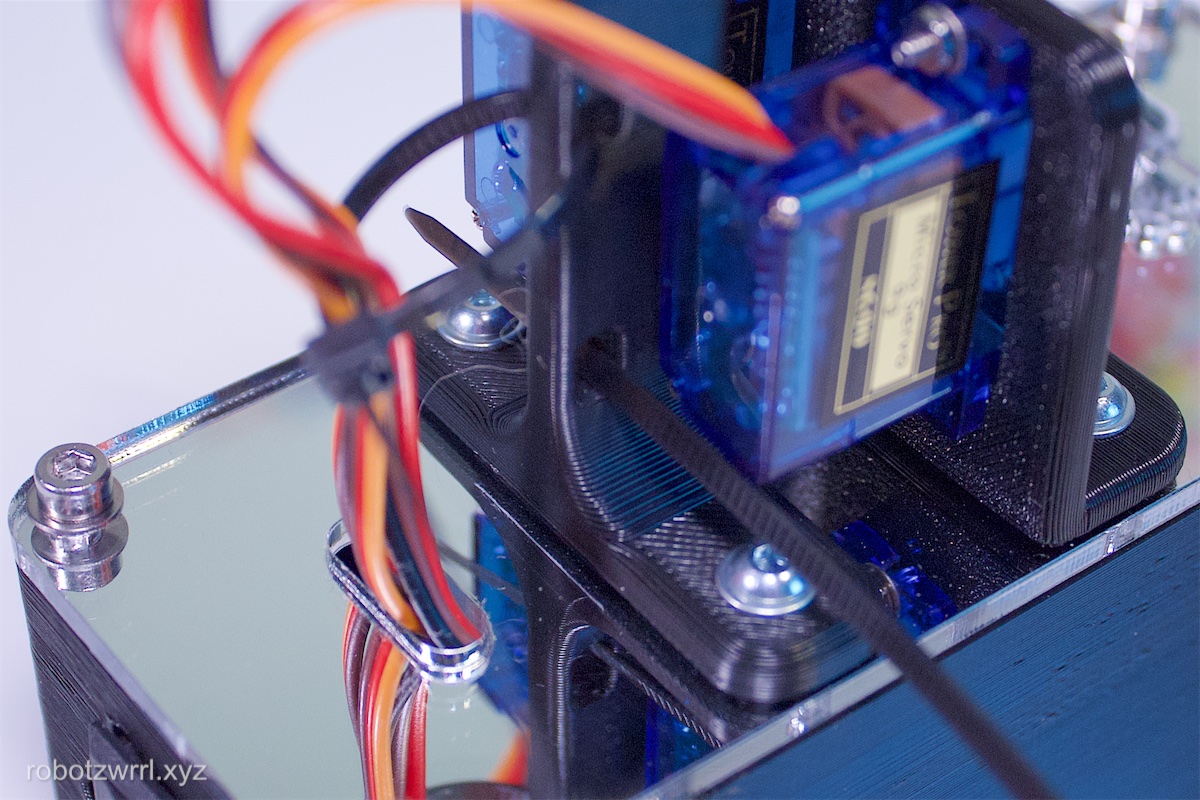
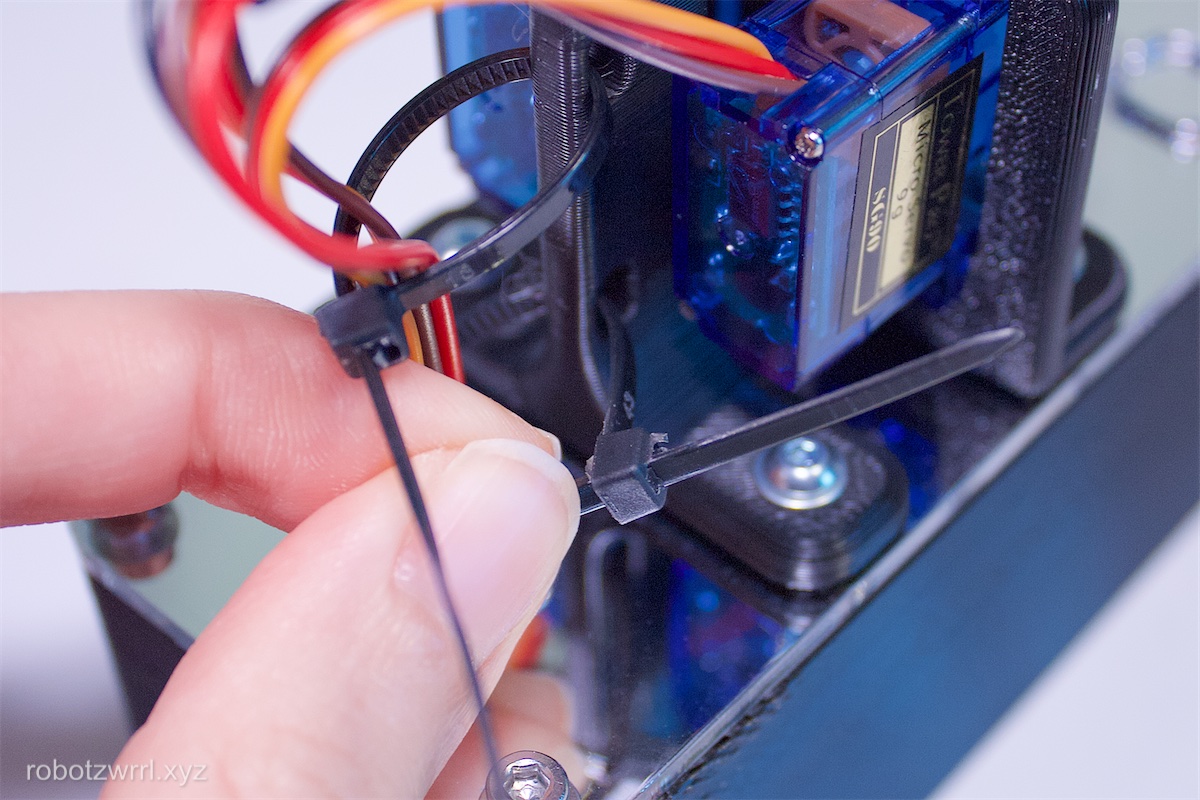
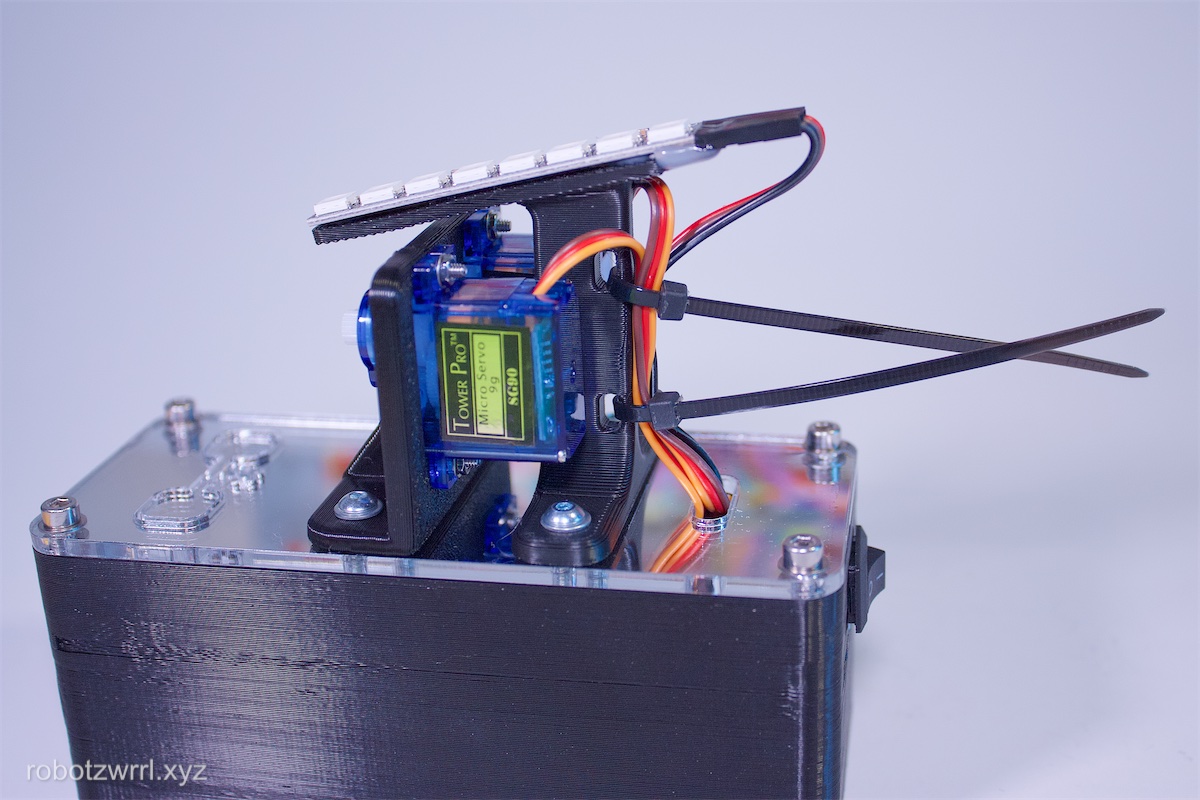
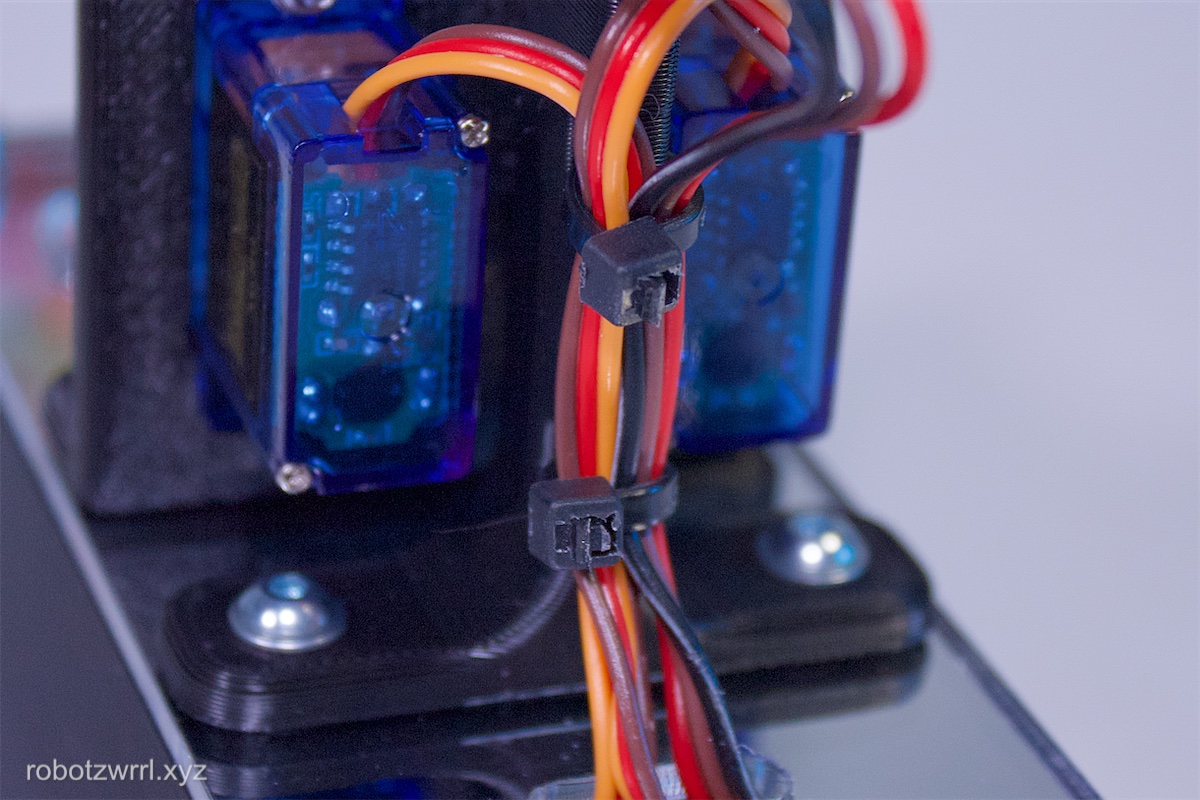
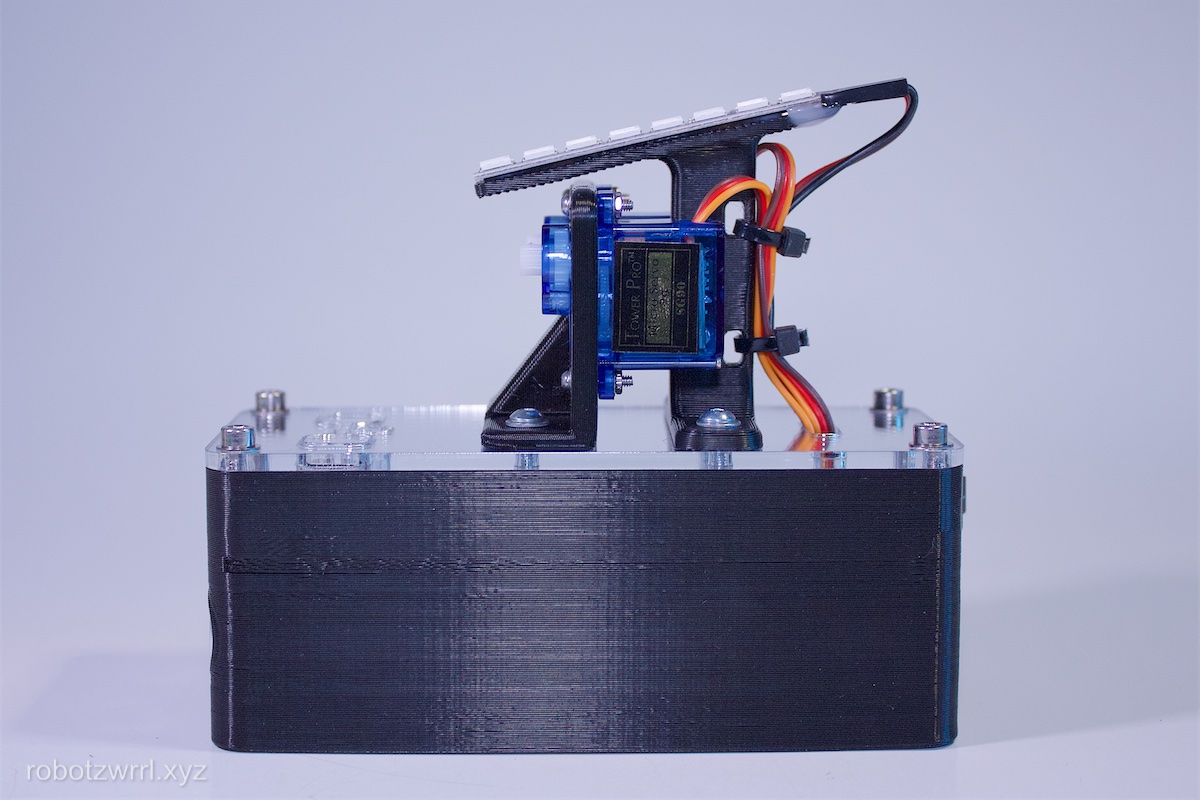
Ziptie the wires with two zipties through the slot on the Neopixel bracket.
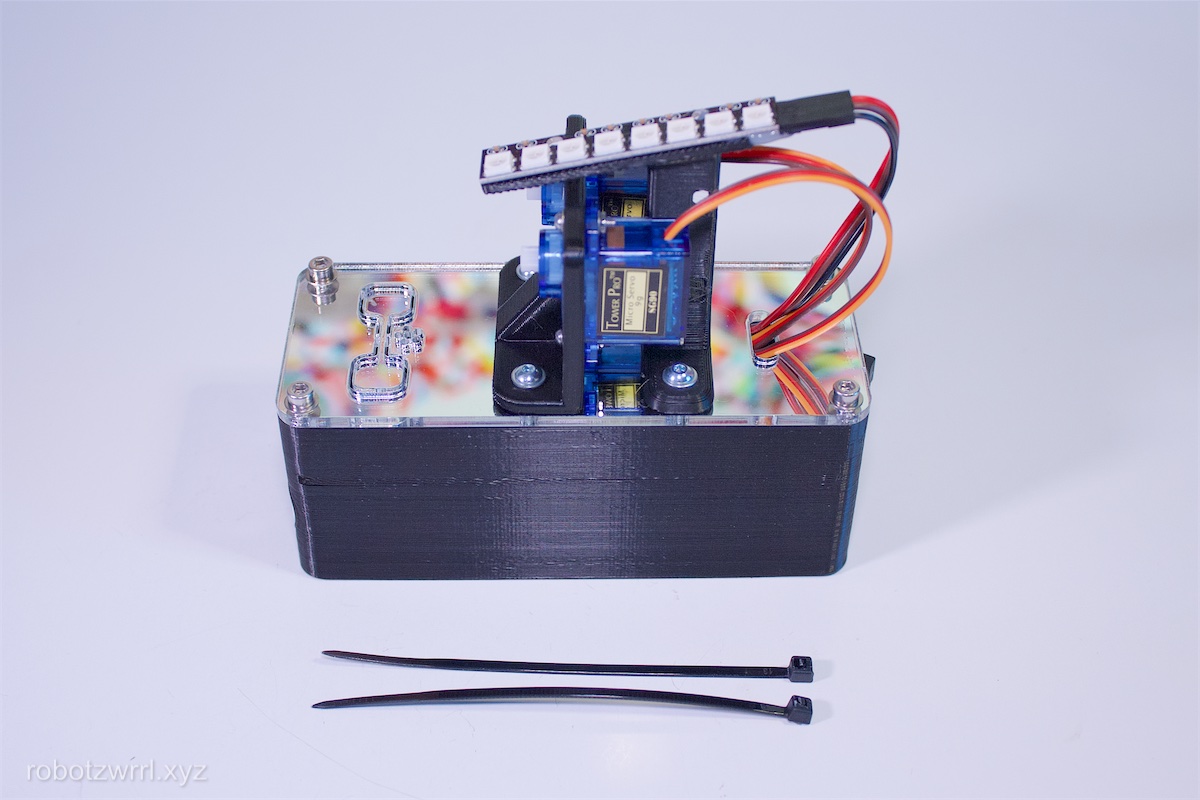
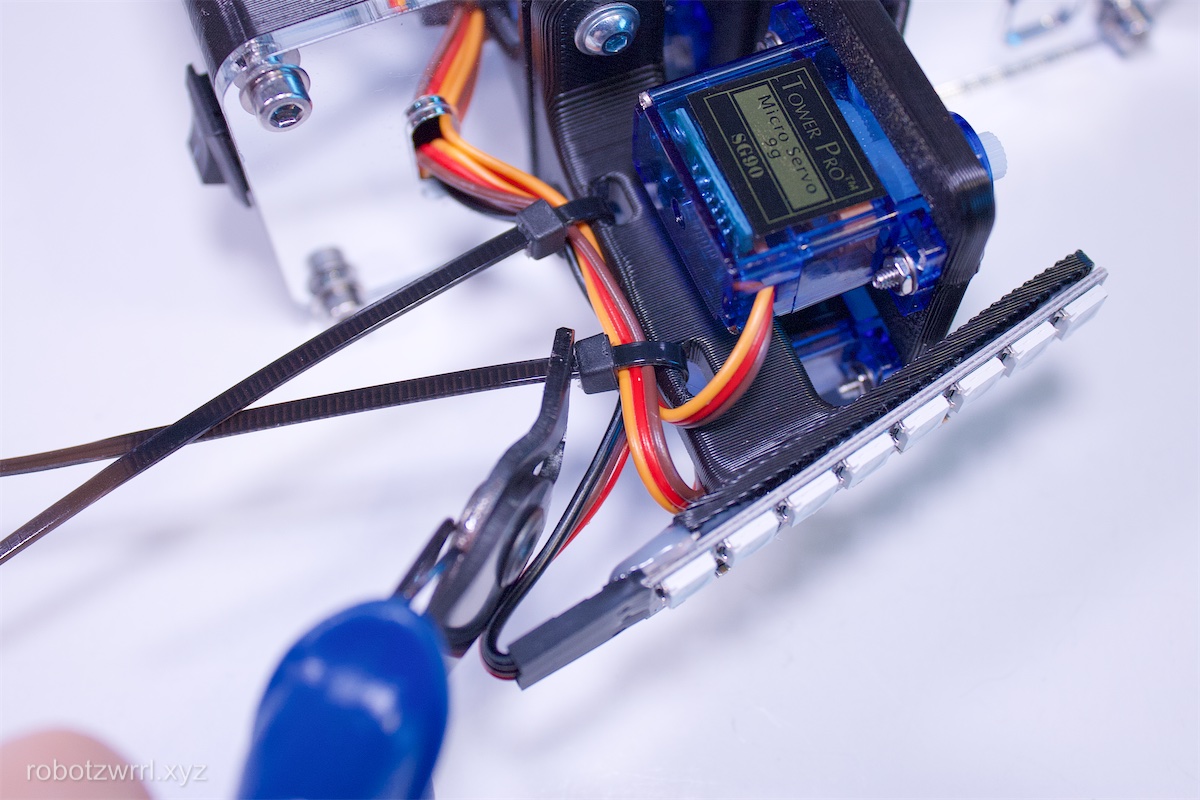
Trim the zipties with diagonal cutters.

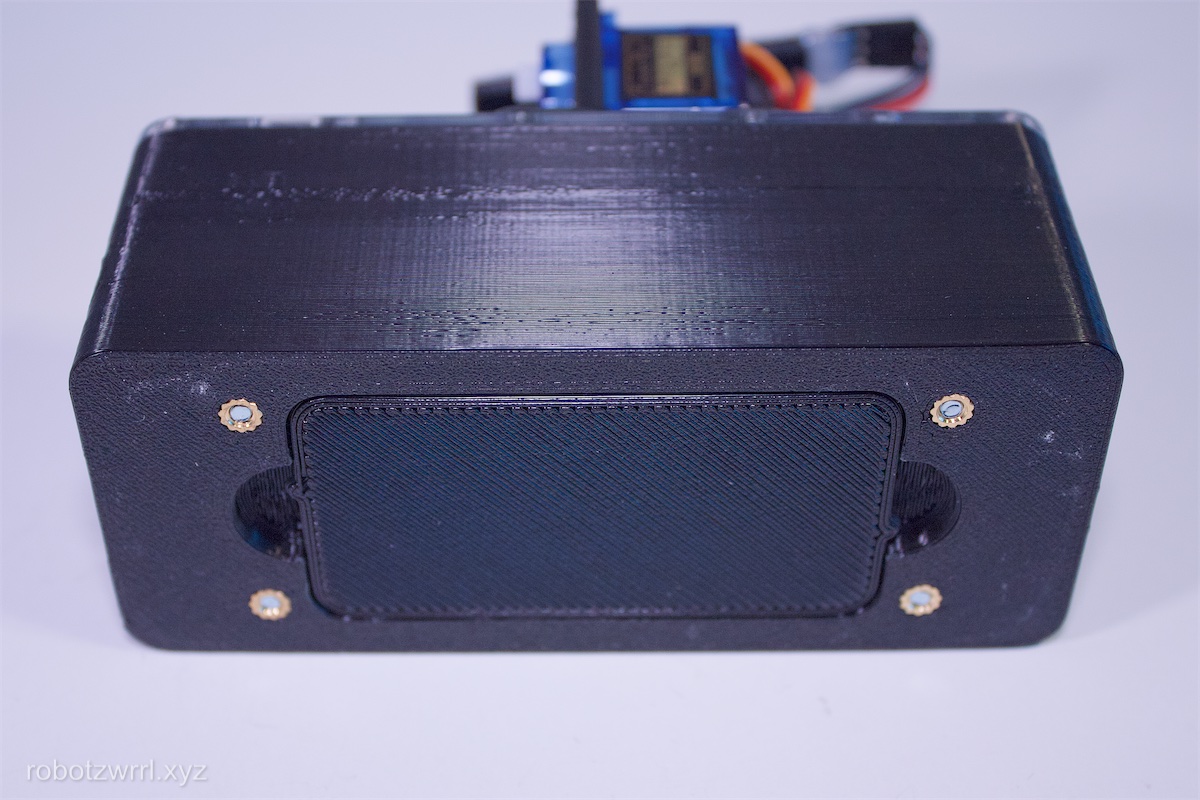
Attach the battery door compartment on the underside of the enclosure. The piece should fit into place.
If it is loose, try a dab of hot glue on the edge to increase friction.
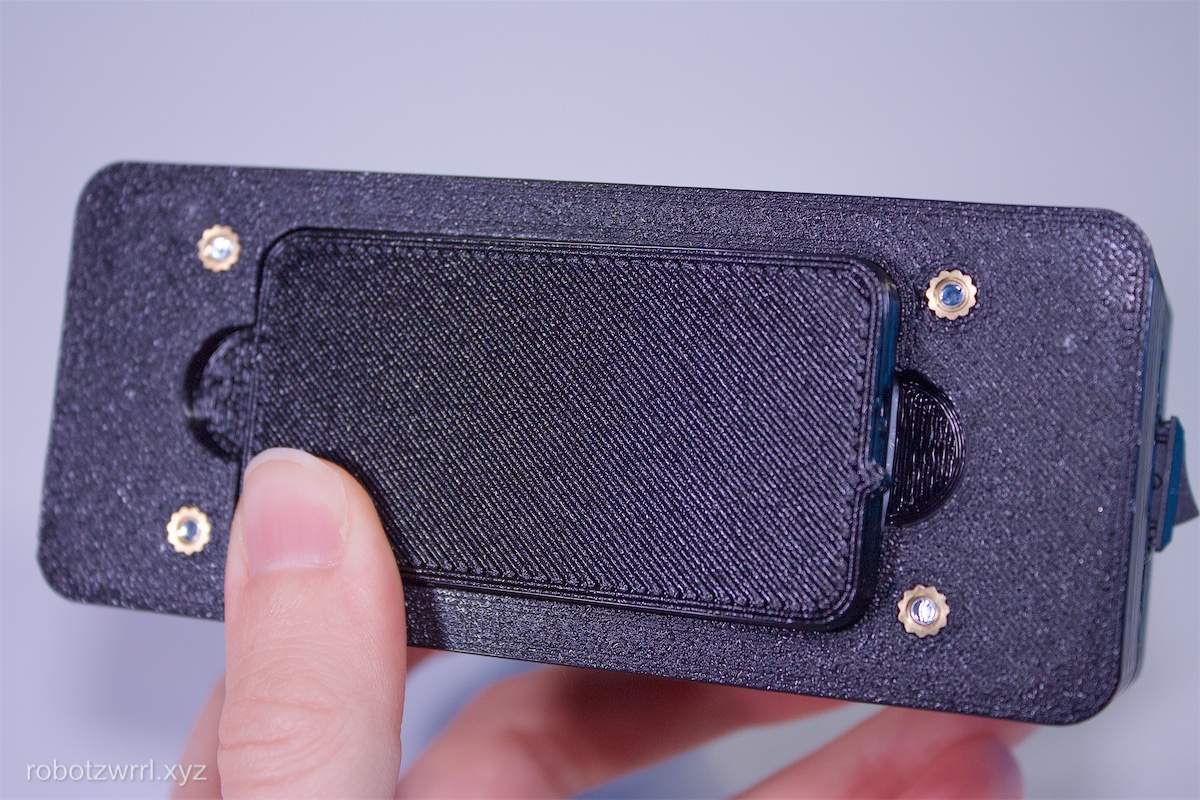
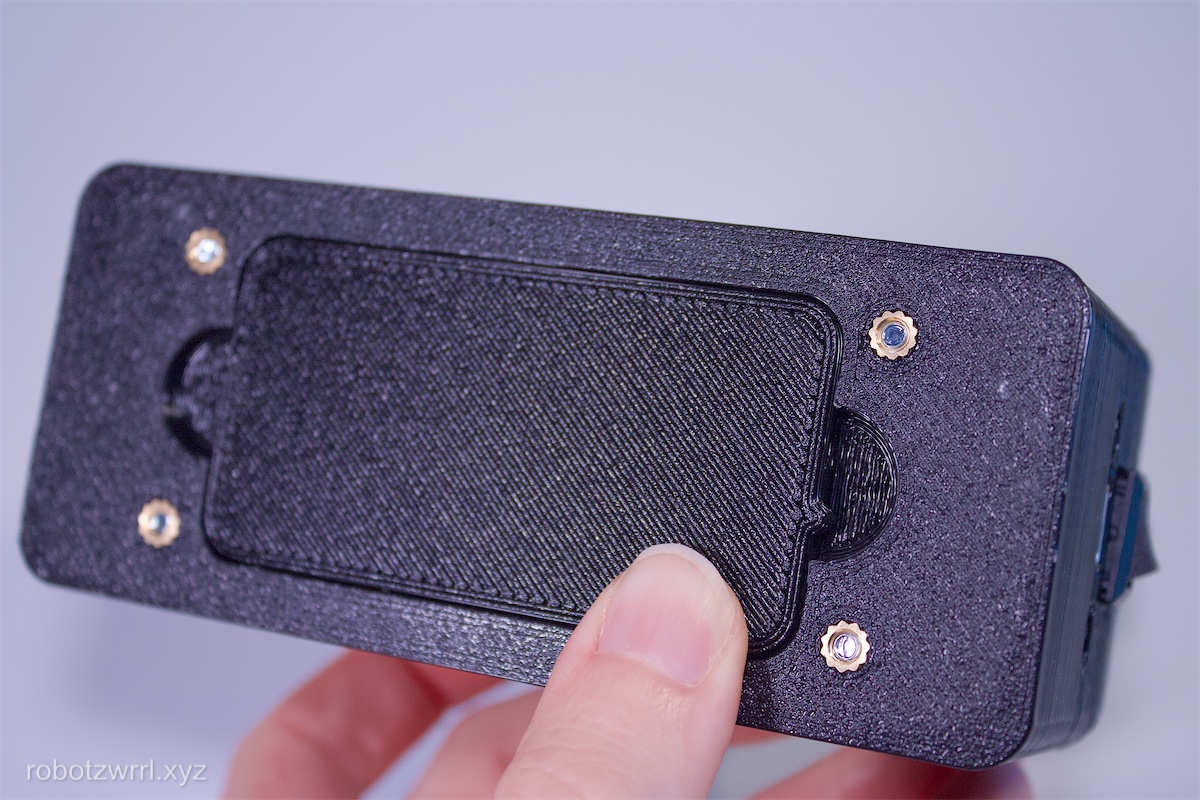
The battery door can be removed by leveraging the little tab, sometimes using a tool such as a pencil is more effective than a finger.

Page last updated: April 28 2025 11:04:08.