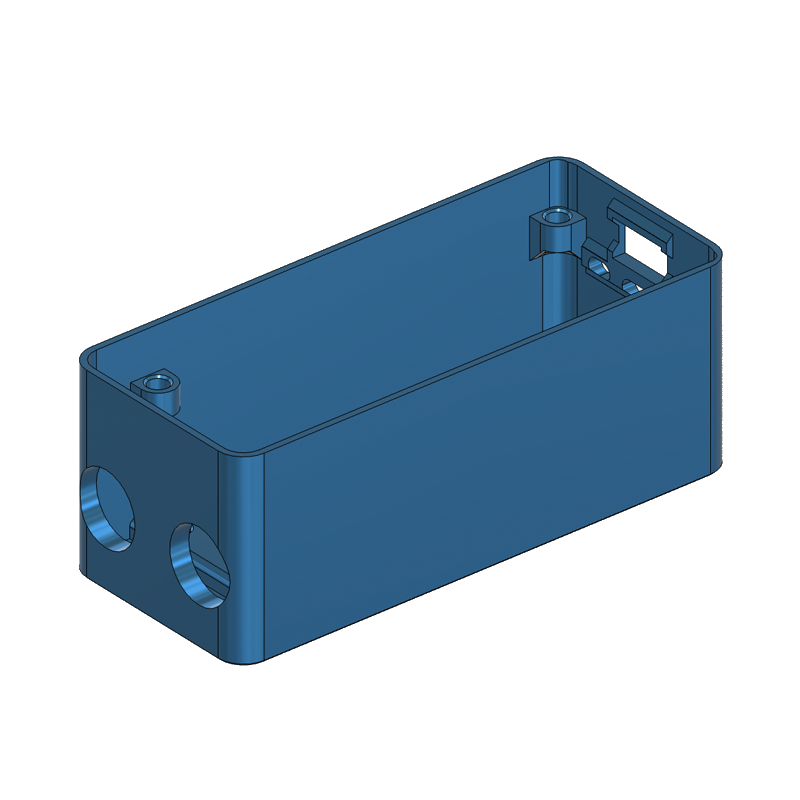
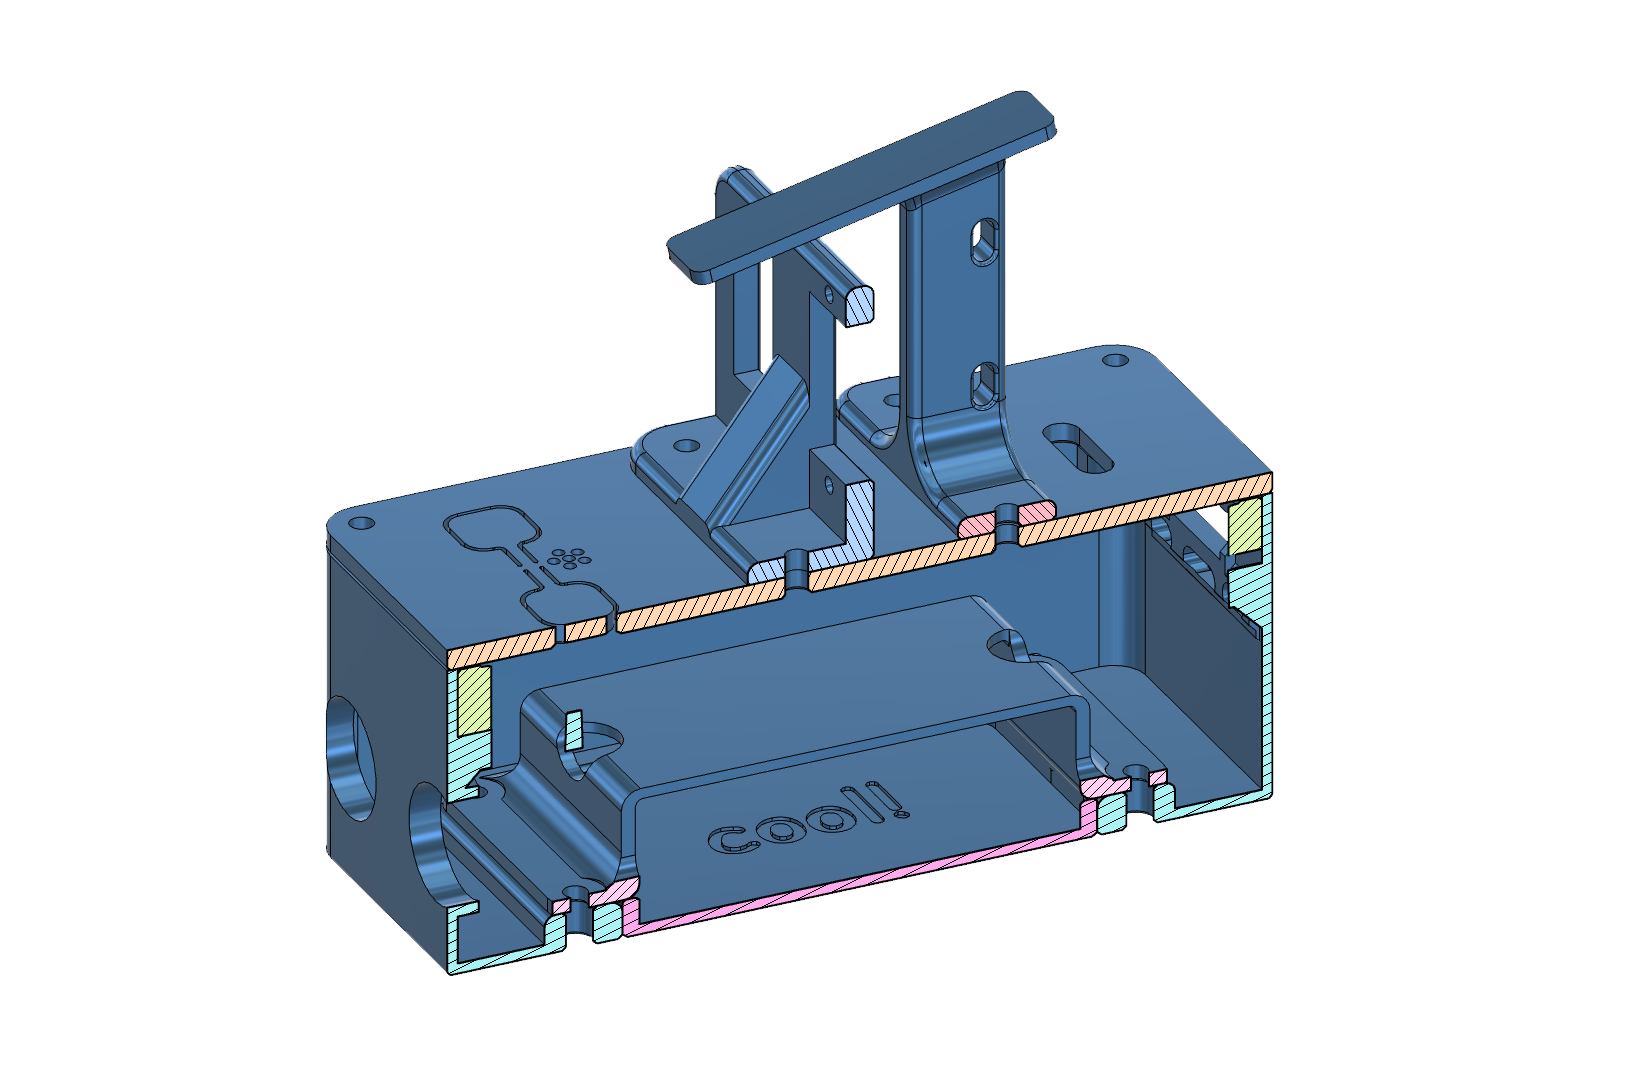
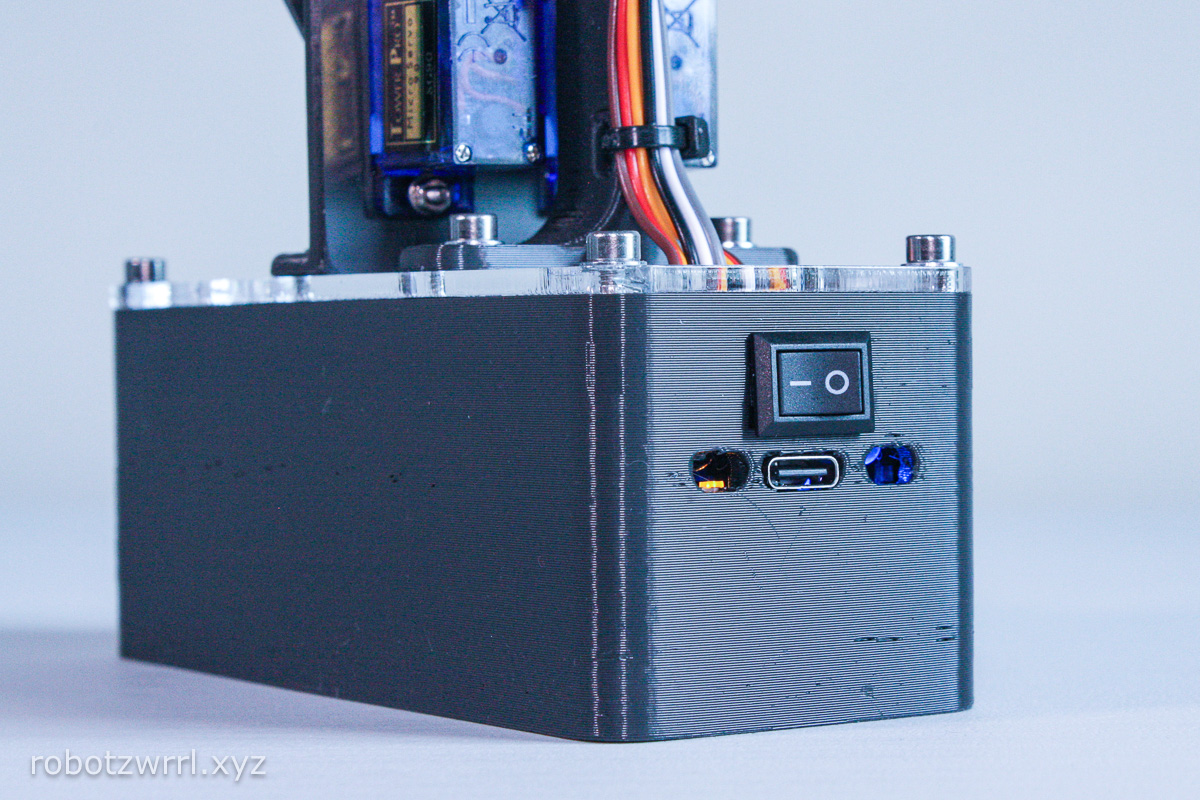
 Enclosure
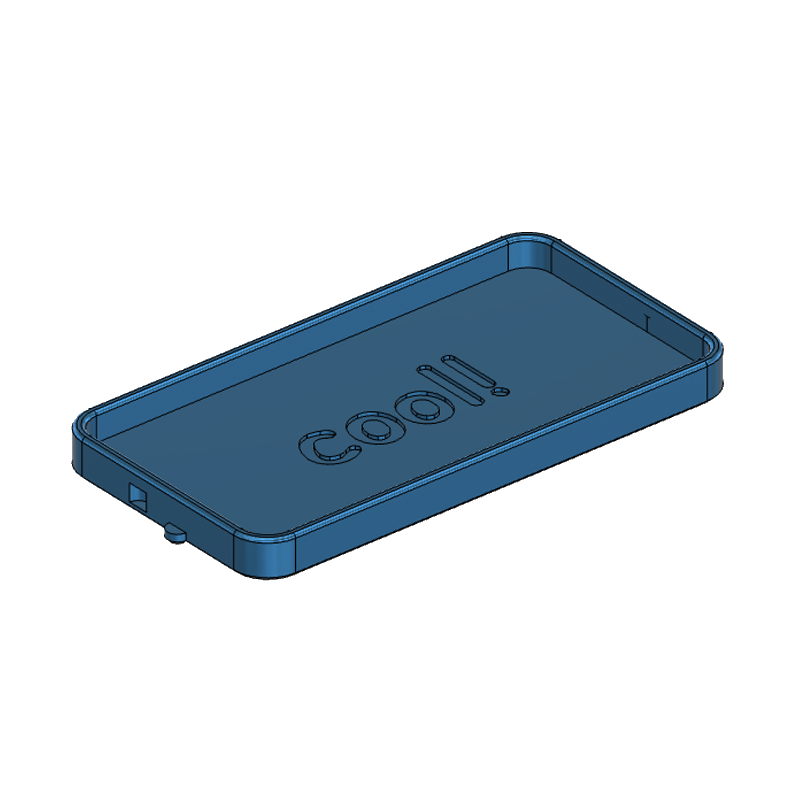
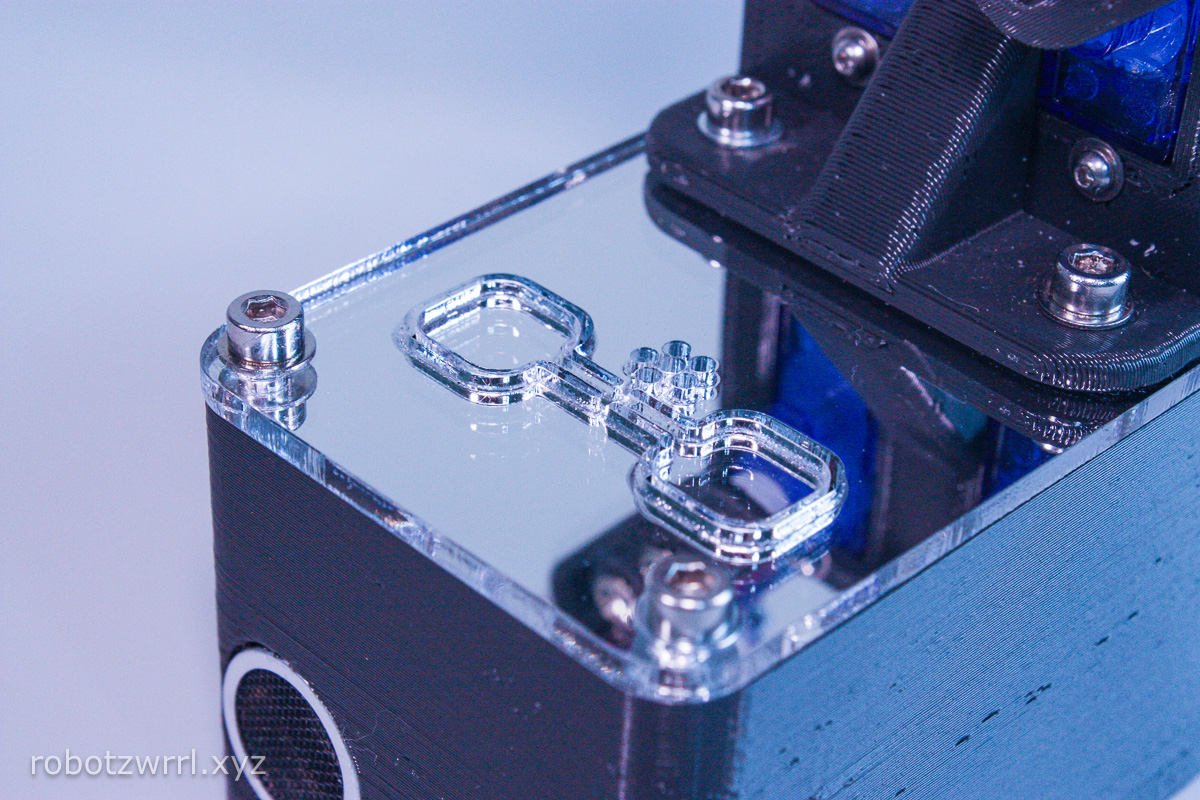
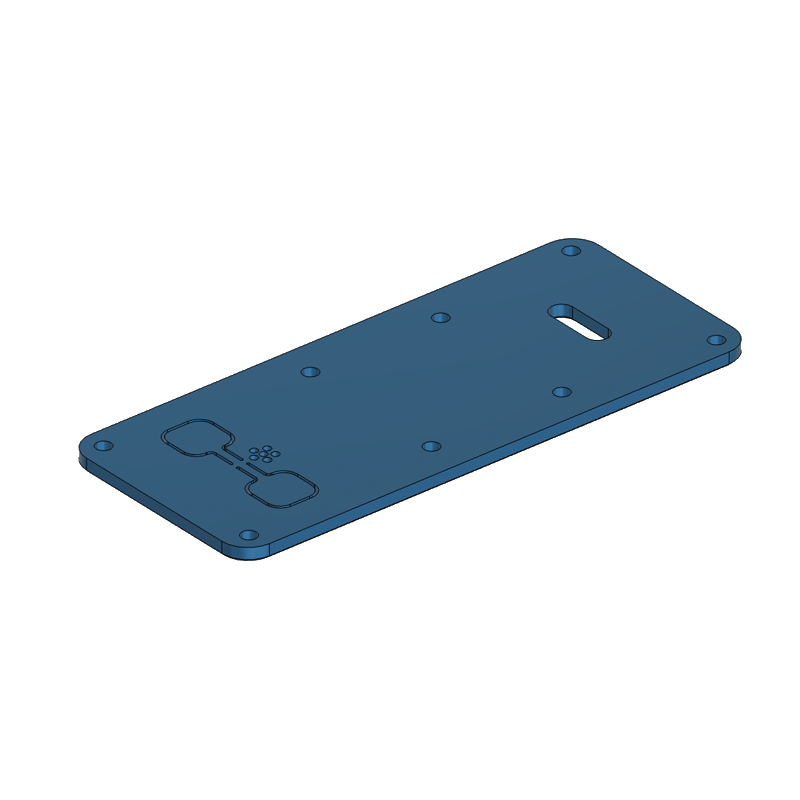 Lid
Lid
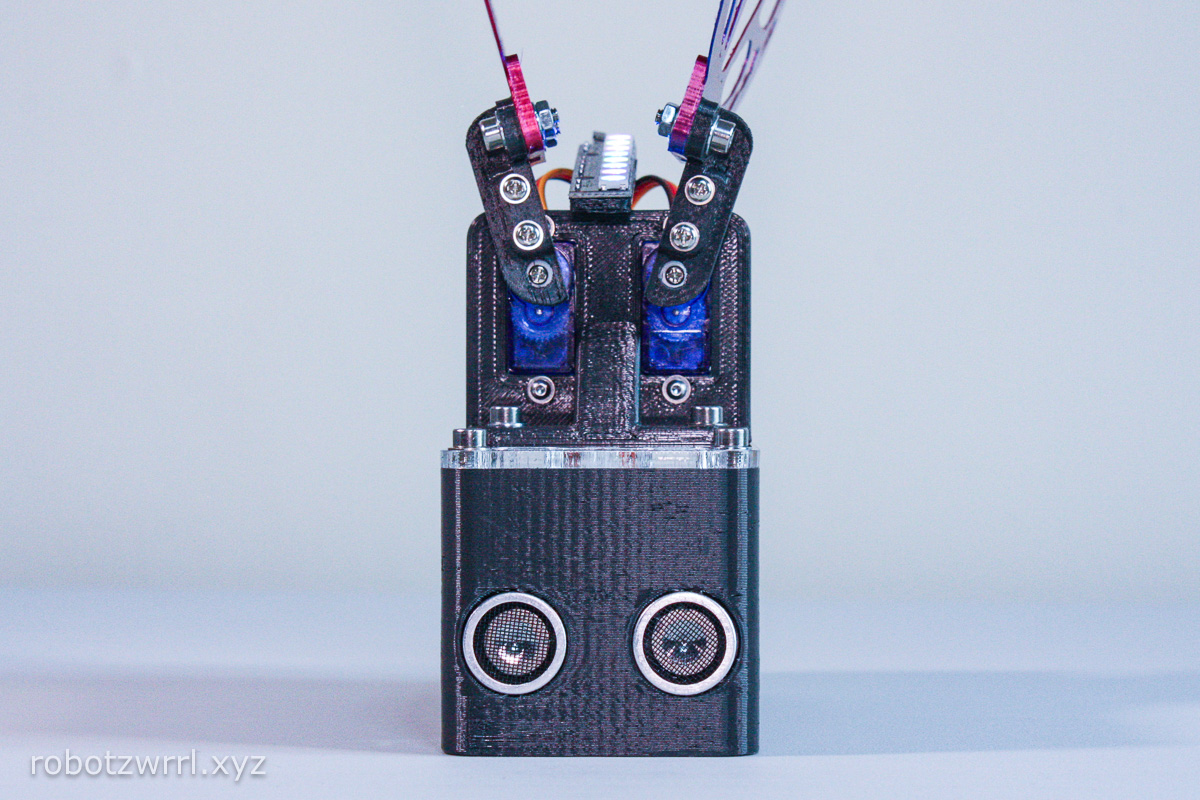
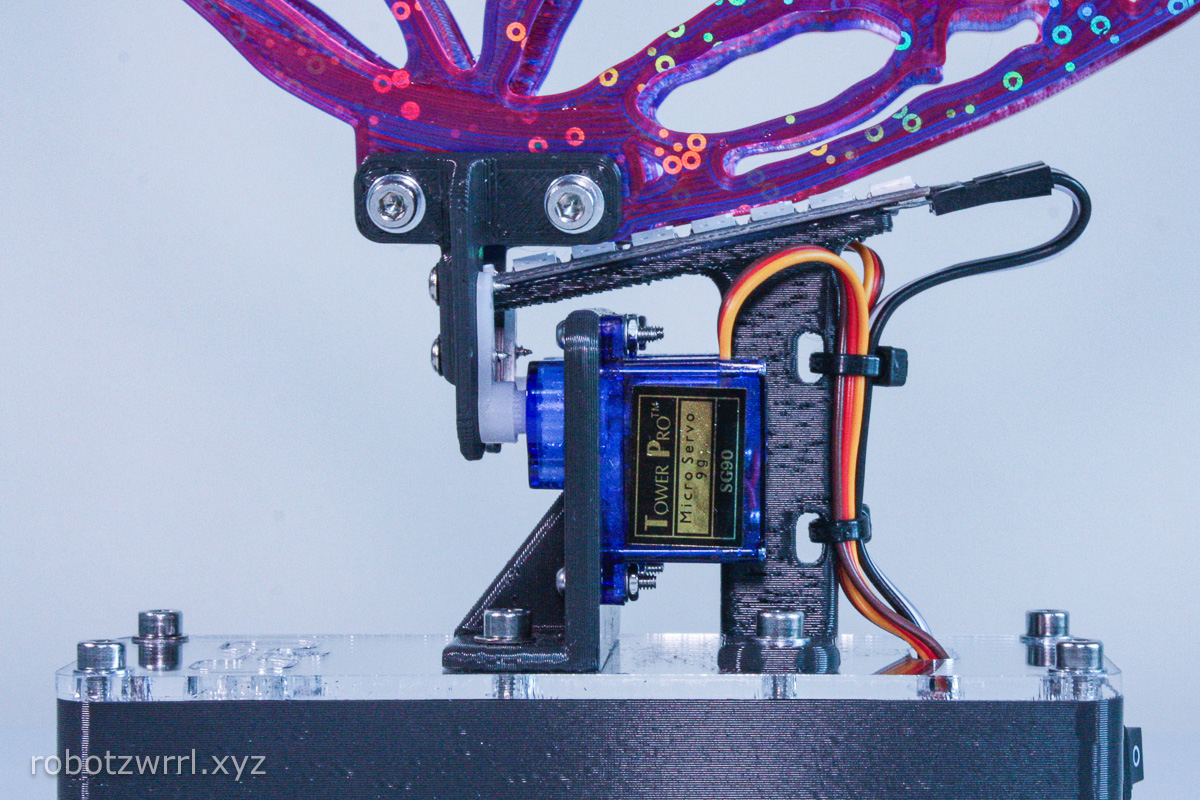
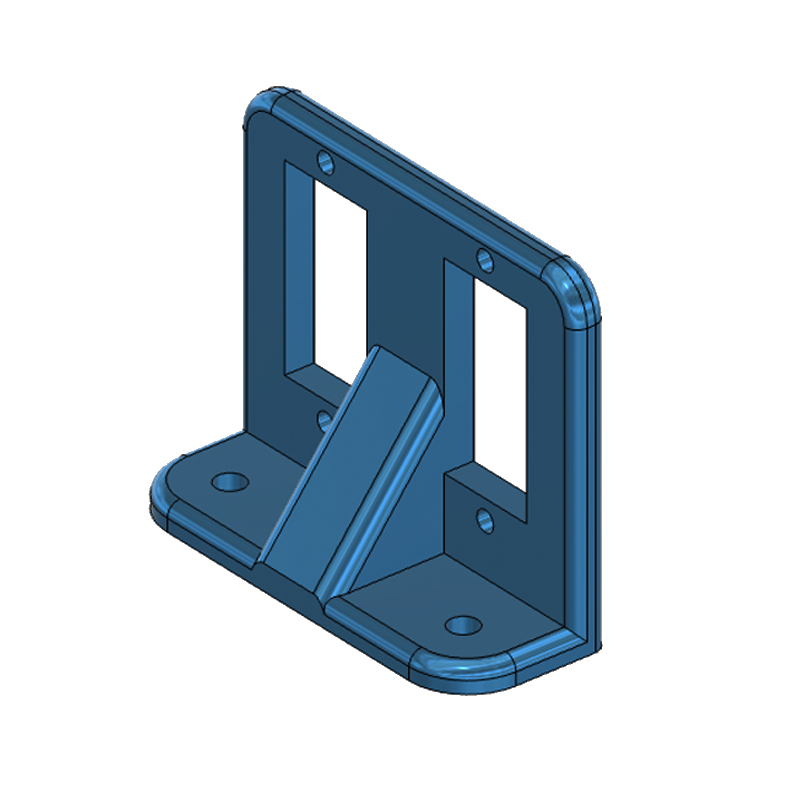 Servo Bracket
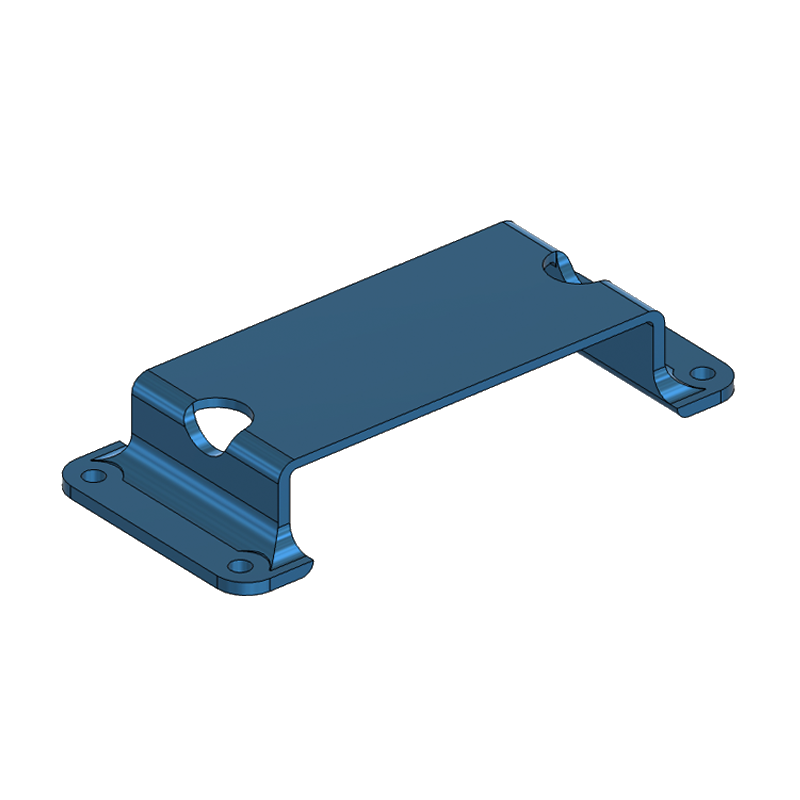 Battery Bracket
 Battery Compartment
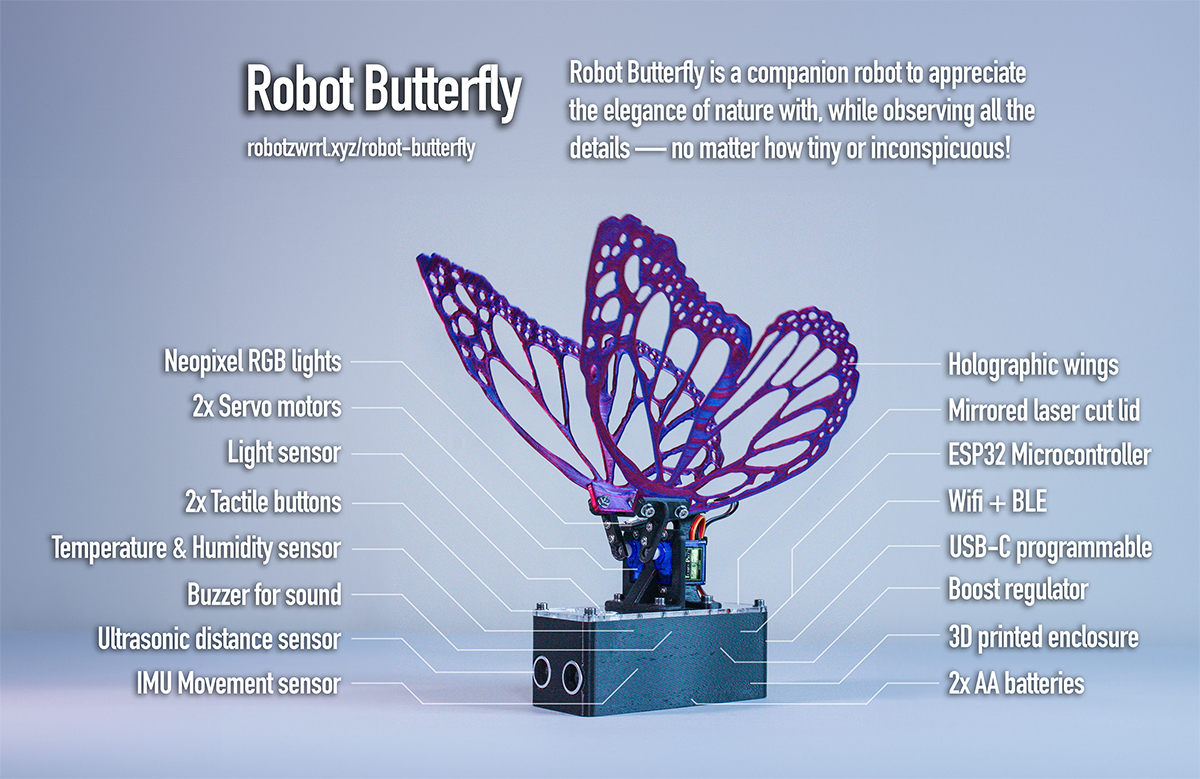
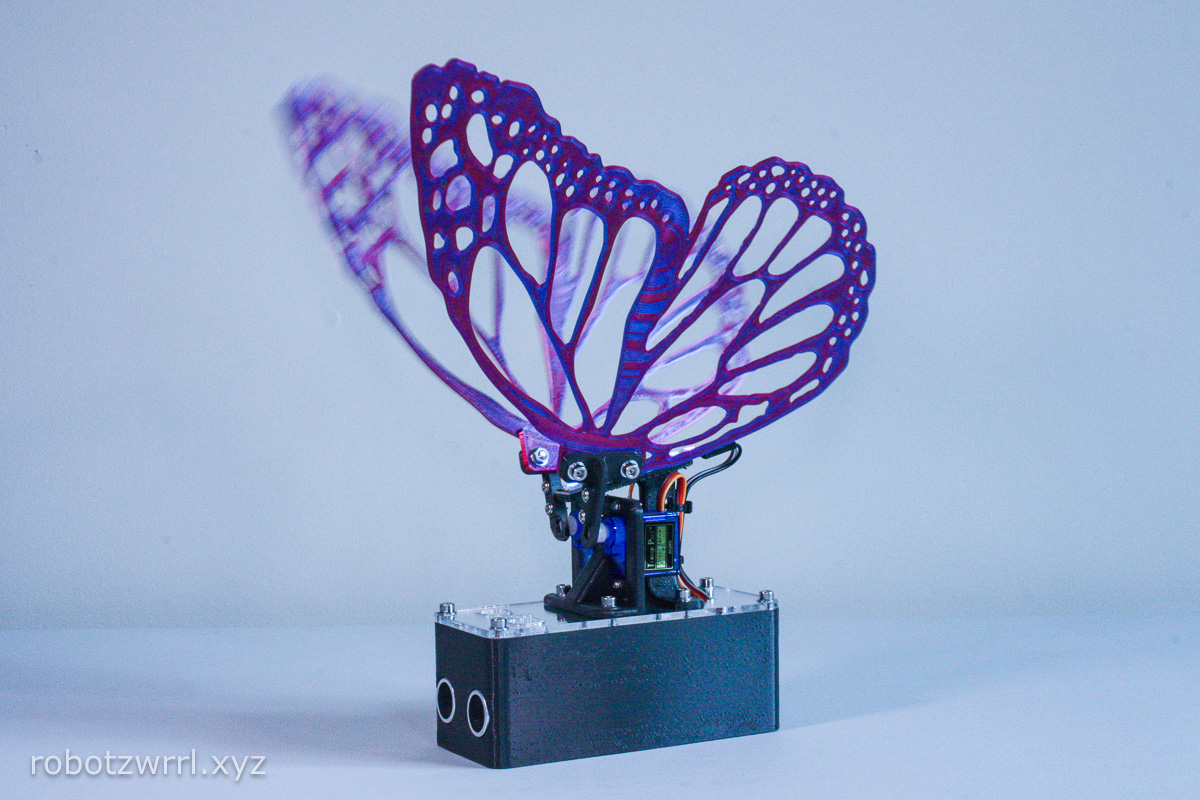
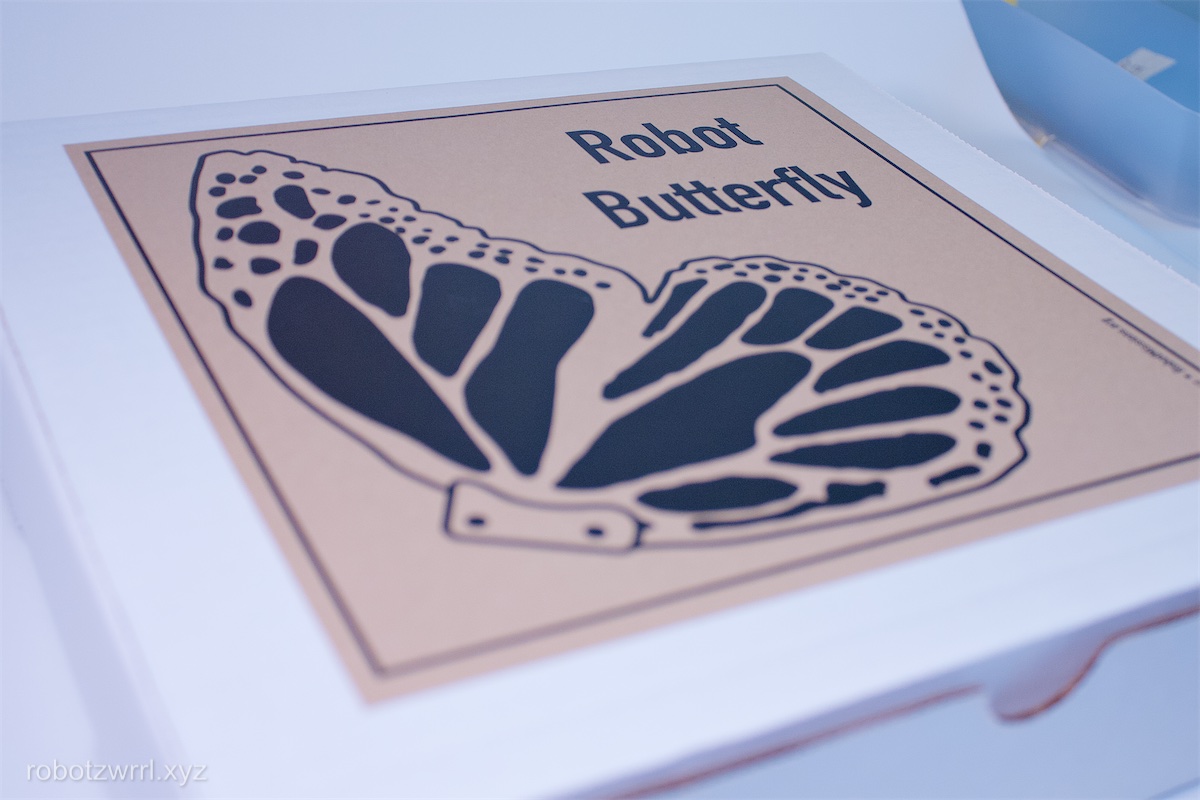
Welcome to Robot Butterfly!
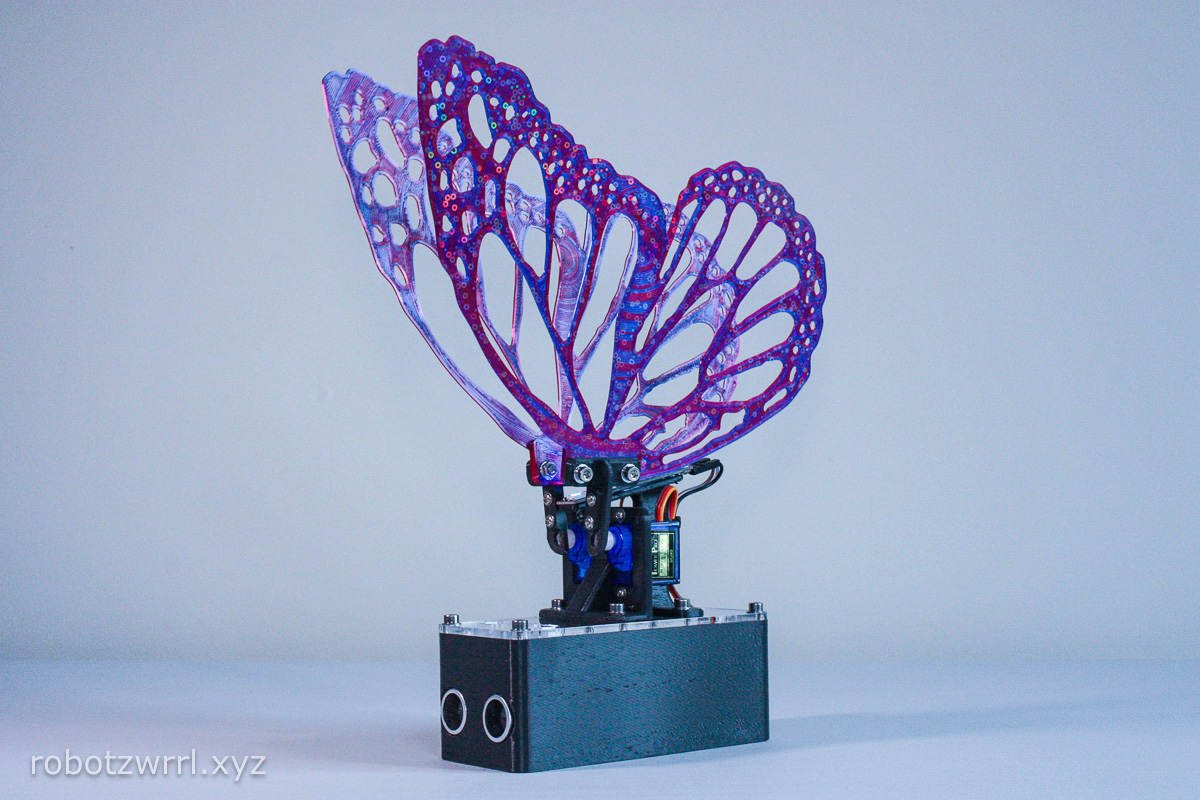
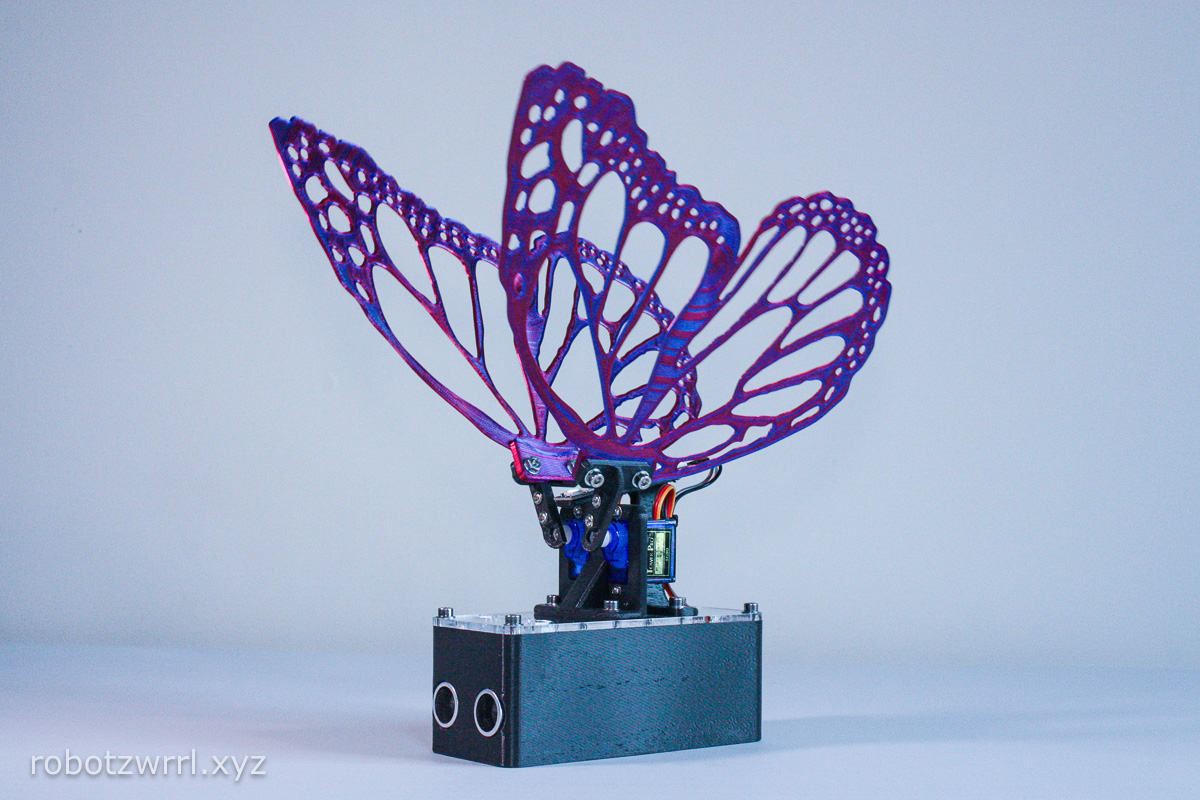
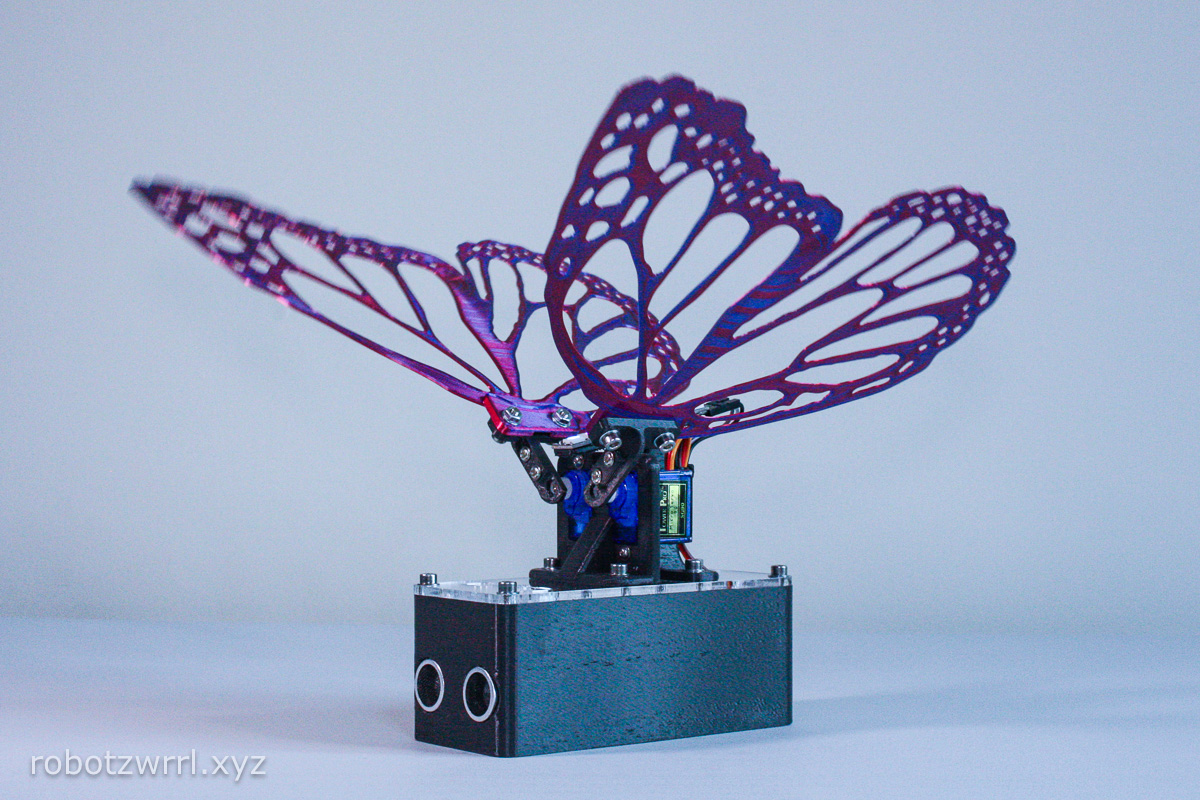
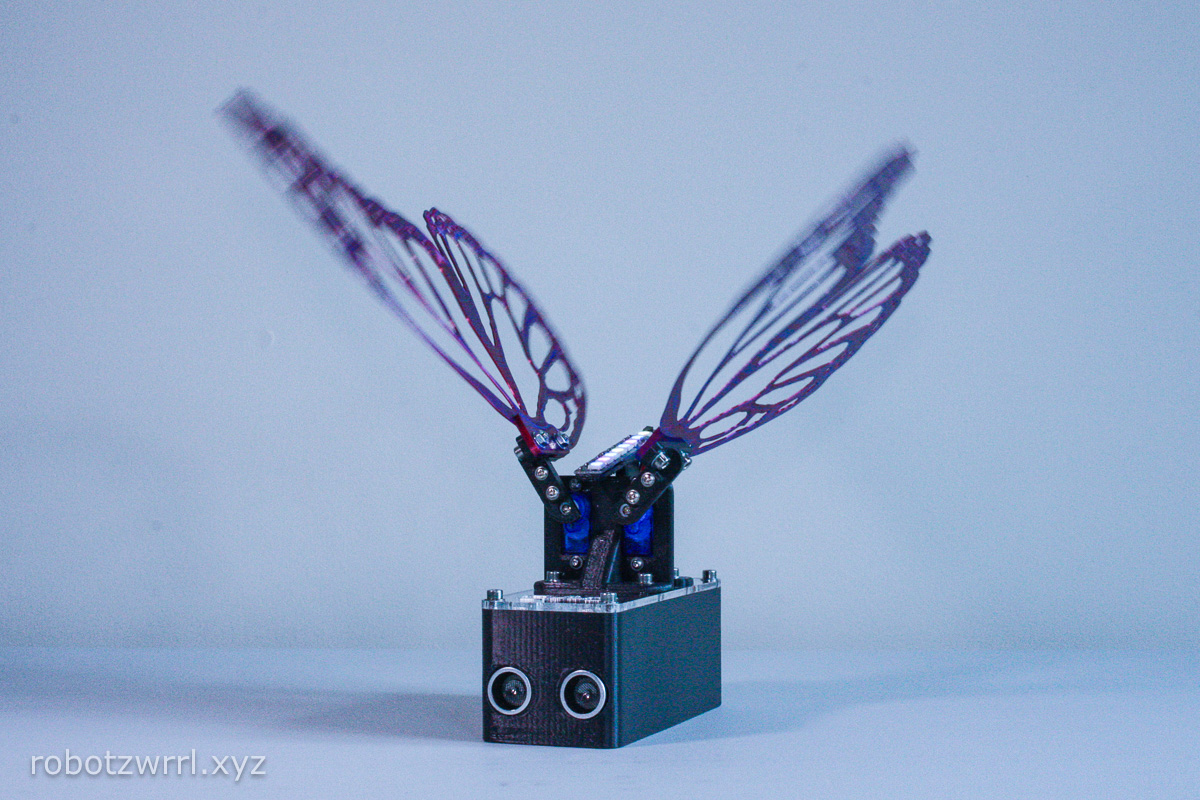
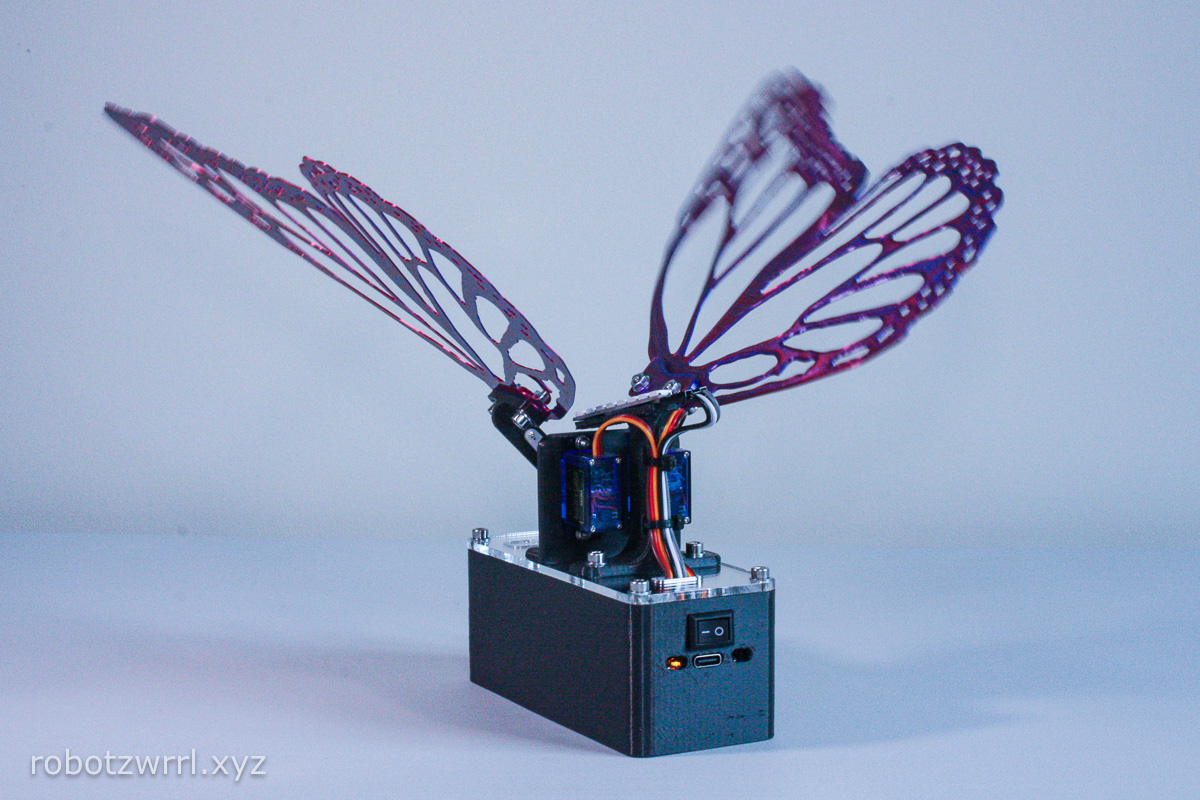
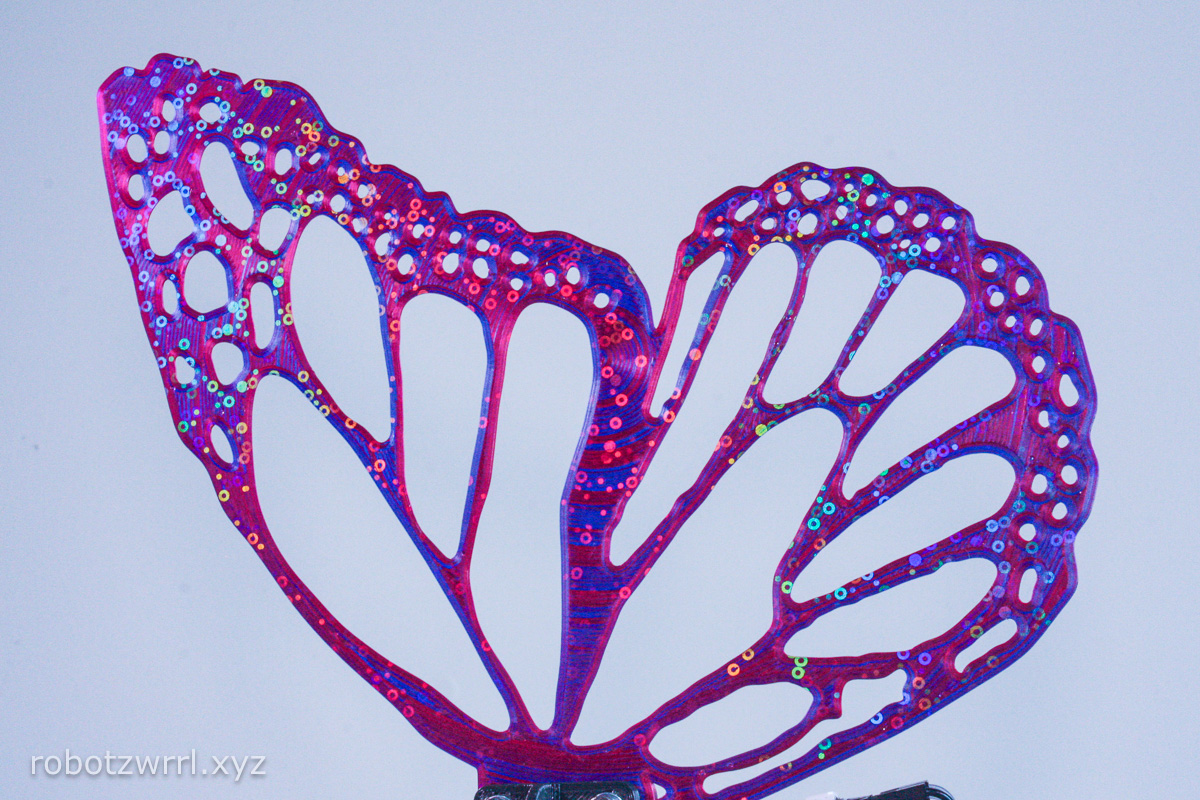
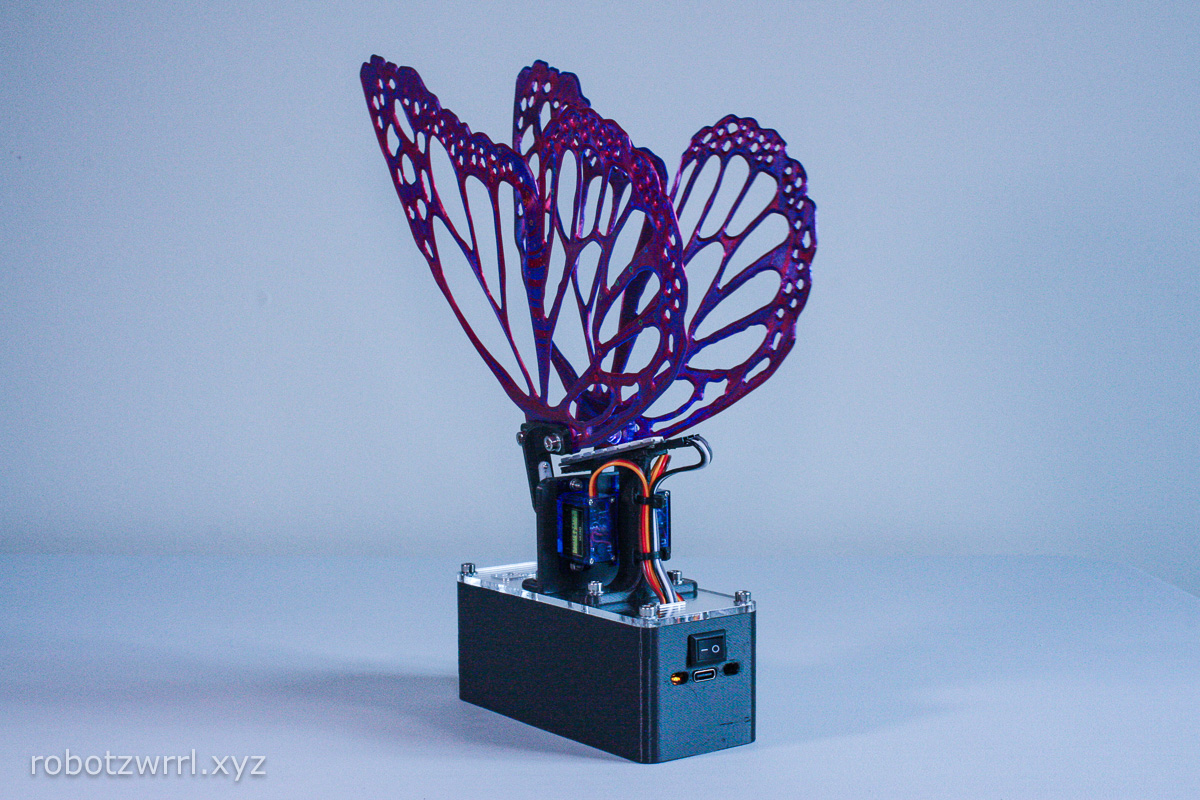
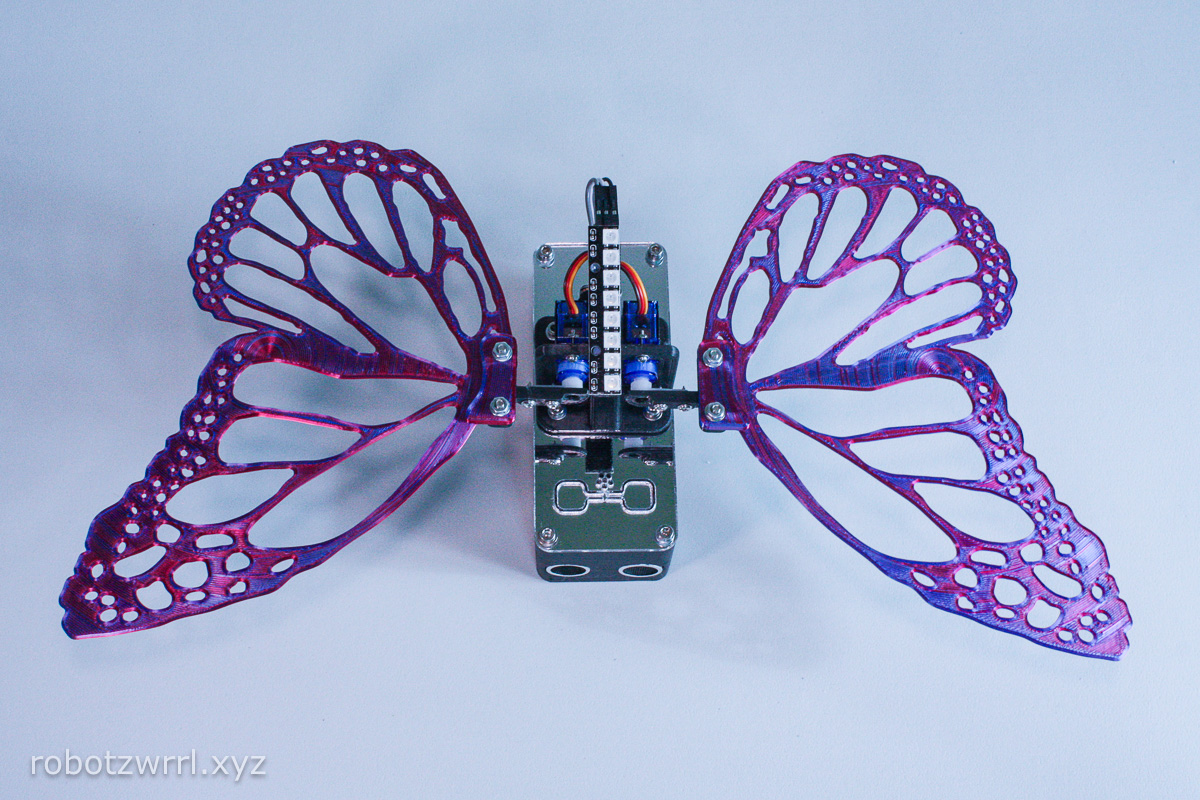
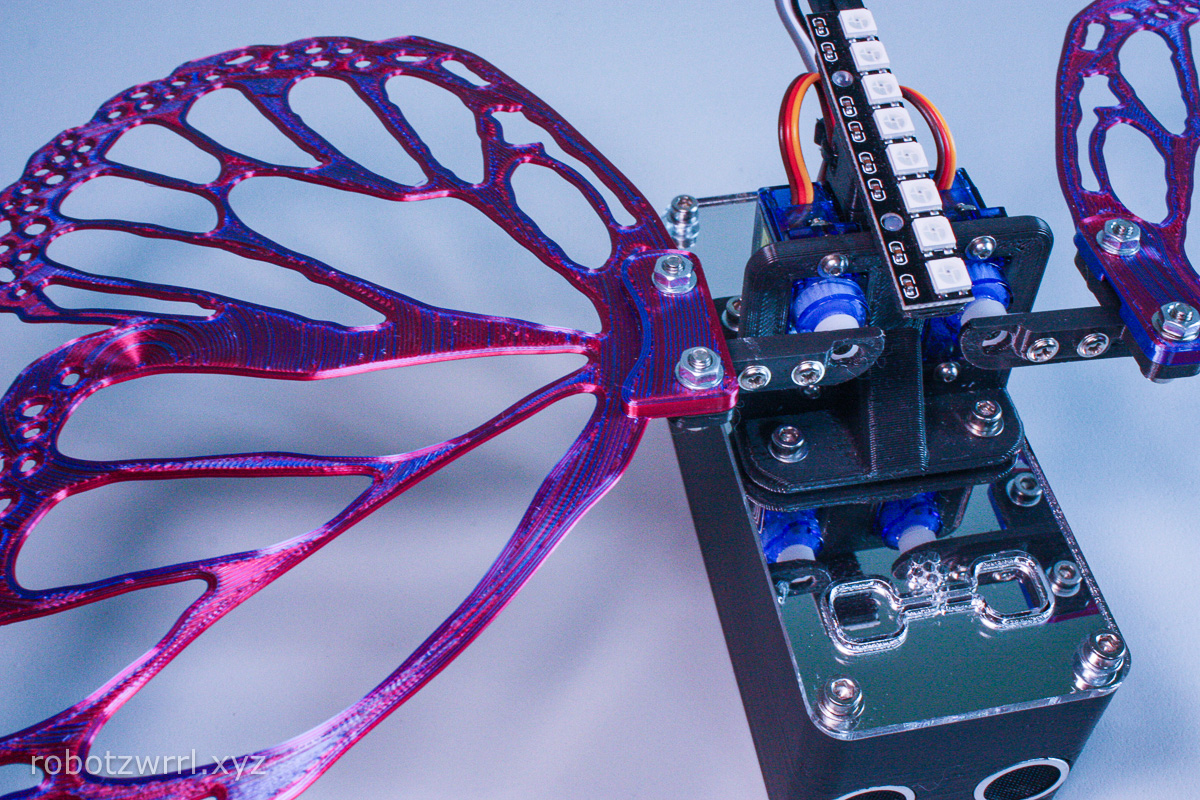
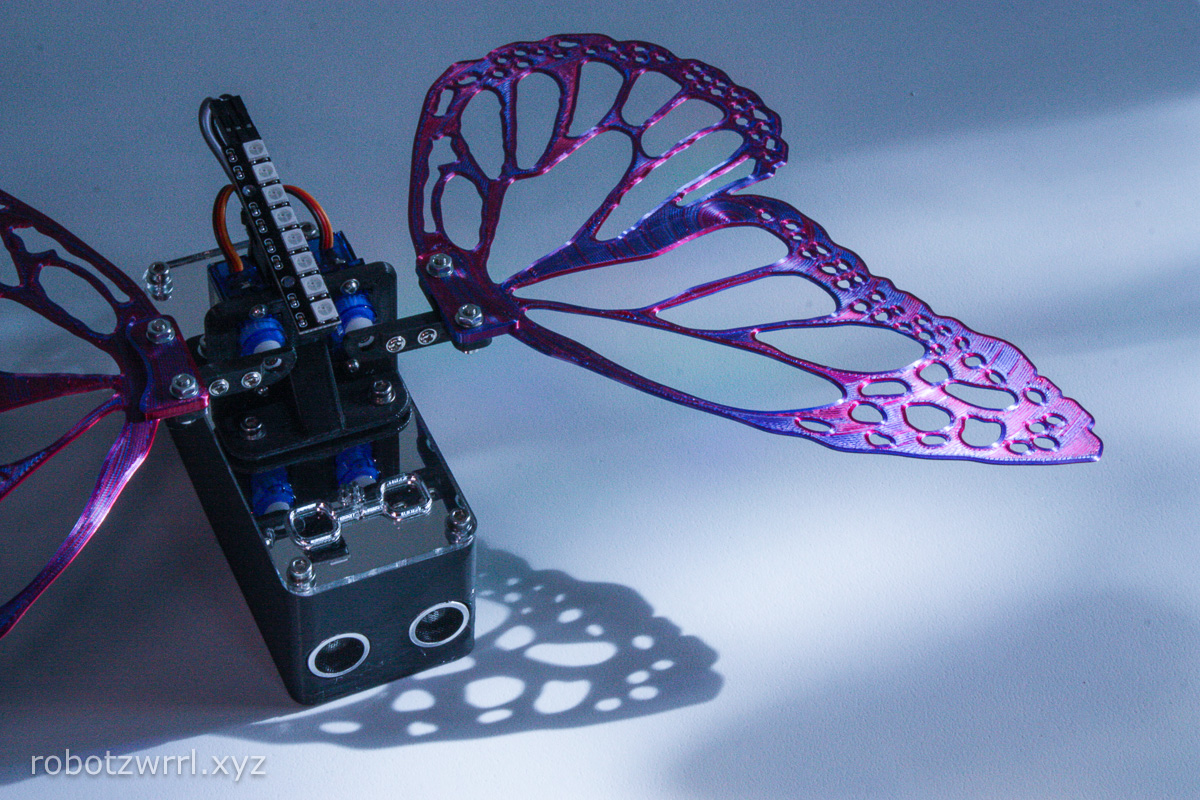
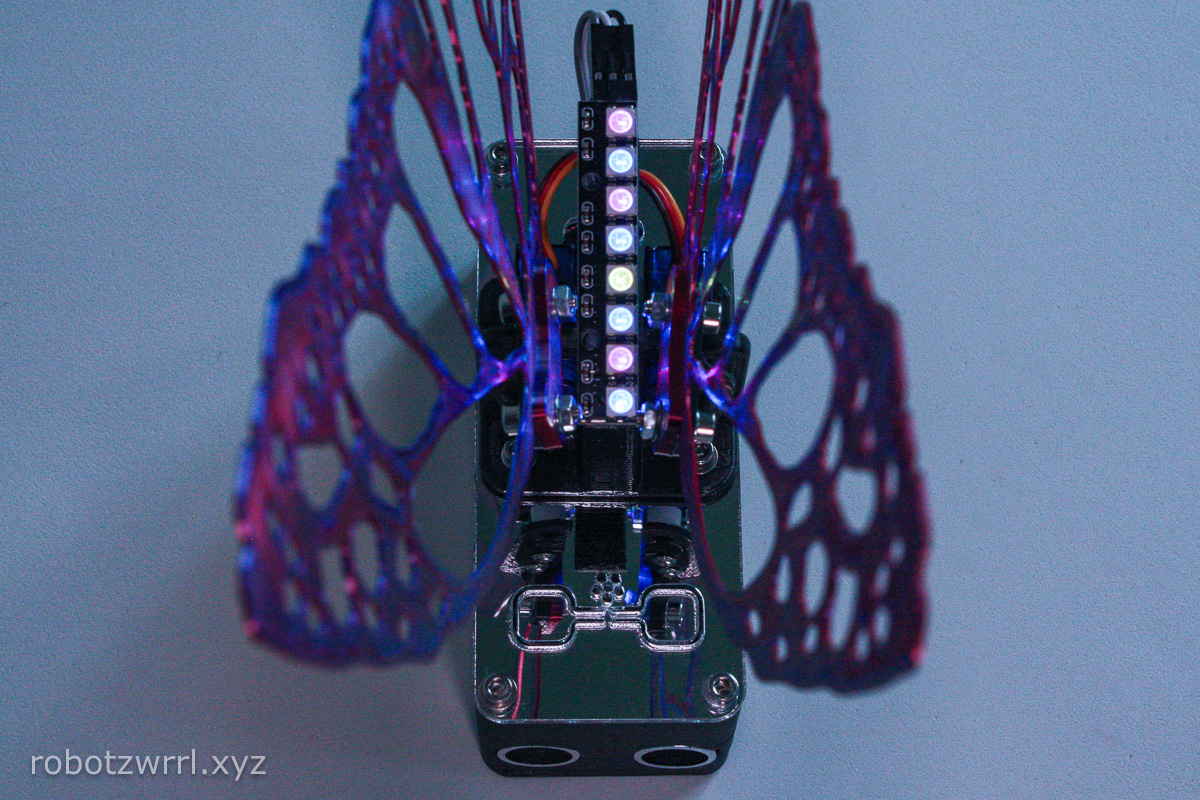
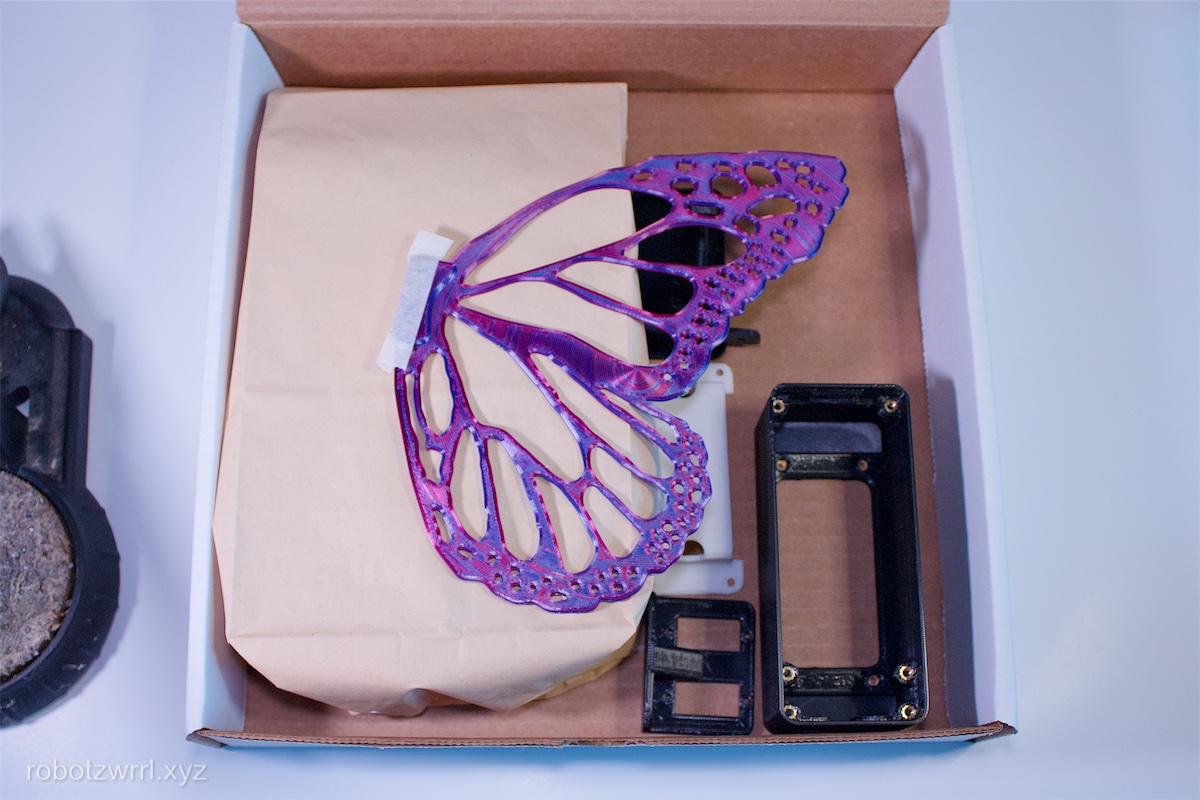
Before diving in, here's a look at what the final assembled robot will be. This is good to keep in mind as you progress through the steps.
Remember, each part you assemble is a piece of the bigger picture, and by the end, you’ll have a Robot Butterfly! Let’s get started!


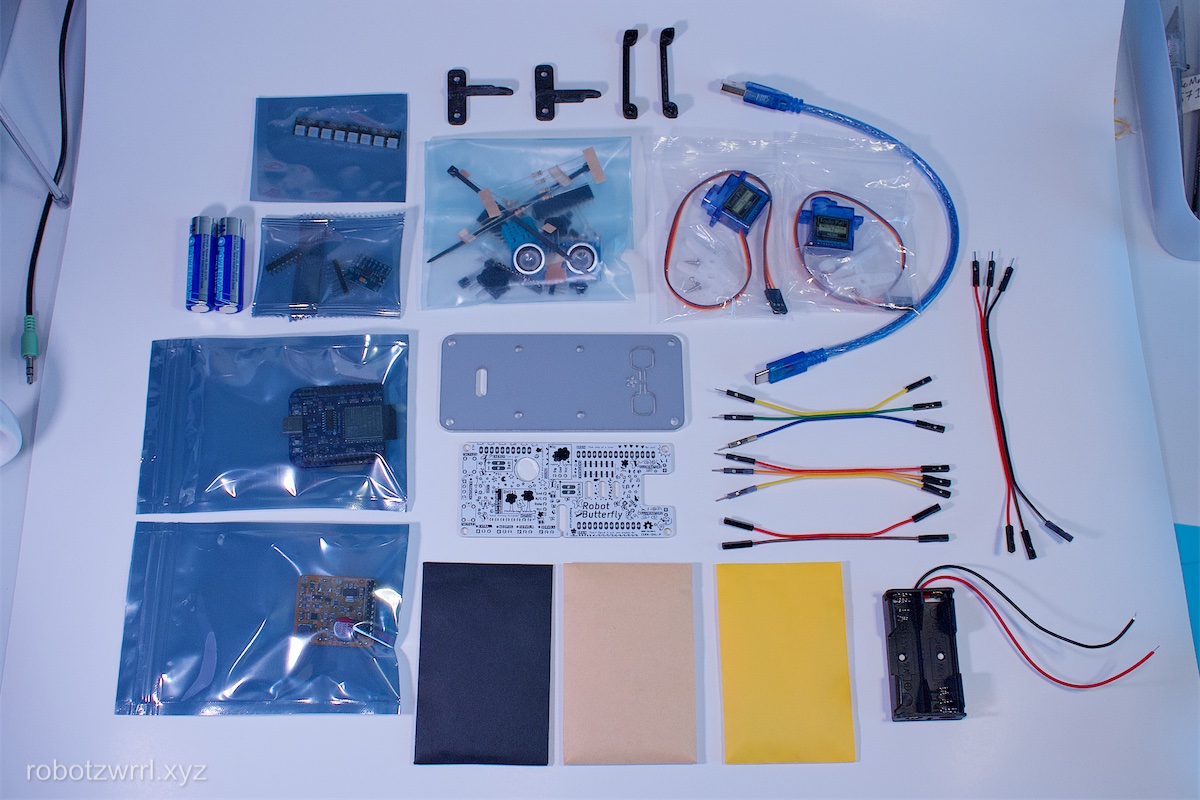
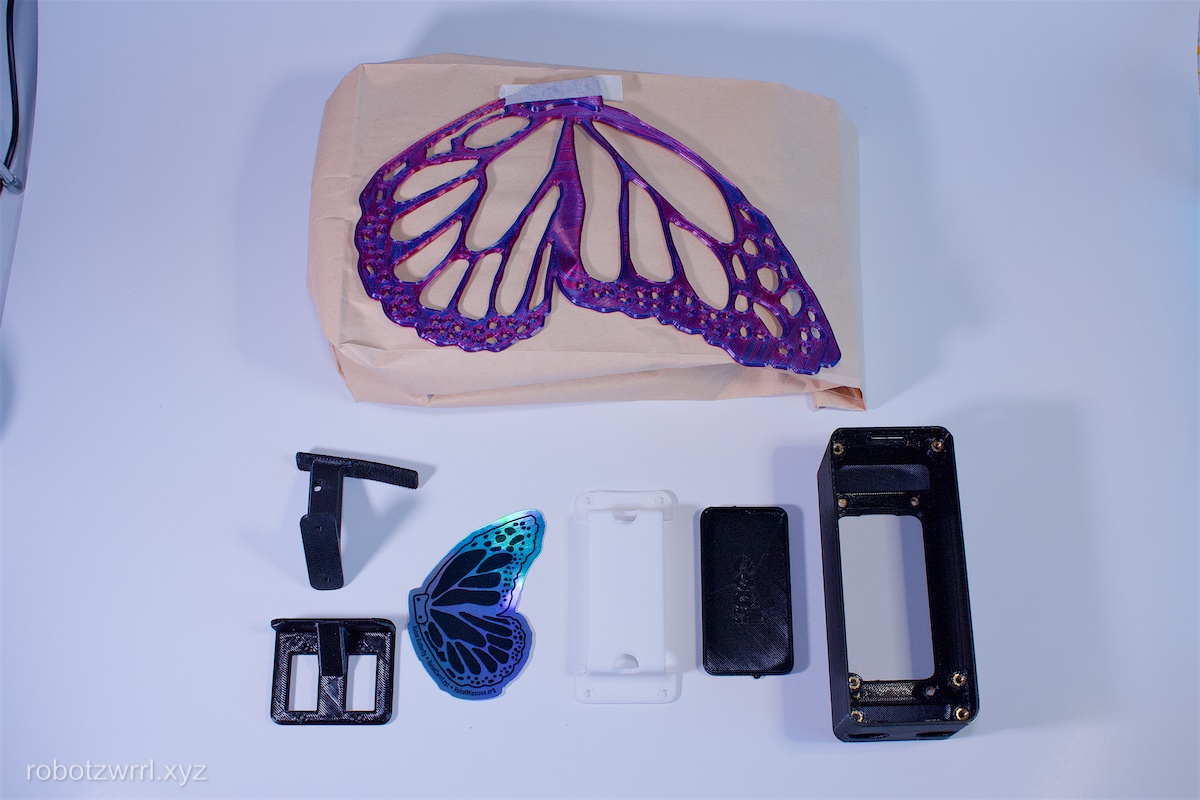
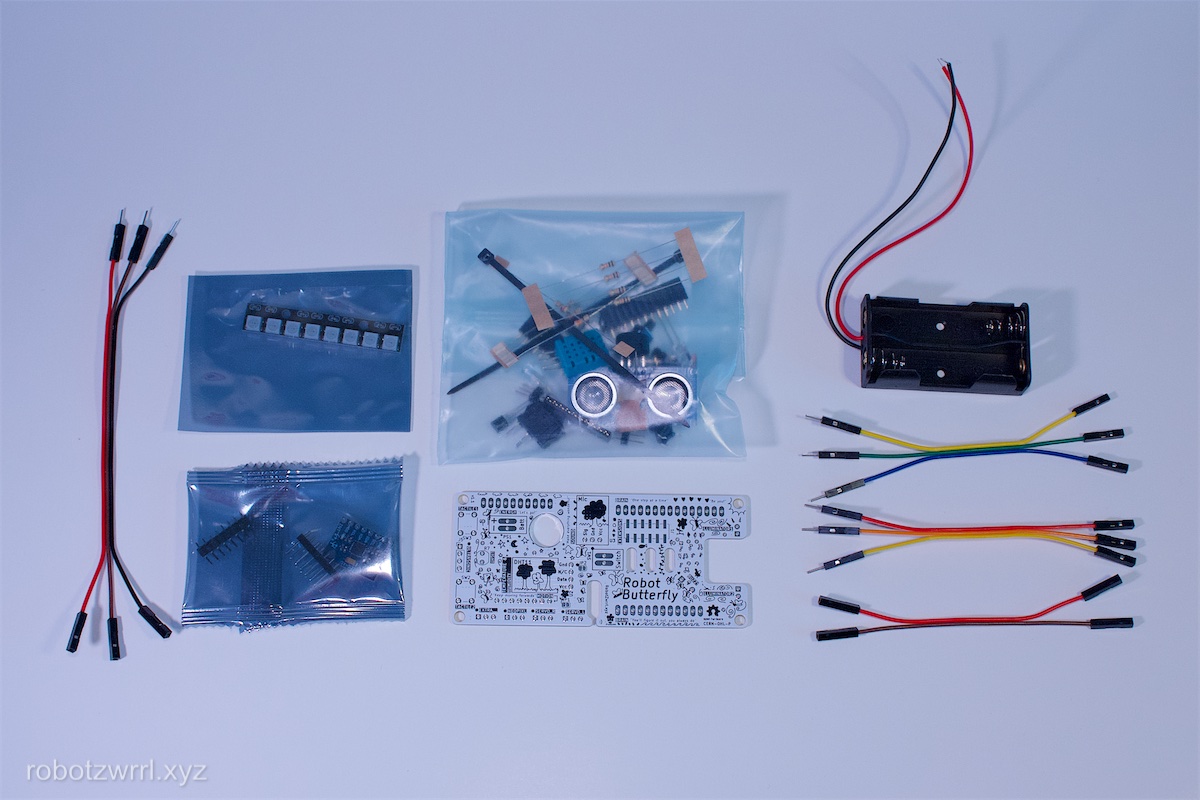
Let's take a tour of the kit contents.
You will find the beautiful wings, the 3D printed pieces, and a paper bag that contains more goodies. Inside the paper bag are the electronics, fasteners, additional 3D printed pieces, batteries, and wires.
If you ever need to look up what the name of a piece is, or find extra resources, click on the treasure icon in the top right.
Cool! All of these pieces will be used to make the Robot Butterfly, and we'll assemble it step by step!

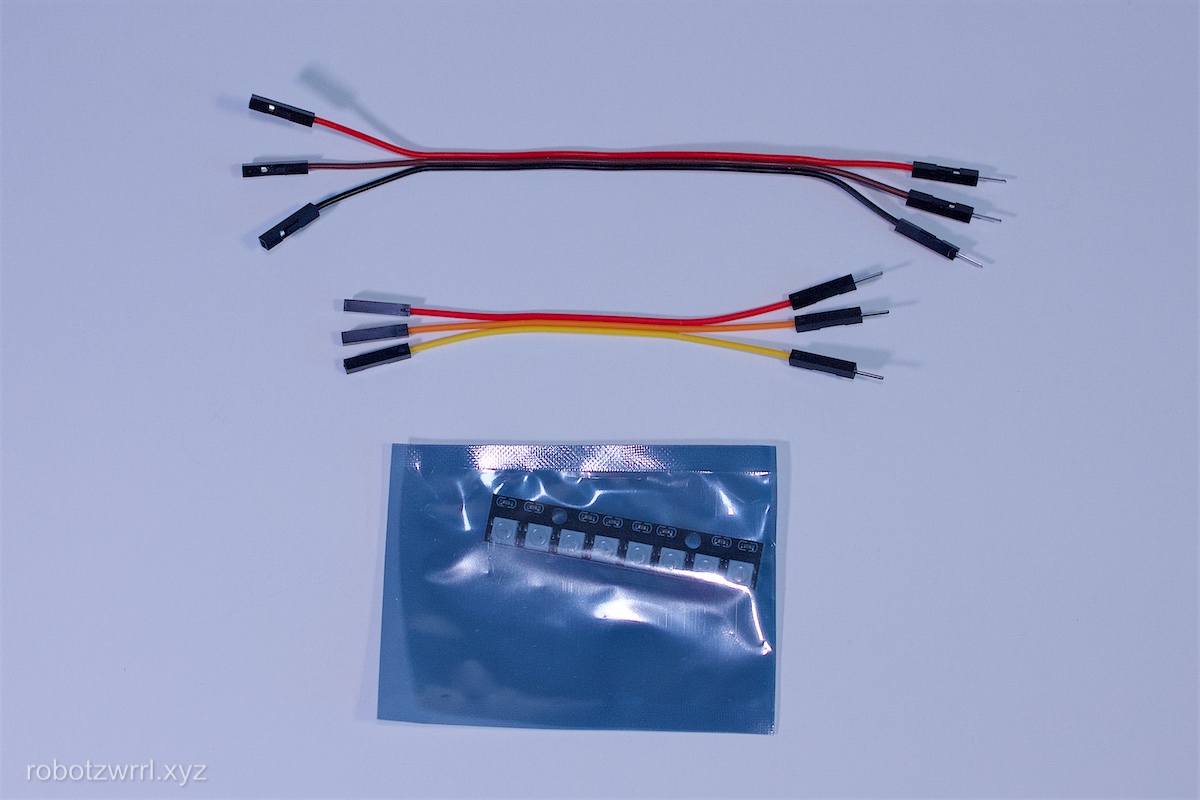
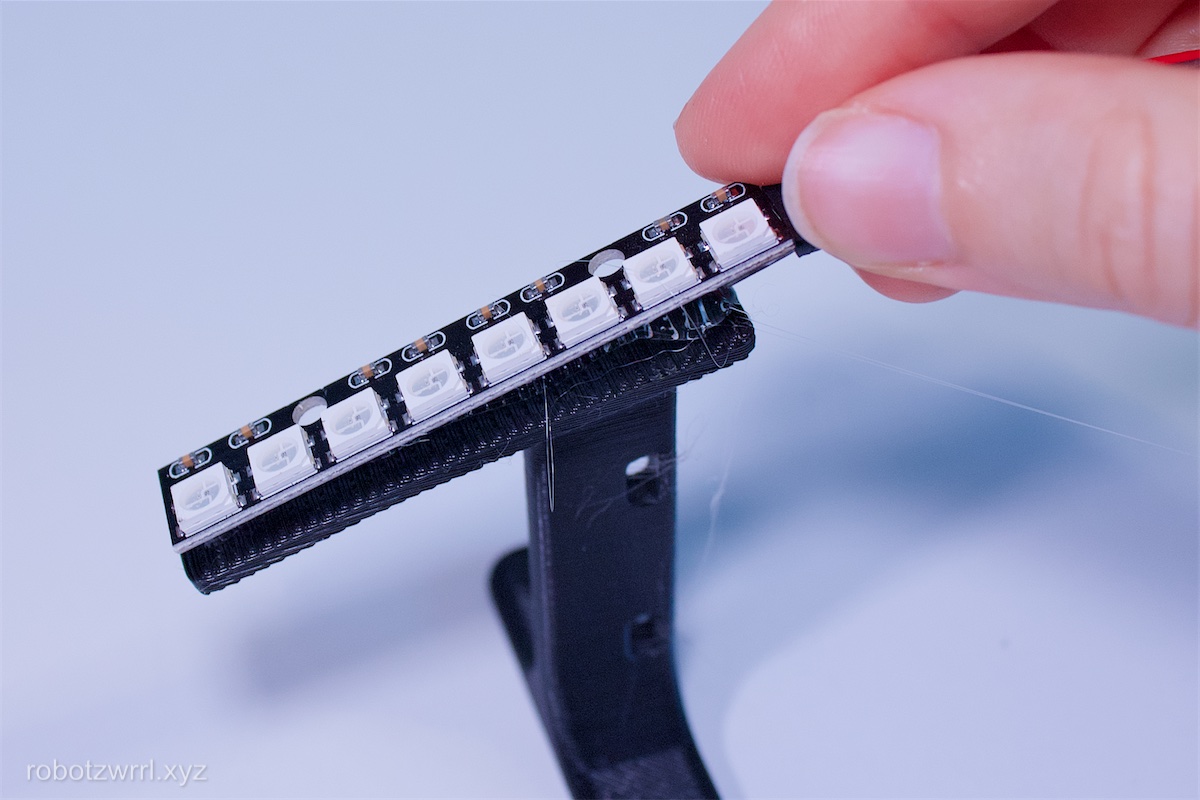
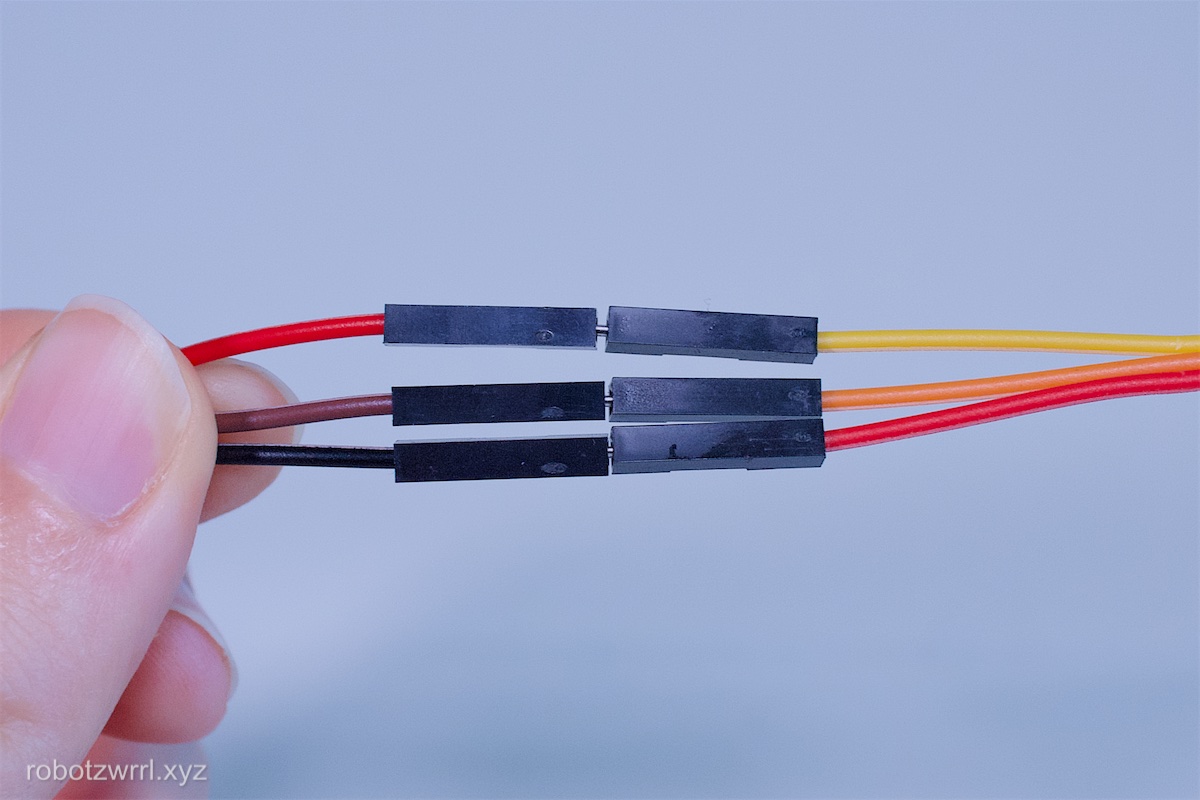
Find the Neopixel strip, the long, 15 cm, 3 strand pin-socket (M-F) cable bundle, and the short 3 strand pin-socket (M-F) cable bundle. Set the short, 10 cm, 3 strand pin-socket (M-F) cable bundle to the side for now.
Note: For reference,
Pin = Metal sticks out
Socket = Metal inside
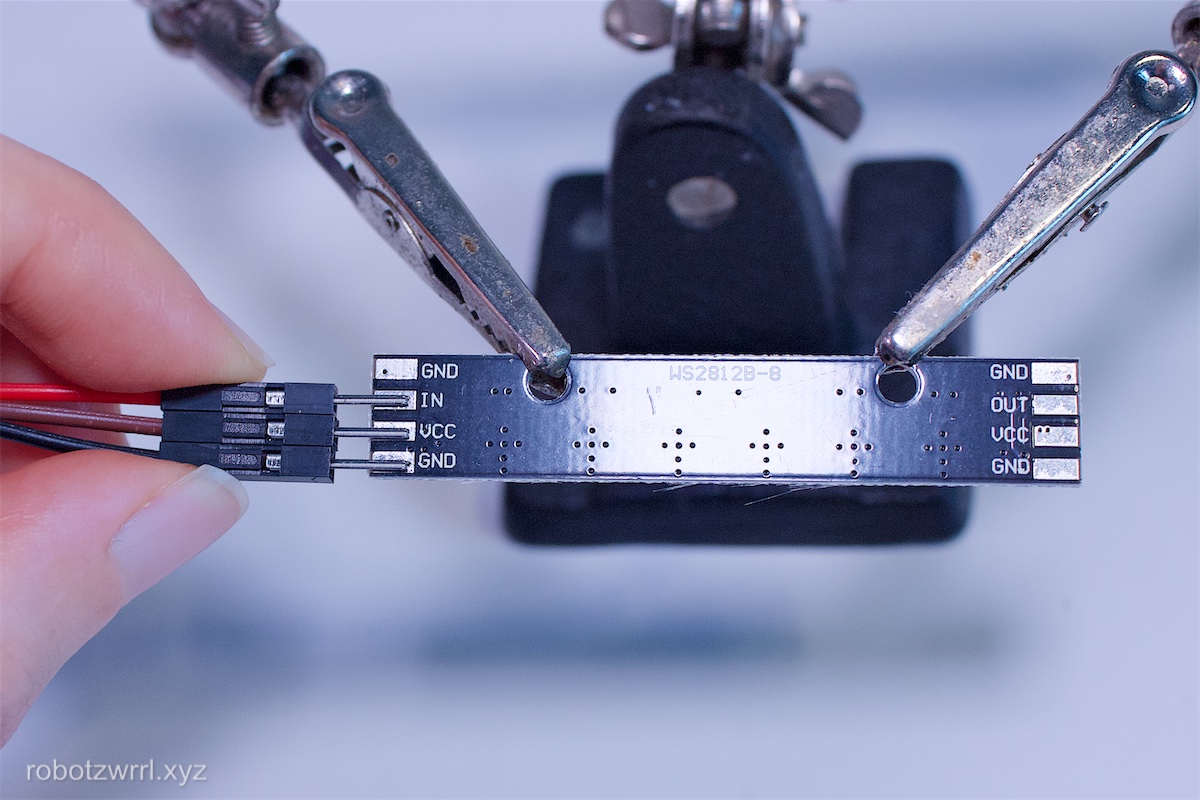
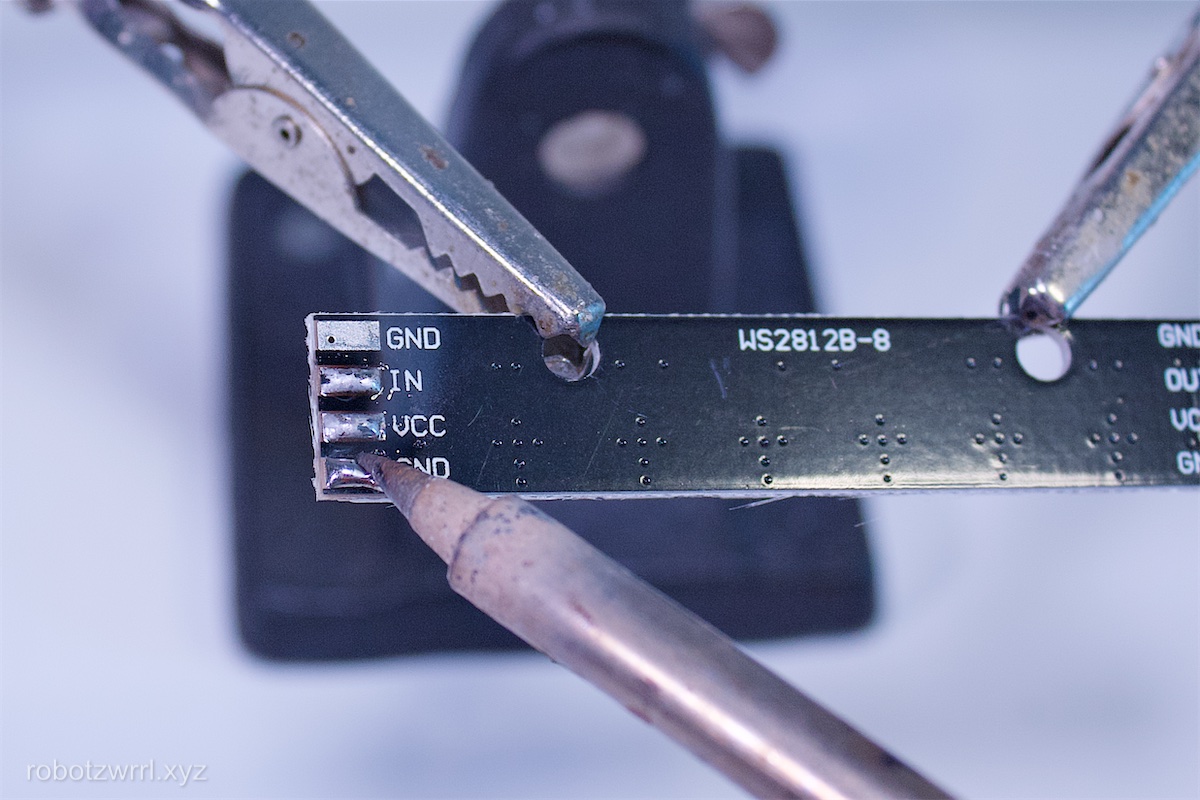
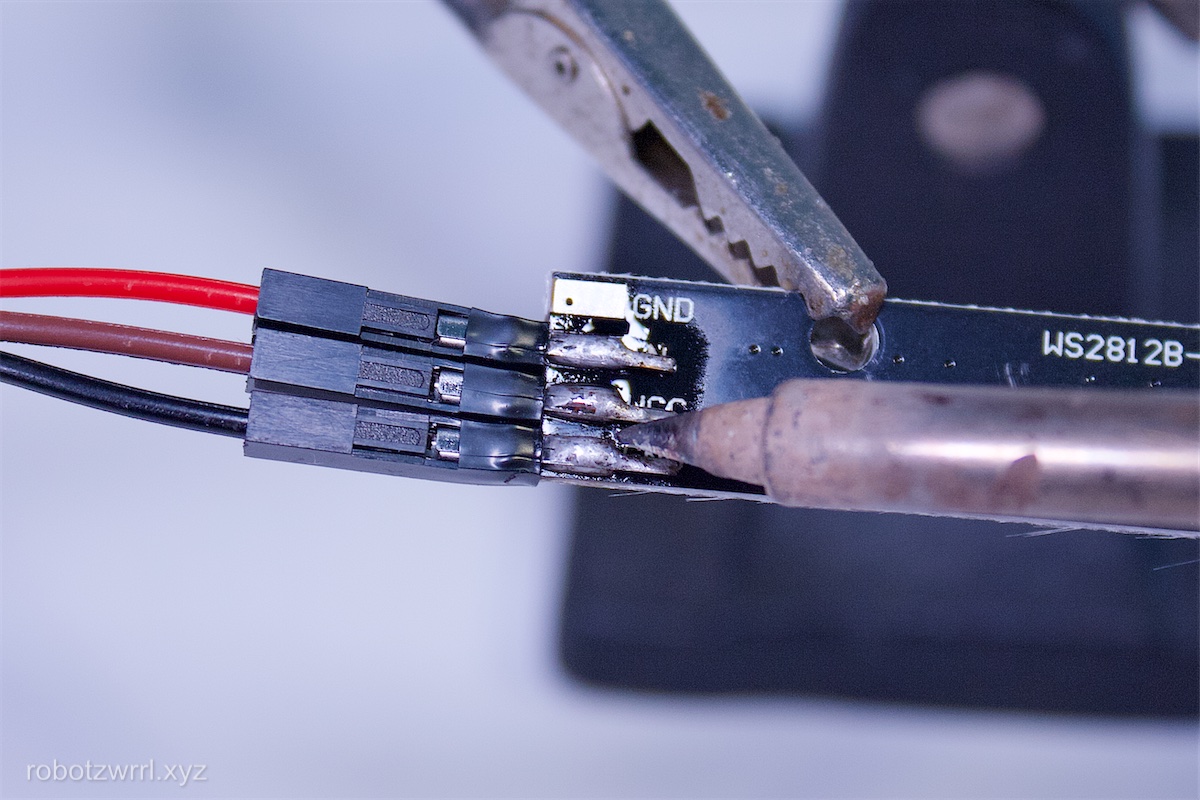
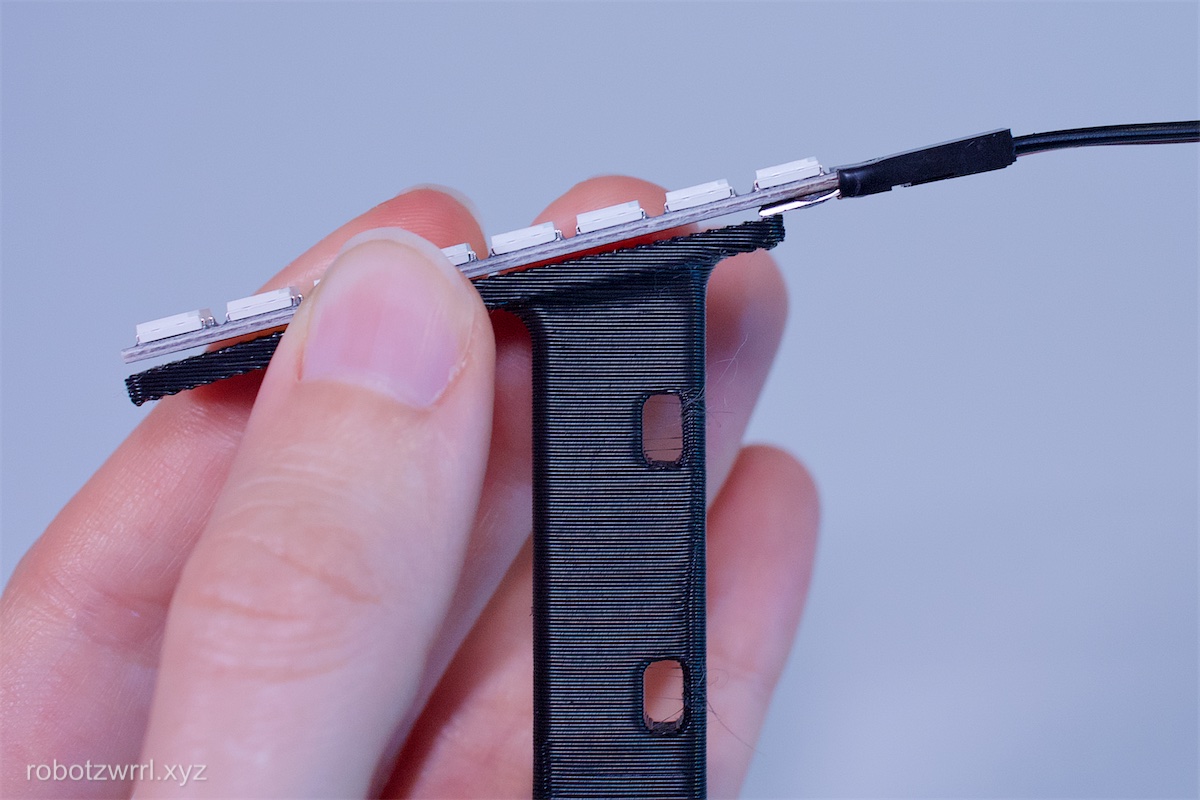
With the long, 15 cm, 3 strand pin-socket (M-F) cable bundle, Solder each of the pin (M) pins from the cable onto the Neopixel pads: Gnd, Vcc, DIN.
Applying solder to the pads first is often easier.
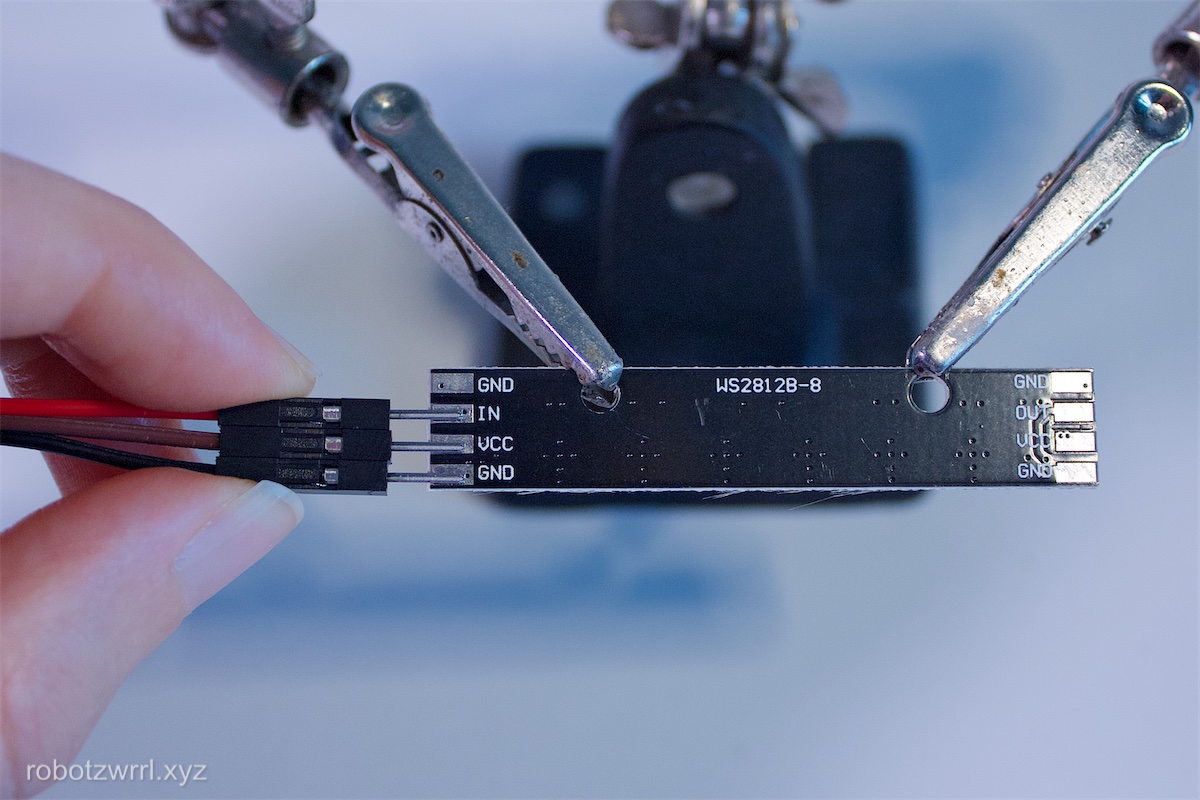
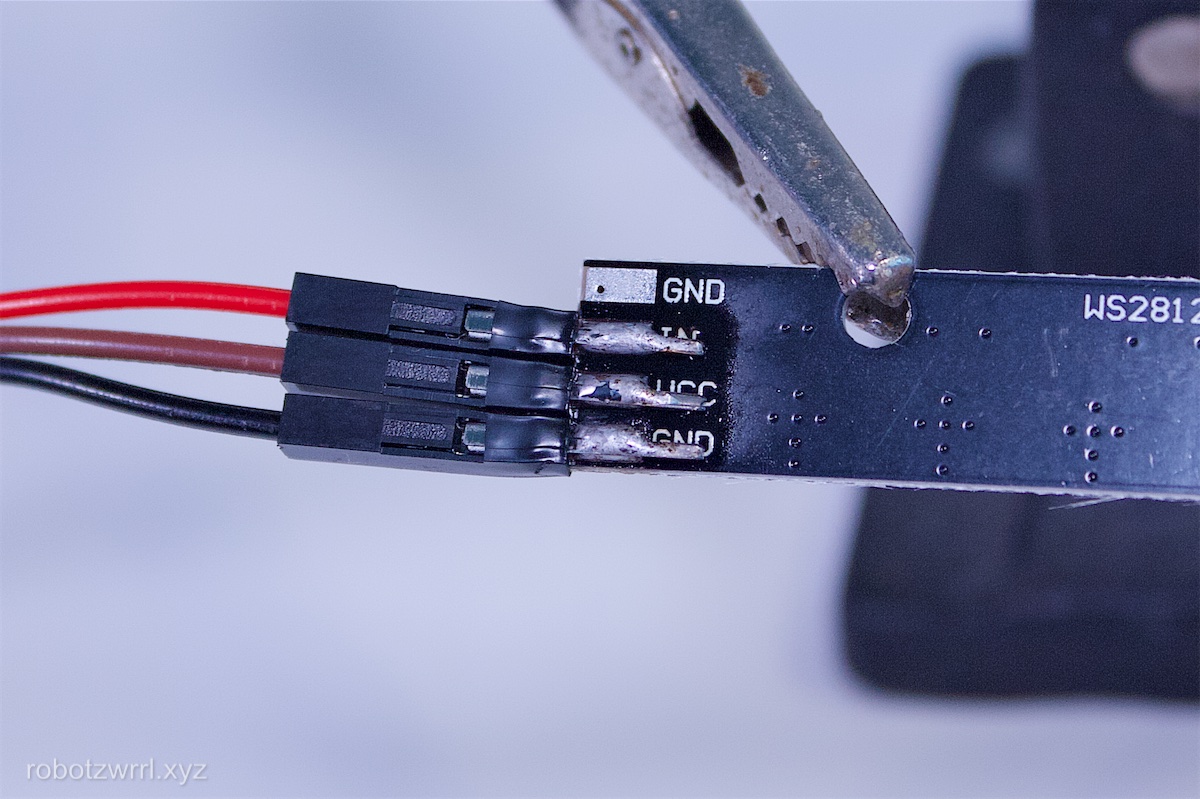

Record which colour of wires correspond to the labels on a piece of paper.
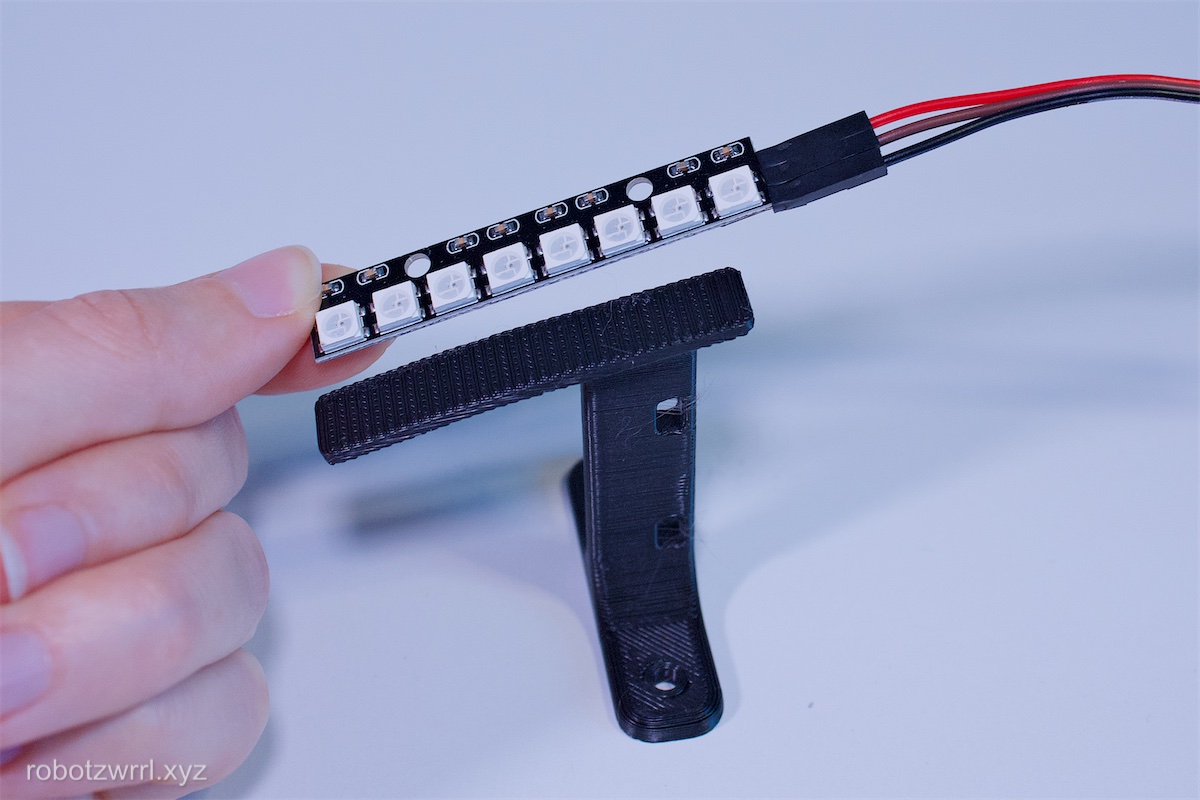
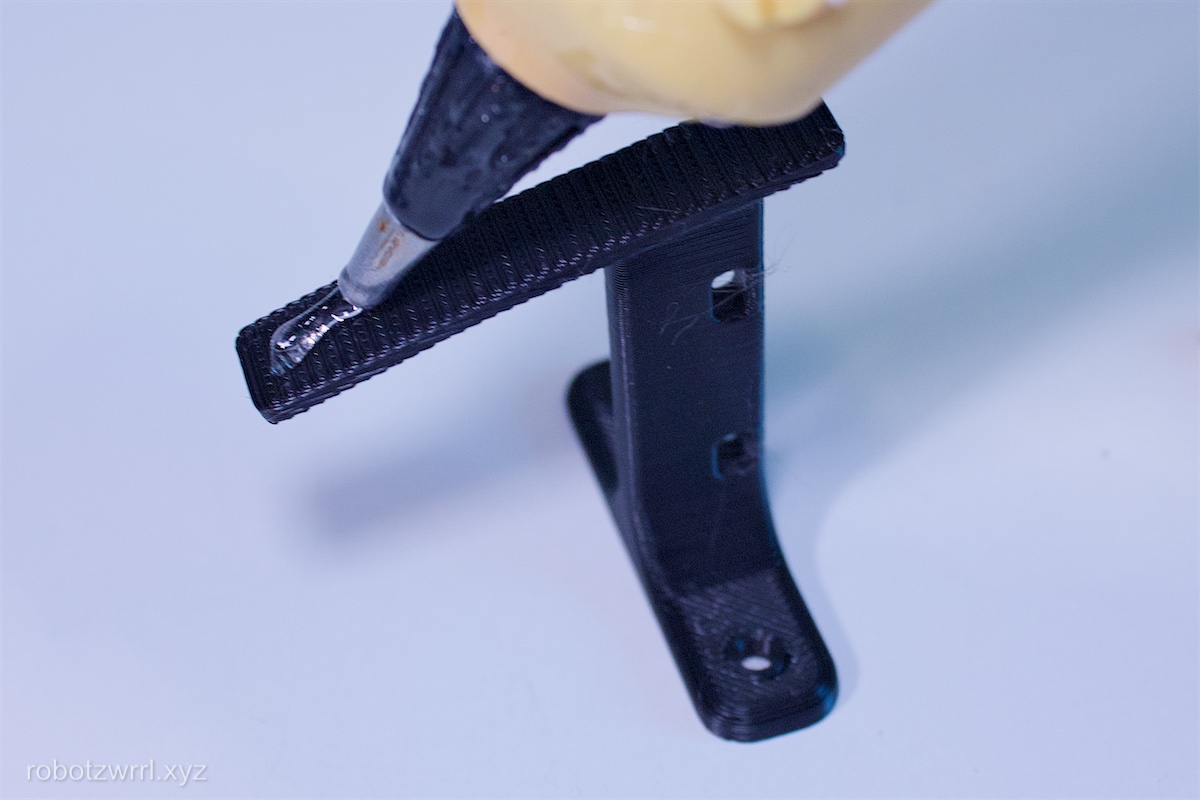
Find the 3D printed Neopixel bracket. Position the edge of the Neopixel strip that’s without the wires to the edge of the bracket that points down. The edges should be flush.
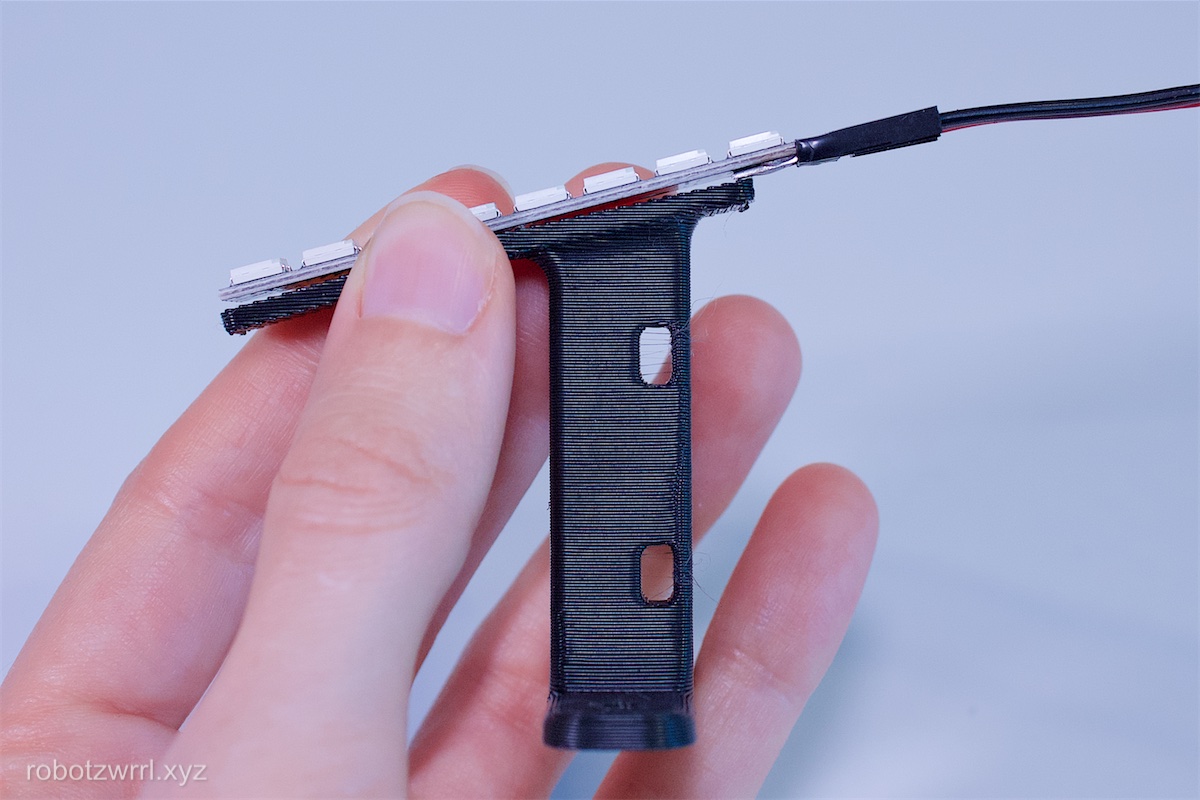

Hot glue the Neopixel strip to the Neopixel bracket. Hold it in place for 30 seconds for the hot glue to set.
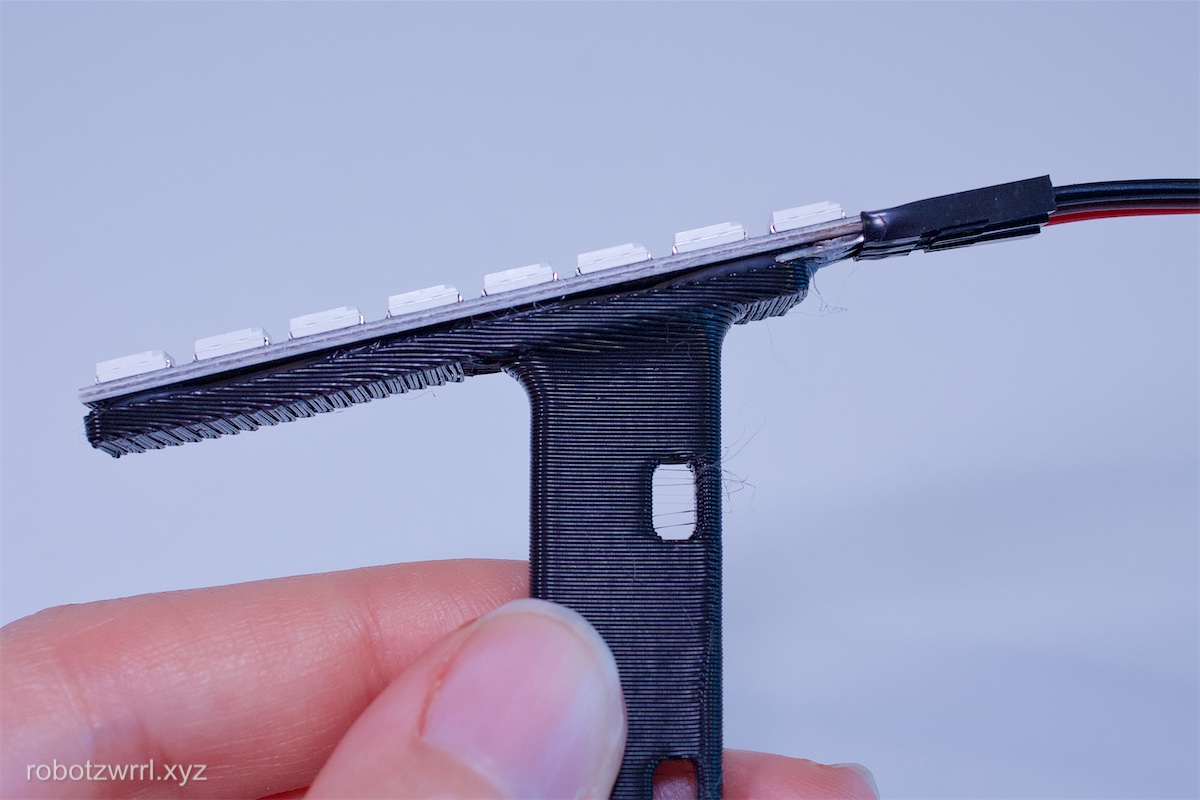
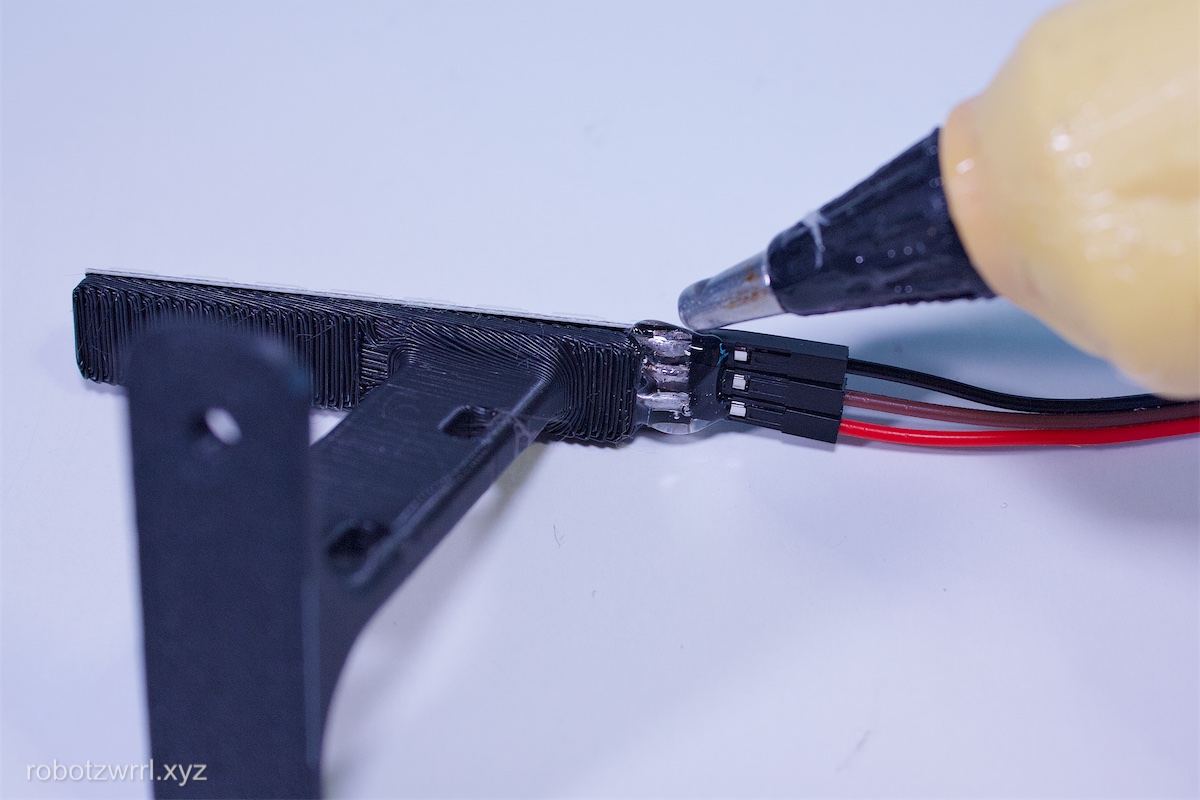
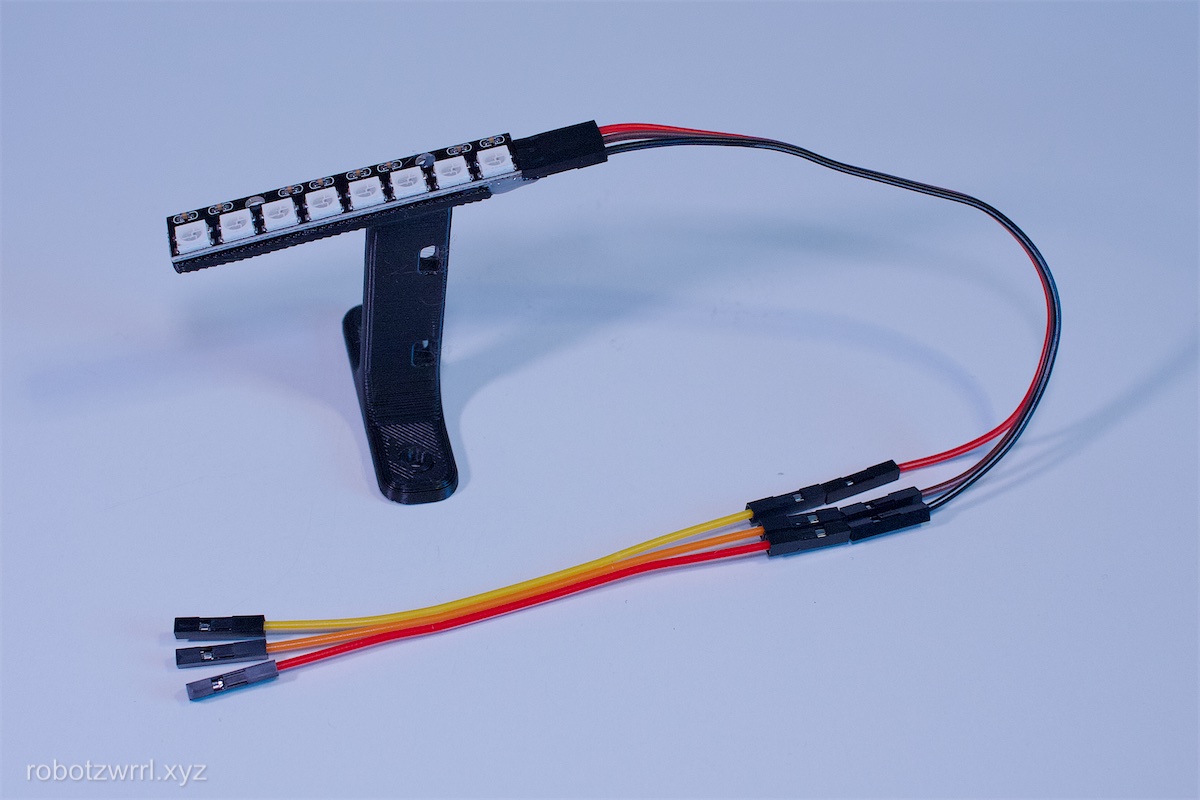
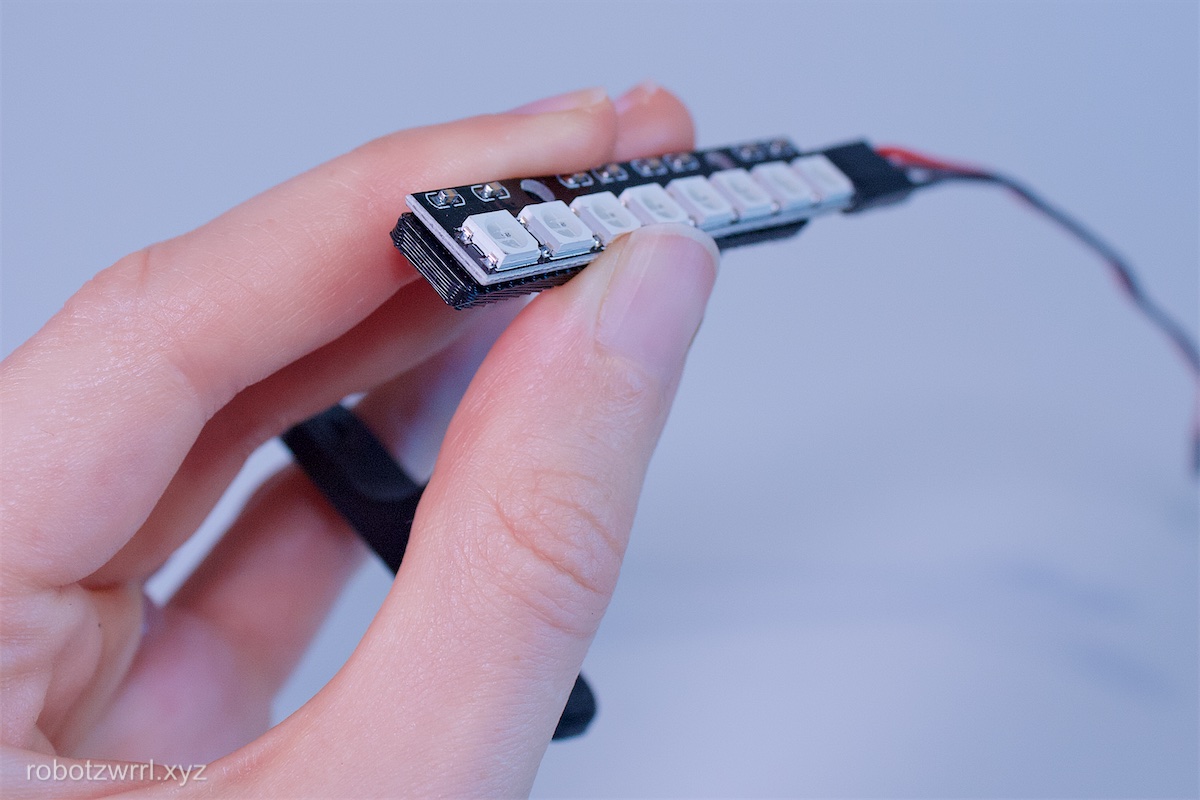
Plug in the short, 10 cm, 3 strand pin-socket (M-F) cable bundle to the long, 15 cm, 3 strand pin-socket (M-F) cable bundle.
Page last updated: April 28 2025 11:04:08.